This post may contain affiliate links, view our disclosure policy for details.
In this post, we’ll go over all the information that you need to know about how to transplant seedlings into the garden. This can be a tricky step because the plants are so fragile at this stage. It’s totally worth it to take the time to make sure that you are doing this right.
Everything that involves babies requires hard work… They depend on you completely. You gotta change them, feed them, water them, make sure they are not too hot or not too cold, make sure that they are comfortable, healthy…
I was talking about human babies… But, come to think about it, it’s the same exact thing for all babies.
Little chicks need the same treatment. I do choose to raise a breed that goes broody and therefore the mama chicken does most of the work, but if I bought chicks from the hatchery or hatched eggs in an incubator, I would have had to take care of them as the little pooping babies they are.
Ducklings are the same (here too I chose a breed that takes care of its own littles). And puppies… Don’t even start me on puppies with all the potty training that’s involved!
How to Transplant Seedlings…
Starting seeds indoors, or in other words, raising baby plants, is also hard work and involves pretty much everything the other babies require. Except, there is no potty training! Which if you ask me, makes baby plants much more tolerable than many other kinds of babies.
Anyway, if you are growing vegetables or planning on planting a garden, there is exactly a 100% chance that you are going to come in contact with baby plants. If you buy seedlings at the plant nursery or if you start your own seeds indoors, baby plants are in your future.
It’s true that there won’t be any potty training with baby plants but it’s also true that it’s much easier to kill baby plants than it is to kill all those other kinds of babies.
From my experience, the stage where there is the largest chance of said killing to take place is the transplanting stage. The seedlings are young and small, their roots are thin and short. The sun can kill them, the rain can kill them, the wind can kill them, too much water can kill them, not enough water can kill them…
There are more things that can kill them than there are mice in my feed room. And THAT is saying a lot. Mice aside, let’s take a moment to learn how to transplant seedlings to the garden the right way so we can reduce the chance of them getting killed.
We are no baby killers, right?
Right. So here is what we are going to go over:
- What kinds of plants should I transplant?
- Prepare seedlings for transplanting
- How to harden off seedlings
- Gather all the tools that you need
- Prepare your garden for transplanting
- Best weather for transplanting
- How to transplant seedlings
- Mulch your seedlings with straw
- Watch your seedlings closely
What Kinds of Plants Should I Transplant?
We have a few options when planting time comes… We can buy seedlings, we can start seeds indoors on a grow light stand or in a greenhouse, or we can direct seed in the garden.
I talk in more detail about the kinds of seeds we should start indoors in my post about indoor seed starting, but I want to mention it here too…
Even though it takes time and effort to start seeds indoors, and it takes some additional time to transplant those seedlings into the garden, I highly recommend that you transplant instead of direct seed if you can.
If you take a moment to learn how to transplant seedlings, and you make sure to do it right, you will have a much more successful garden. You’ll be able to plant a seedling that already had a good start, that was fed correctly, that is strong and can stand against pests that sometimes attack newly germinated plants.
You’ll also be able to control the spacing of the plants and harvest a little earlier. So whenever you can, choose to transplant. If you can’t start seeds indoors, buy seedlings at the local plant nursery.
Ok, now, let’s learn how to transplant seedlings…
Prepare Seedlings For Transplanting…
In my post about how to create a planting schedule, I share with you the details on how to find the right time to start seeds indoors, when to transplant, and when to direct seed in the garden. Make sure that you visit this post and that you create a planting schedule with exact dates.
If you start your own seeds indoors, your seeds will be ready to start the hardening off (more on this in a minute) process about a week before your transplanting date.
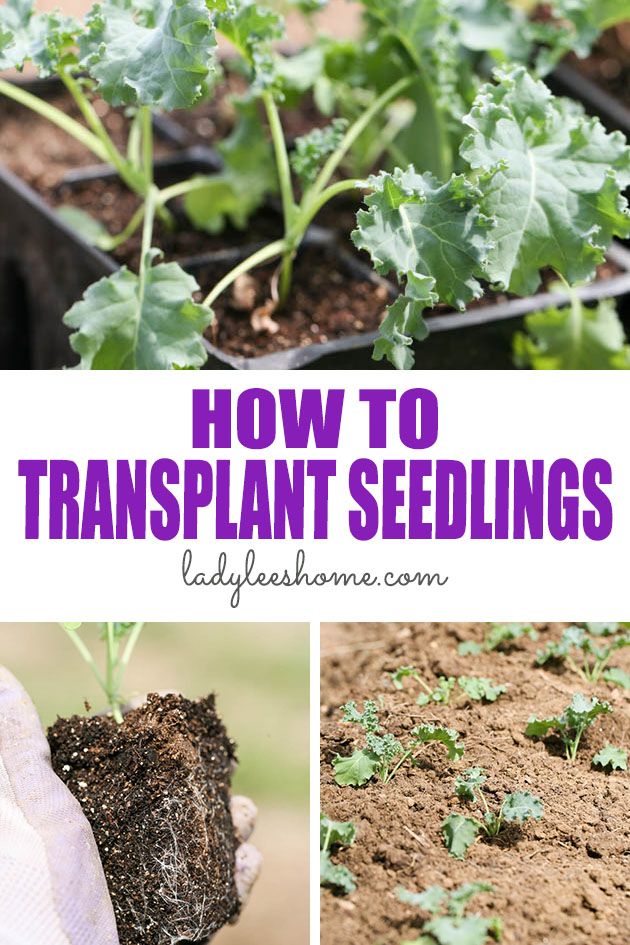
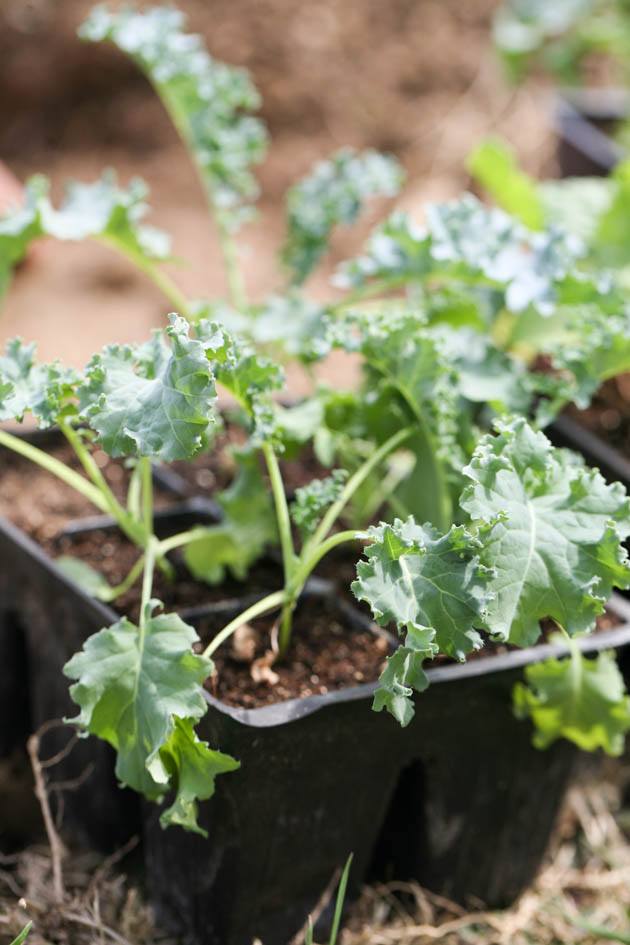
Generally, you want a young seedling, with a few leaves and a strong stem. It doesn’t have to be big and tall, in fact, seedlings do better if they don’t spend too much time in the little cells.
If you are buying seedlings at the local nursery, they are probably ready for transplanting. If you find them outdoors on shelves, you might be able to skip the hardening off part and just plant them because obviously, they are already used to the outside climate.
So if you bought your seedlings at the store and they are ready for transplanting, feel free to skip the next step. If you started your own seeds indoors, your next step will be hardening your seedlings.
How to Harden Off Seedlings…
To harden off means to toughen up your seedlings a bit. Until this point, they spent their time on a shelf, under direct light in the perfect temperature.
You fed them, you watered them, you woke them up in the morning and turned the light off at night… You took care of them as you take care of a baby.
But out in the garden, conditions can vary and there is nothing you can do about it. You can’t make the sun less hot or stop the wind. So before we ask our baby plants to face the world and the elements, we need to train them for a few days. To make them a bit tougher.
This is a simple process. About a week before it’s time to transplant your seedlings, take them outside. Find a place for them in half shade, away from direct sun and where the wind can’t damage them.
It can be on a covered porch, on a table with a beach umbrella over them, or a similar setup. Each day increase the time that the seedlings are spending outdoors. Start with a few hours on the first day or two and bring the trays of seedlings indoors at night.
As the week progresses, increase the time until the seedlings can spend the whole day and night outdoors. It’s very important to pay close attention to the forecast during the hardening week. If it’s going to be a frosty night, bring the seedlings indoors.
If suddenly there is a super hot day, you might want to bring the seedlings inside and you definitely should make sure you water them well. Same thing if it’s too windy… bring them inside or protect them somehow.
Remember hardening should be a gradual transition! Once your seedlings are able to spend the whole day and night outdoors, they are ready for transplanting.
Gather All The Tools That You Need…
All right. While the seedlings are going through the process of hardening off you should get ready for transplanting day and make sure you have everything that you need.
Gardening gloves – I always work with gloves and I can’t recommend the ones I linked to enough! It’s a pack of six, really well made, for such an affordable price and they last for a long long time!
Trowel – I use the right angle trowel from Johnny’s Selected Seeds and love it but any trowel will do.
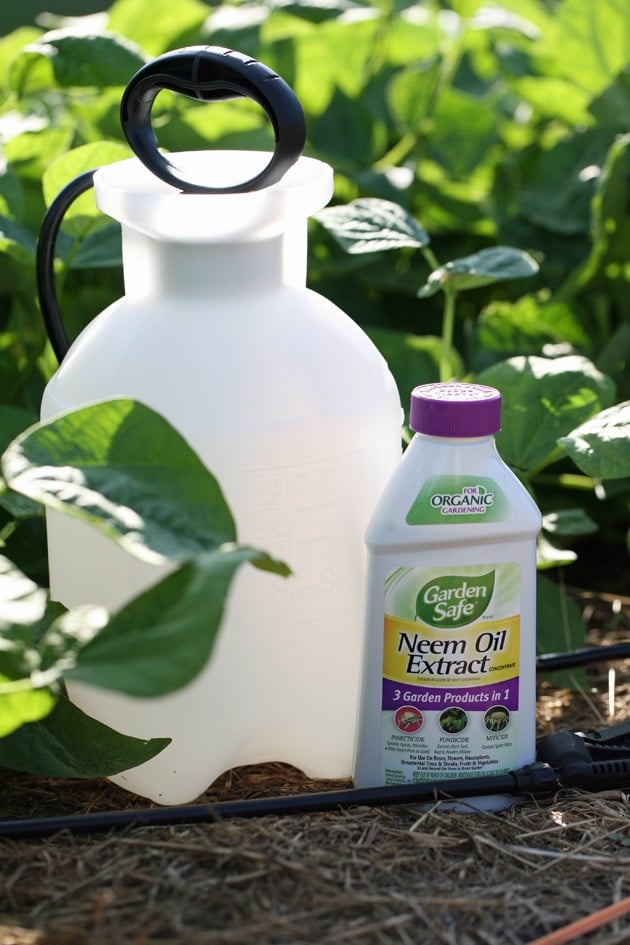
Worm castings – the best organic plant food on earth! I add a little bit to the hole of each seedling that I transplant.
Other soil amendments – depending on what seedlings you are transplanting, you might need other amendments. For example, I add an egg and some lime to each hole when I transplant tomatoes or peppers to prevent blossom end rot.
Straw – lastly, I highly recommend that you have a bale of straw on hand. I use the straw to almost completely cover the seedlings after I transplant them. The straw shields them from the sun, it protects them from the wind, it regulates the temperature around the plants, and it keeps the soil moist.
So now that we have everything on hand, the next step is to make sure that the garden is ready for the plants…
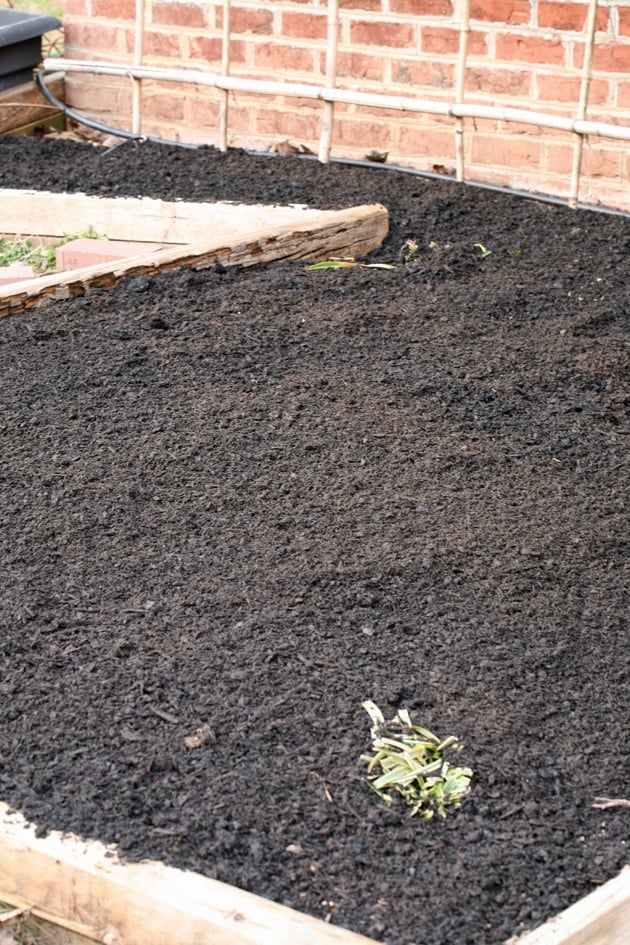
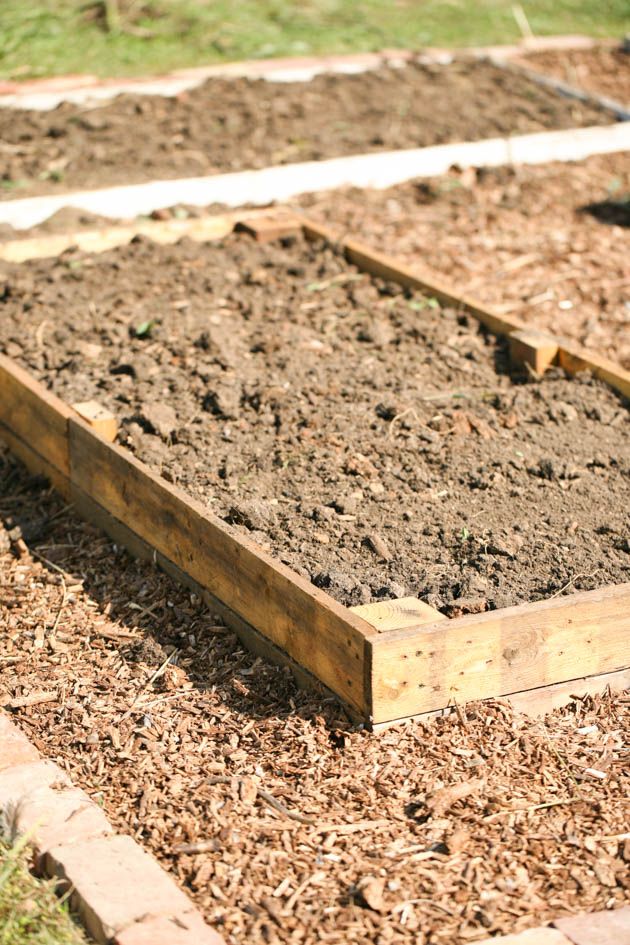
Prepare Your Garden For Transplanting…
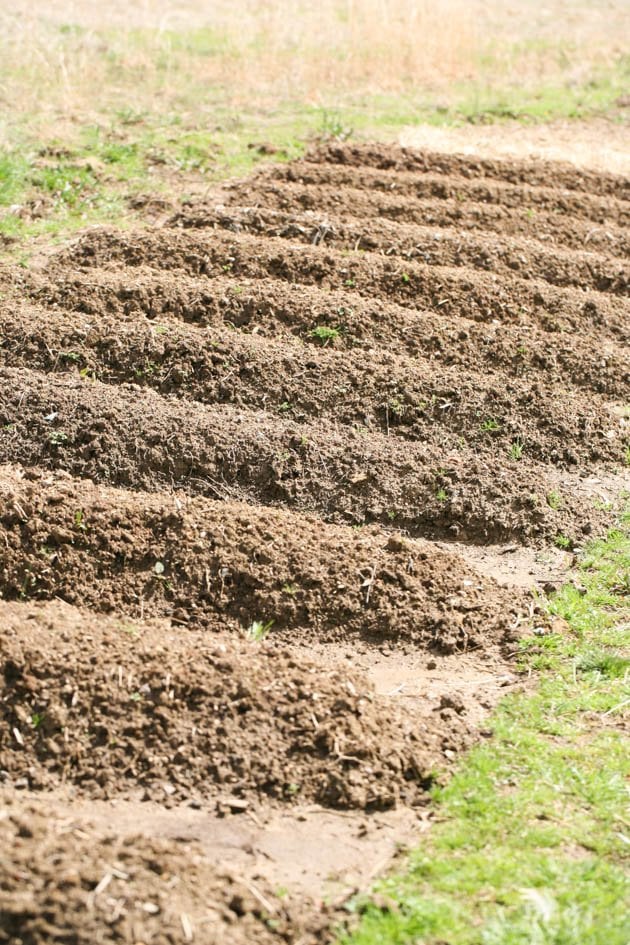
Obviously, before you can transplant anything into the garden, you want to make sure that it’s clean of weeds and ready to go.
I don’t till my garden. Instead, I add some compost and cover it with dry leaves in the fall. Most of the time, all I have to do in the spring is to get rid of a few weeds that managed to grow over the winter.
Here are three posts that will help you understand how you can work easier in the garden…
Easy Garden Preparation the No-Till Way
Preparing Your Garden For Winter So You Have Nothing To Do in The Spring
Everything You Need to Know About Leaf Mold, Mulch, and Compost
There are other things like building your trellises and setting up drip irrigation that should be done before you transplant the seedlings.
What is the Best Weather For Transplanting…
Now, even though everything is ready and the seedlings are hardened off and ready for transplanting, it’s important that you wait for the right day.
It’s best to transplant on a cloudy day with no wind. This is so important! Harsh sun is VERY difficult for seedlings to deal with even if you cover them with straw. If you can transplant on a cool, cloudy day with no wind that’s best. If there’s going to be a light shower the next day it’s even better.
If this is not possible, try to do your best to get as close to these conditions as possible. Choose to transplant in the evening, when temperatures are lower and the sun is not as harsh.
How to Transplant Seedlings…
Ok, the seedlings have been through the hardening off process, we gathered all the necessary tools, the garden is ready, and the day is cloudy and not windy.
Let’s transplant!
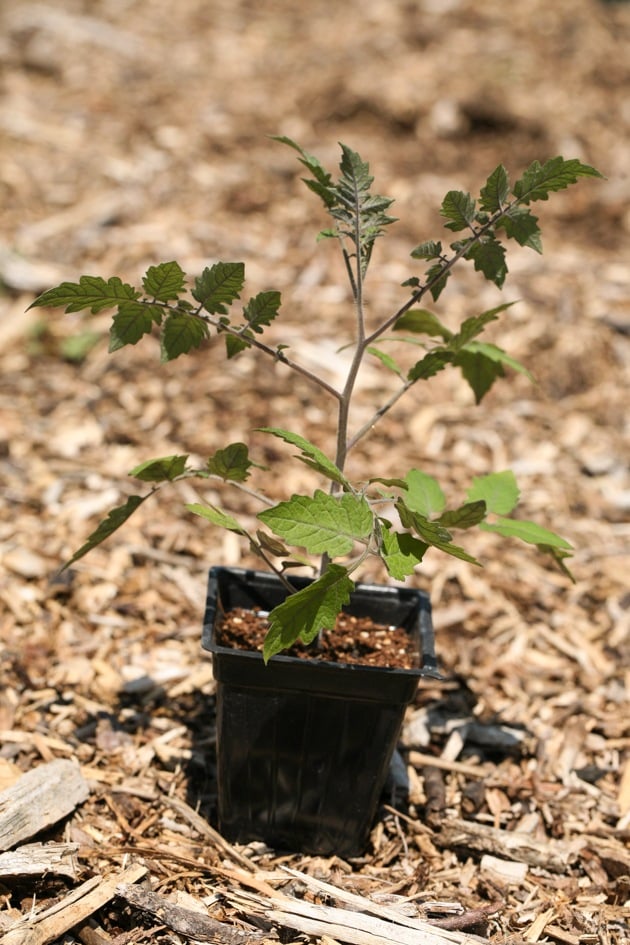
Before you get your seedlings out of their little cells, make sure to water them well. Let me say this again, water your seedlings well BEFORE you take them out of the cells.
The roots of those seedlings are small, thin, and are not used to working hard to find water and nutrition. Even if you water well after you transplant the seedling, it’s still going to be hard for the roots to find the water.
There is a much higher chance for successful transplanting if you give the plants water before you remove them from the cells so their own clump of soil is moist.
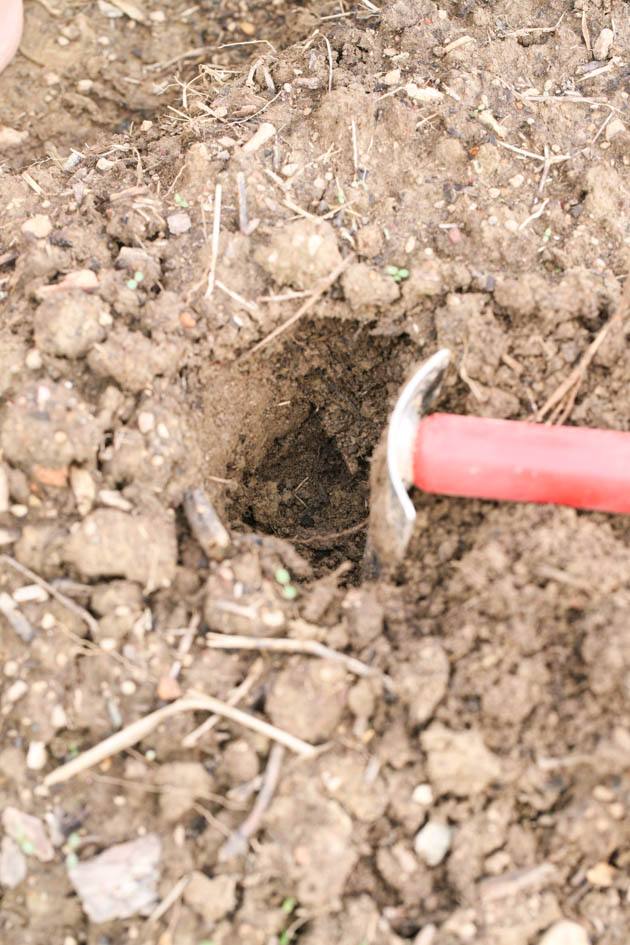
Next, dig your hole or holes and add the amendments to each hole. If you transplant a few seedlings, now it’s a good time to make sure you space them correctly.
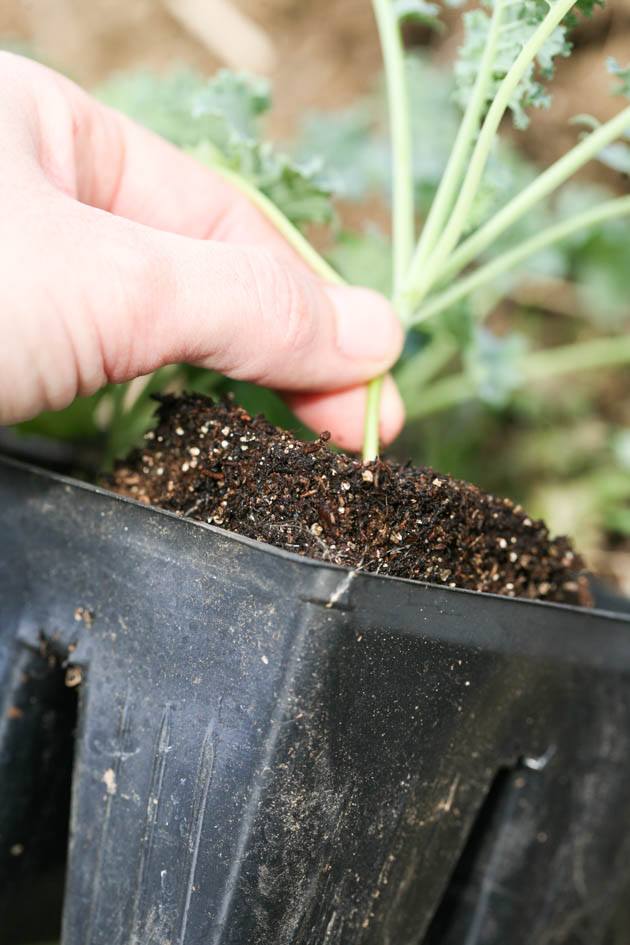
Once you’ve watered the seedlings and dug the holes, grab a seedling gently at its base (close to the soil) and remove it from the cell.
You might need to turn the cell sideways or gently wiggle the seedlings or even use a butter knife and stick it around the walls of the cell to help you remove the seedling. Whatever you do to get it out, be very gentle to not damage the seedling or the roots.

Then, gently place your seedling in the hole and cover it with soil.
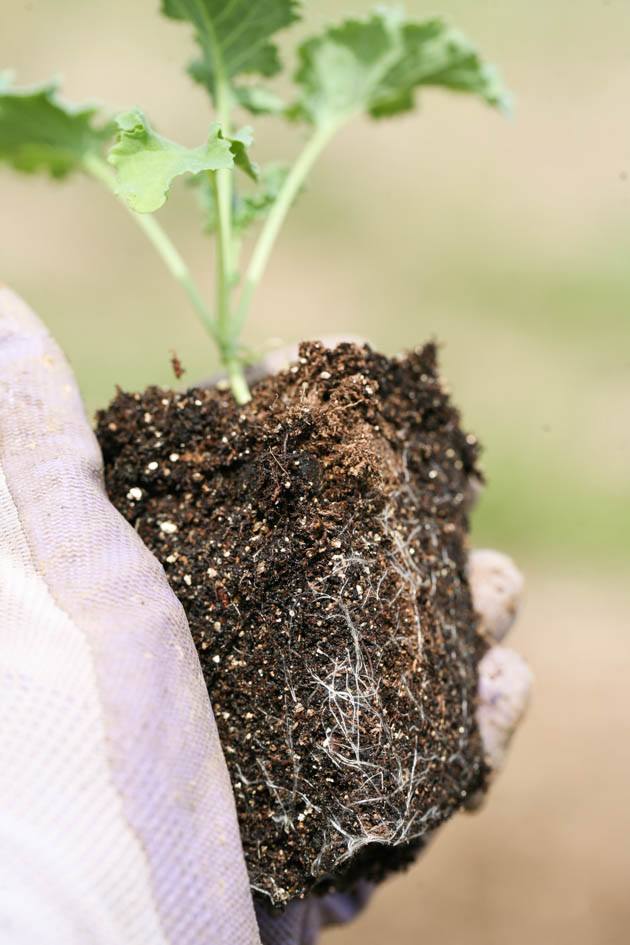
Note a couple of important things here… First, the whole clump of the seedling soil needs to be covered by your garden soil. This will give it the chance to stay moist longer.
Second, we should not leave air pockets between the clump and the hole. In order for the seedling to be firmly rooted make sure to add enough soil to cover the transplanting hole and press the soil firmly around each plant.
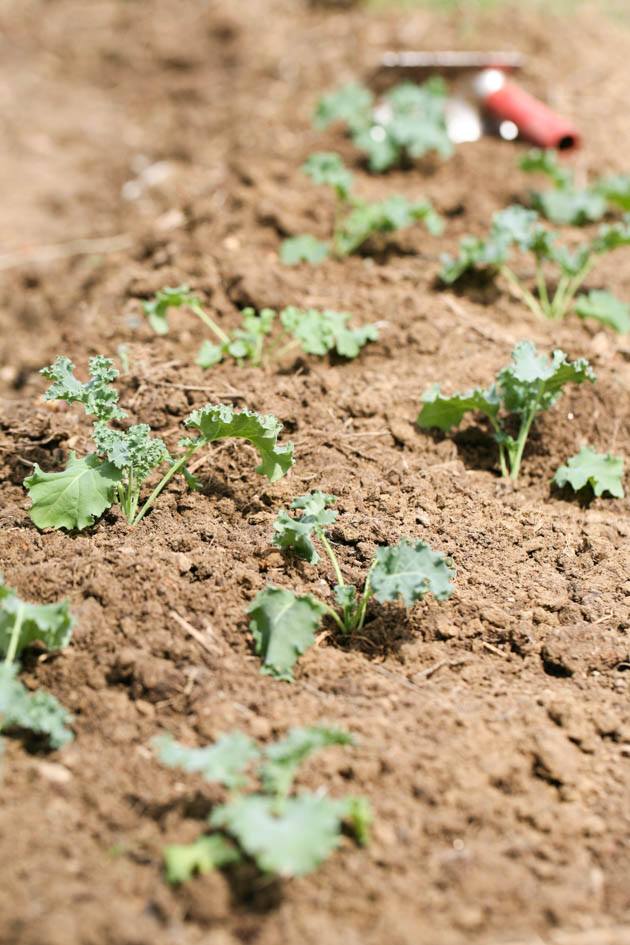
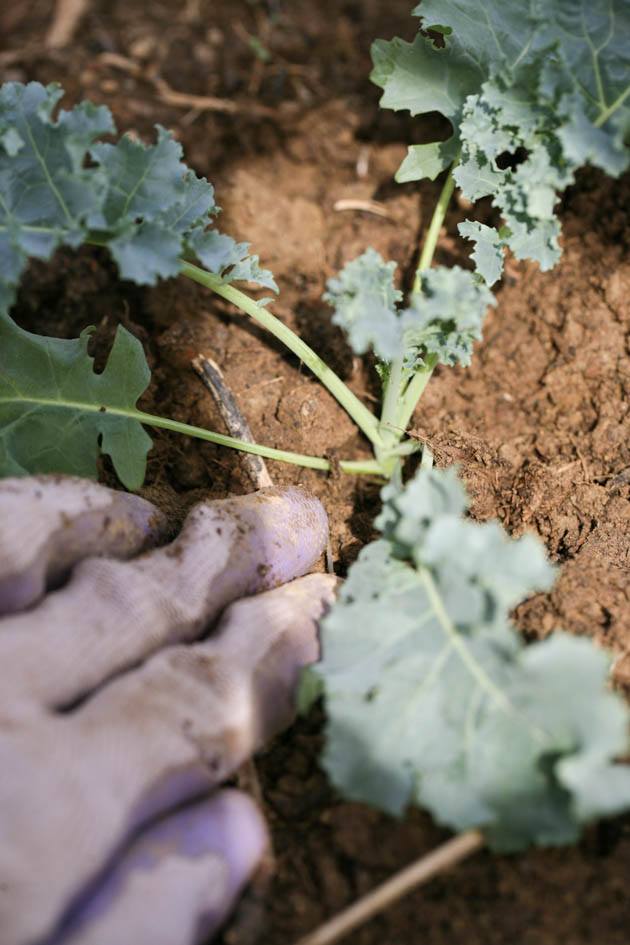
Keep working until all of your transplants are in the ground…
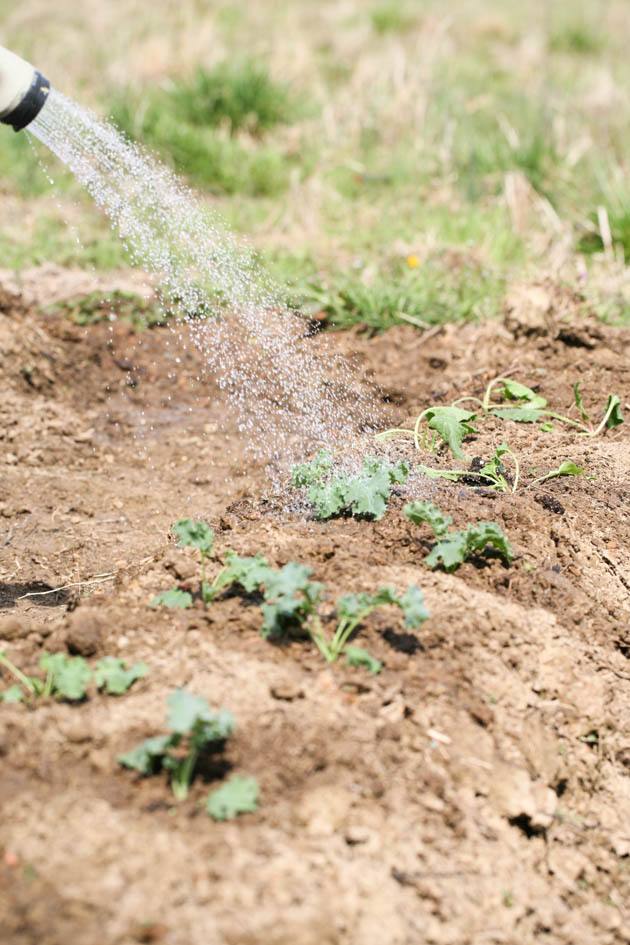
And then water them well.
Mulch Your Seedlings With Straw…
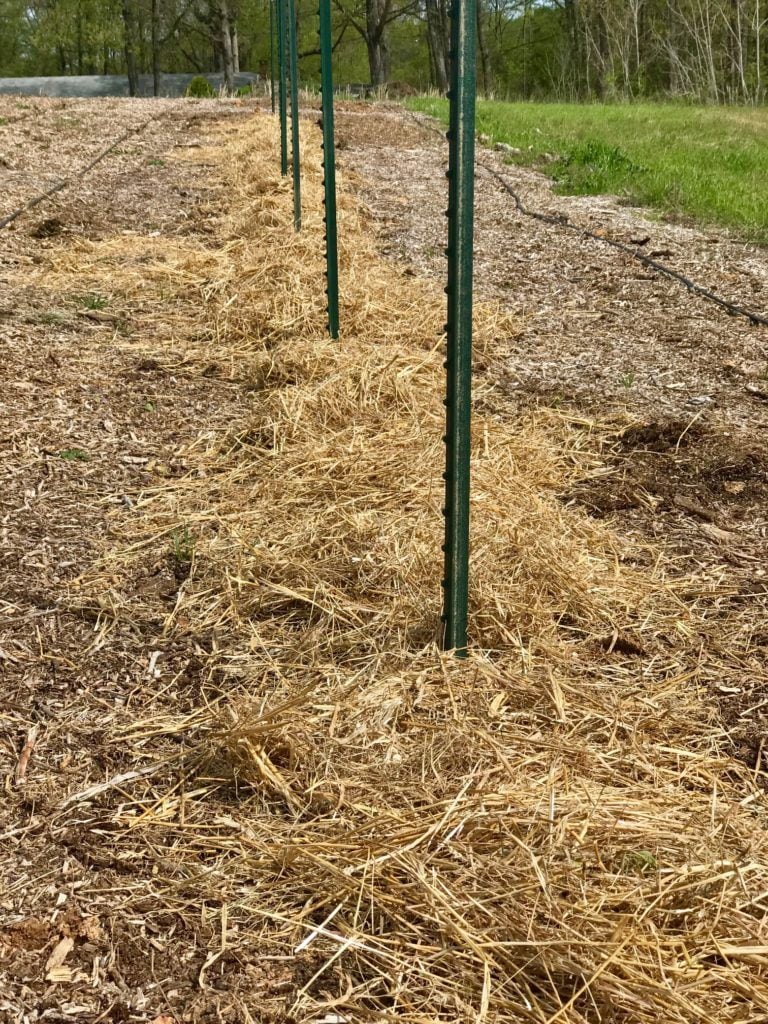
The last and very important step is to mulch your seedlings with straw.
I take some straw and lay it around each plant, then I take a little bit of straw and “sprinkle” it right over the seedlings to block some of the sun.
Another great trick is to water the straw after you lay it. It holds the water and releases it back to the soil slowly. In addition, it also keeps the temperature around the seedling a little lower.
Straw is a great insulator and it helps regulate the temperature around the seedlings. If the weather is a bit warmer than ideal, it helps even more if you wet the straw.
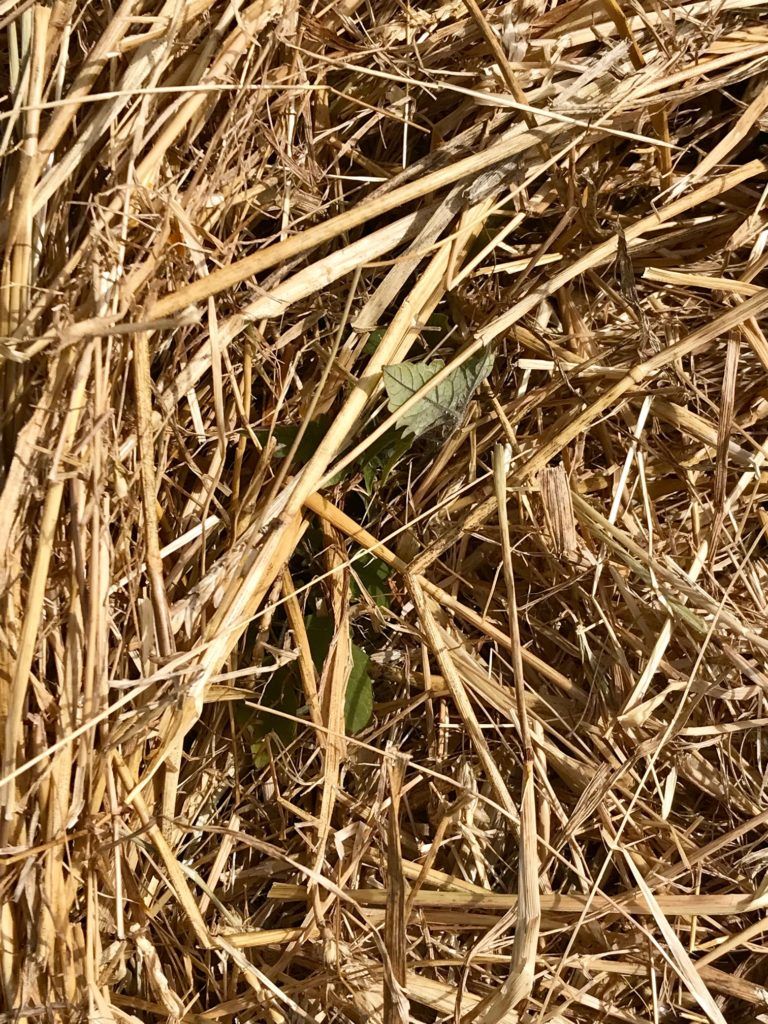
Watch Your Seedlings Closely…
Your seedlings are in the ground but it’s not time to go on vacation yet! You have to pay close attention to them in the next few days until they are completely set.
Make sure to water them well. The soil around the seedlings has to stay moist for a couple of weeks. If you covered them with a little bit of straw, you can gradually remove it as they get used to the direct sun (keep the mulch around the plants though!).
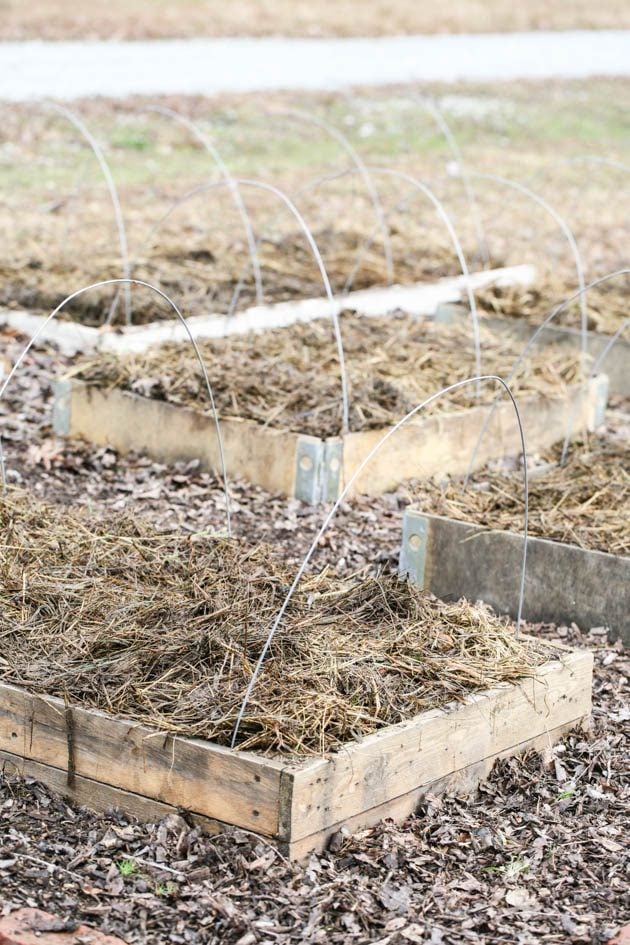
Be ready to cover your bed if temperatures go too low. I always keep a couple of sheets of row covers or agriculture fabric close to the new transplants in case there is an unexpected frost.
If the forecast calls for a cold night, I simply throw the cover on top of the transplants. Usually, the straw is good enough but it’s good to have the row covers just in case.
That’s it! I hope this post was helpful. Starting your own seeds, hardening, transplanting… It’s a lot of work! But I honestly say that it’s completely worth it.
After a year or two of doing this, you will notice how much more control you have if you transplant instead of direct seed. How wonderful it is that you can control the spacing better and that you get to harvest sooner and more because your plants are healthier!
If you liked this gardening post, you’ll like these as well…
22 Crops to Grow in a Small Vegetable Garden
This is the best reference guide for transplanting that I’ve ever seen!! Thank U so much for sharing Ur knowledge! My seedlings are smiling & growing well! Thanks again!
Yay! You just made my day. Thanks for the feedback!