Canning stewed tomatoes is a great way to preserve the amazing flavor of summer. If you purchased the ingredients or if you grow them yourself, having home-canned stewed tomatoes on hand will open an array of culinary options that won’t disappoint you!
I don’t think that I’ve ever planted a garden that didn’t have at least 3 different varieties of tomatoes in it.
There is simply no summer garden without the garden queen; the tomato.
There is so much that can be done with tomatoes, and even though my preference is always fresh vegetables, there is magic in opening a can of homegrown tomatoes in the dead of winter and using it to make delicious tomato soup or chili or stew.
I try to make sure that I have different styles of canned tomatoes by the end of the season.
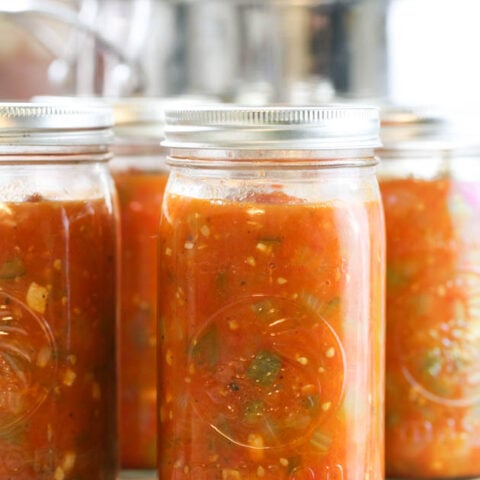
Canning Stewed Tomatoes…
I can tomato sauce and I can crushed tomatoes and cherry tomatoes. And I also can stewed tomatoes.
I love canning stewed tomatoes simply because it’s a way to use my other summer vegetables as well. When the garden is producing at full speed and you have more vegetables than you know what to do with it’s so great to be able to can a few of them at the same time.
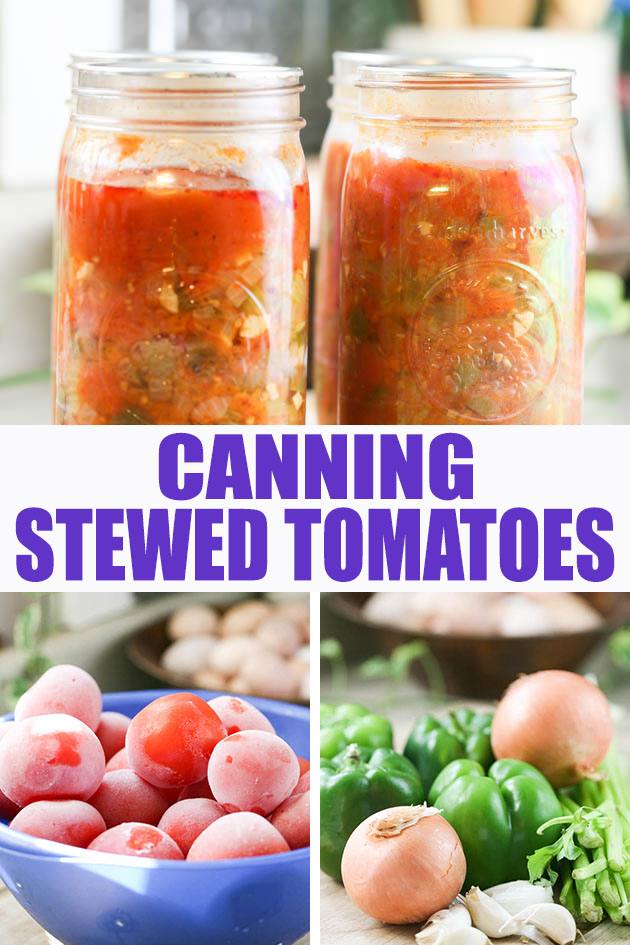
So while canning stewed tomatoes, I also get to can some of my peppers, onions, and garlic.
What Are Stewed Tomatoes?
Stewed tomatoes are simply crushed tomatoes that are cooked with other vegetables and spices.
Most of the time, they are cooked with onions and peppers but you can choose to add other vegetables.
I love adding celery and of course, garlic (because tomatoes and garlic are a match made in heaven!).
You might want to add a few different kinds of peppers, for example, jalapenos or a different kind of spicy pepper if you want your stewed tomatoes spicy or you can also choose to add carrots.
Stewed tomatoes are also seasoned. Here you can also change things up according to your taste.
You might use oregano or basil or both. You might use spicy paprika or sweet paprika. You can add chili pepper or cayenne. There are so many options.
Whatever you choose, I do suggest keeping the salt to a minimum because you can always add more later when you use your home-canned stewed tomatoes.
Do I have to Pressure Can Stewed Tomatoes?
Tomatoes are a high acid food so usually, when we can tomatoes we can simply process them in the water bath canner.
Since we add other low-acid vegetables to stewed tomatoes it is recommended that we pressure can them to prevent botulism which is a food poisoning caused by a bacteria that can grow in canned food that wasn’t safely and correctly processed.
But opinions still differ on this issue and some homesteaders will tell you that they have been canning stewed tomatoes in a water bath for years and are still alive and kicking.
Since it’s just as easy for me to use the pressure canner than it is to use a water bath, and since it makes sense to me that since we add other vegetables in we change the acidity levels, I process my home-canned stewed tomatoes in the pressure canner.
At the end of this post, I’ll briefly go over how to process stewed tomatoes in a water bath canner and it’s up to you to decide how you want to do it.
Always inspect your canned food before you use it though. If something tastes or looks funny you might want to avoid it.
What Kind of Tomatoes are Best For Canning?
Paste tomatoes have less water in them and therefore are better as canning tomatoes simply because it takes less time to cook them. They are thick and meaty.
Some of the famous paste tomato varieties are Amish Paste and Roma. If you grow your own tomatoes and plan on canning tomatoes it would be a great idea to plant some paste varieties.
However, you’re able to can any type of tomato and you can even make a mix of a few varieties. The flavor will change obviously and the cooking time might change depending on the water content of your tomatoes but you can use this tutorial to can any variety of tomatoes.
If you grow your own tomatoes, make sure to pick your tomatoes at the Green Mature Stage and let them ripen indoors. For canning, we want our tomatoes very red and ripe.
If you get your tomatoes at the farmer’s market, make sure to walk around and ask a few farmers if they have a box of tomatoes that are too ripe that they can sell you at a discounted price.
Many farmers will remove too-ripe tomatoes from their table and set them in boxes in the back of their booth. They’ll be happy to sell you tomatoes for canning but often you have to ask them if they have them since they hide them (they are not too pretty).
Tools We Need For Canning Stewed Tomatoes…
Before we start, let’s gather everything that we are going to need…
Mixing bowls – we might need a couple to hold the vegetables.
Cutting board – I love my wooden cutting board for chopping vegetables.
Chopping knife – to chop all the vegetables.
Large pot – that can hold all the ingredients when we cook the stewed tomatoes.
Wooden spoon – to stir the goodness.
Measuring spoons – to measure the seasonings.
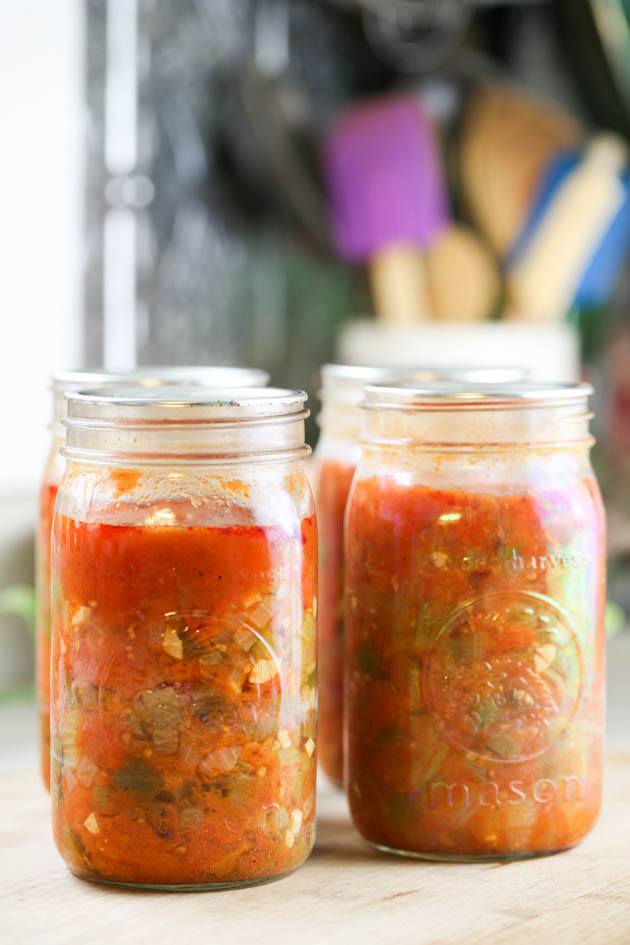
Quart jars – I love using quart jars for my canned stewed tomatoes but you can use pints as well. This recipe gave me 3 quarts and one pint (I processed them the same).
Bands and lids – to close the jars. You can reuse the bands but it’s recommended to use new lids every time to make sure that the seal is in good condition.
Pressure canner – I love my Presto. Many people also recommend the All-American pressure canner.
Water bath canner – if you choose to process your stewed tomatoes in a water bath instead of in a pressure canner.
Canning utensils – we’ll use the funnel, bubble remover, jar lifters…
Ladle – to ladle the stewed tomatoes into the jars.
Paper towel – I use a paper towel to clean the rim of the jar before I place the lid on it.
That’s it! Let’s can stewed tomatoes…
Preparing the Tomatoes…
I used to hustle during the growing season and process my tomatoes as soon as I could because they didn’t last too long after I picked them.
Since I wanted to remove the skin before processing the tomatoes, I had to boil a large pot of water, add the tomatoes to the boiling water for a couple of minutes and then remove them and add them to an ice bath before peeling (that’s what you’ll do if you don’t freeze).
Processing the tomatoes right after picking was so hard because it takes a good amount of time to handle tomatoes and when you have 7 million other things that all have to get done at the same time you end up finding yourself cooking tomatoes at 12 AM.
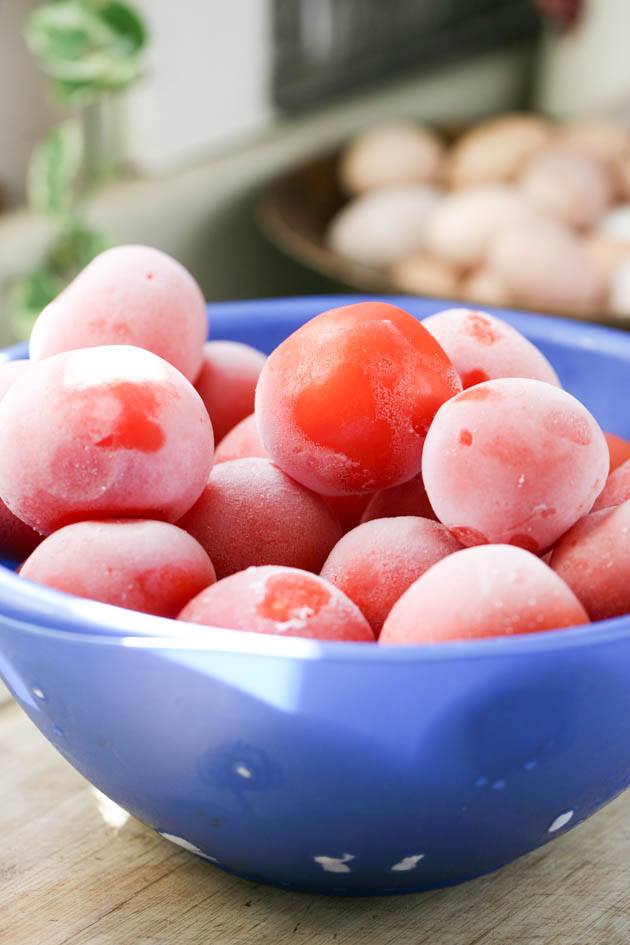
No more! Now I simply pick my tomatoes, let them ripen on the kitchen counter or in a crate on the kitchen floor and when they are ready, if we don’t eat them fresh, I throw them in the freezer in a plastic bag.
When I am ready to process them I remove as many as I want from the freezer and let them thaw for 30 minutes or so…
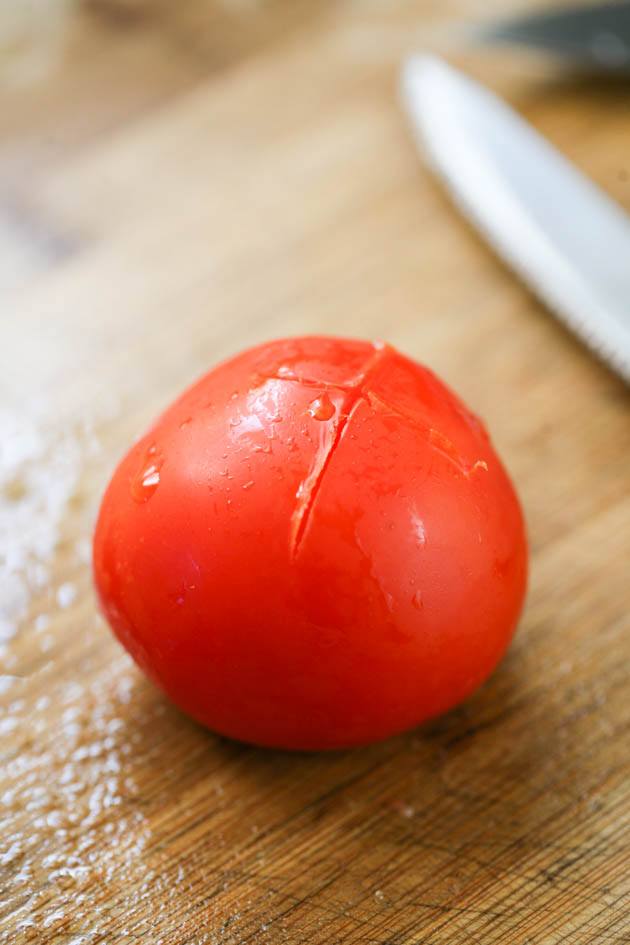
When they are just starting to thaw (you can hurry the thawing by washing the tomatoes with warm water for a minute or two), I cut an x at the bottom of each tomato…
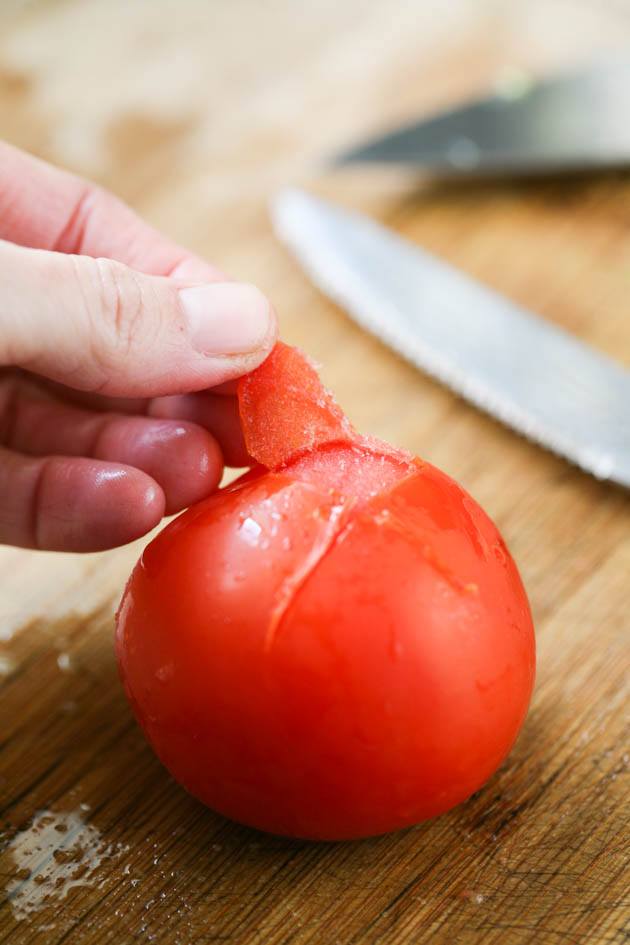
And peel. The skin comes right off. It’s a much easier way to peel tomatoes in my opinion!
Seriously, for a homesteader, being able to can garden tomatoes in December AND not need to boil a large pot of water and set an ice bath and so on is like winning the lottery.
You can get all the information about freezing tomatoes here.
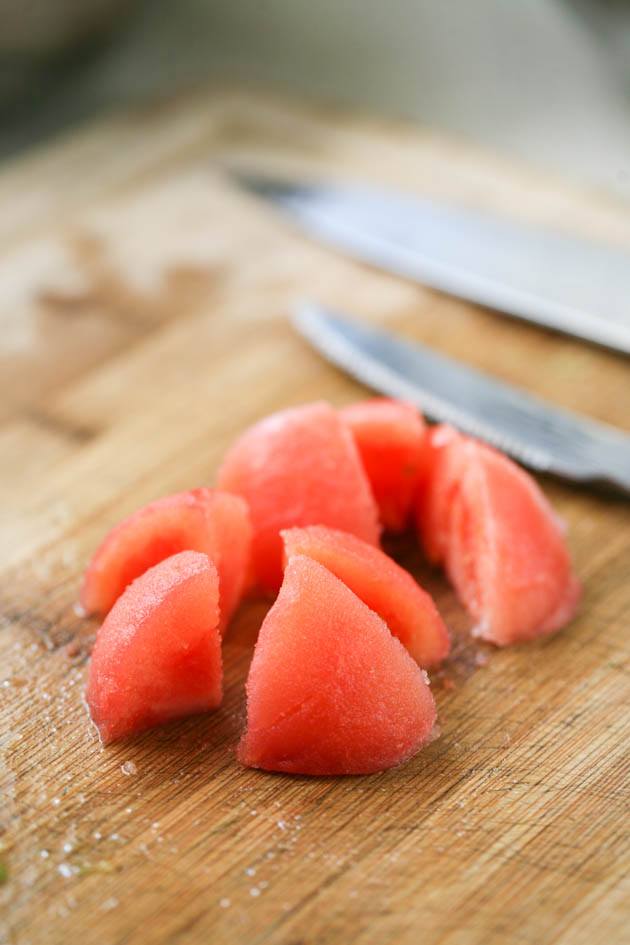
Once my tomato is peeled, I cut it into large chunks (8)…
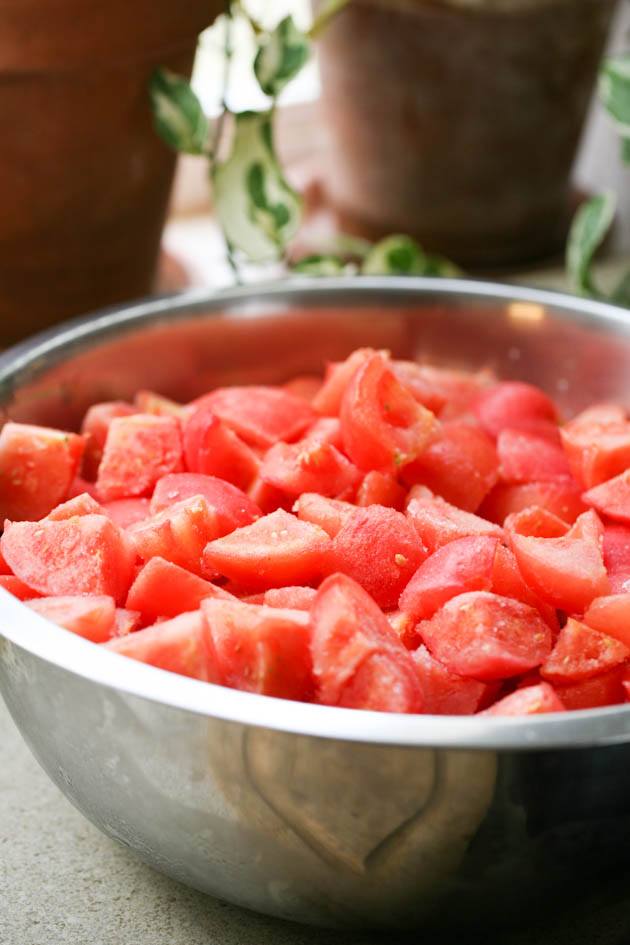
I add the tomato into a large bowl and go on to the next one until all of my tomatoes are peeled and cut.
I have to say that it’s not mandatory to peel the tomatoes (which means that you can use tiny tomatoes too like Matt’s Wild for example). If you don’t mind the skin you can leave it on but take into consideration that it doesn’t break down much during cooking.
In this recipe I used 28 medium/large tomatoes (8 lb), the final result was 3 quarts and one pint of canned stewed tomatoes.
Preparing the Rest of the Vegetables…
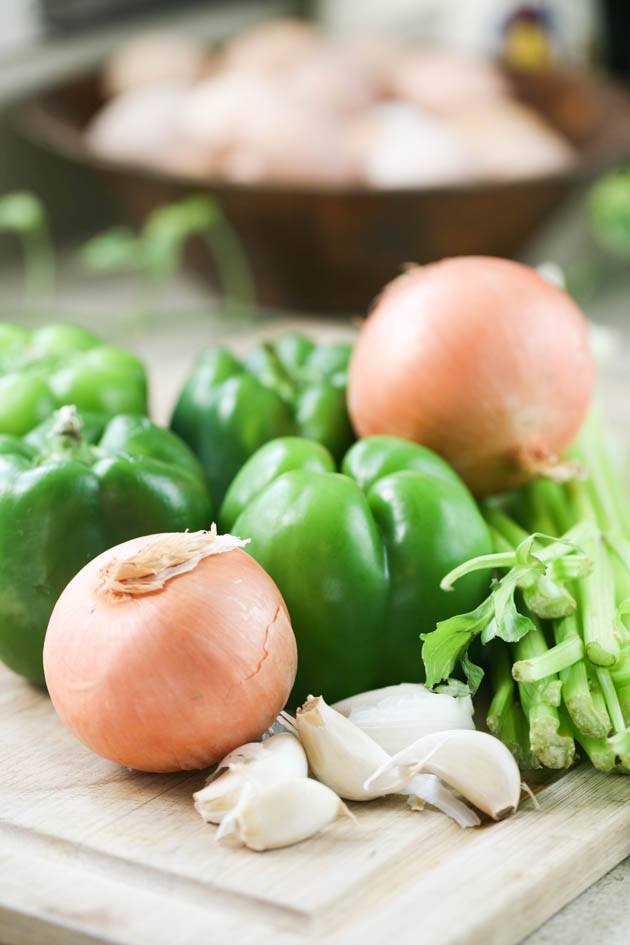
I set the bowl of tomatoes aside and get to work on the rest of the vegetables.
As I said before, you can change things up here and decide what other vegetables you want to use.
I used 8 stalks of celery, 2 medium/large onions, 4 green bell peppers, and 6 cloves of garlic.
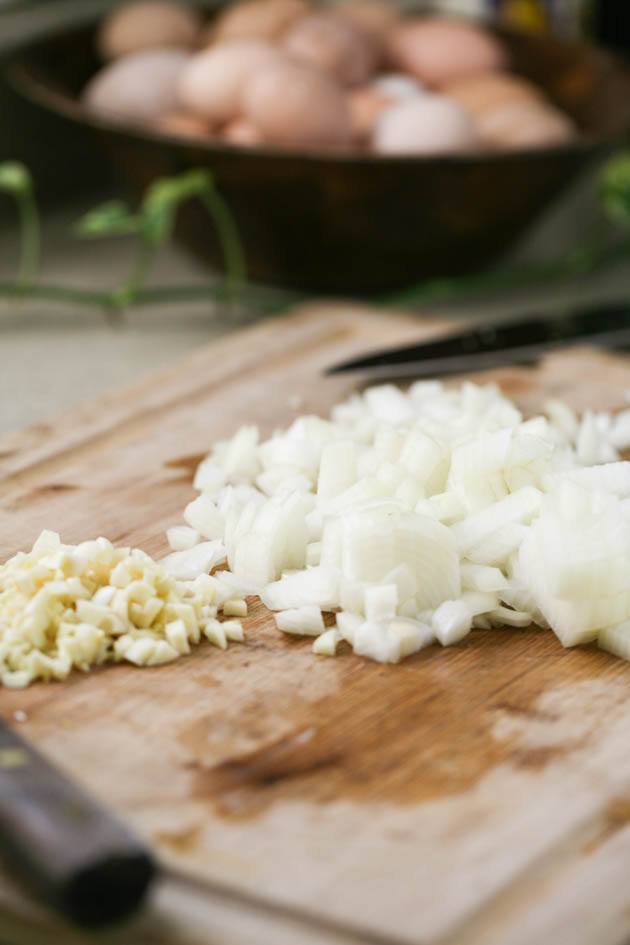
I started by peeling and dicing the garlic and the onions…
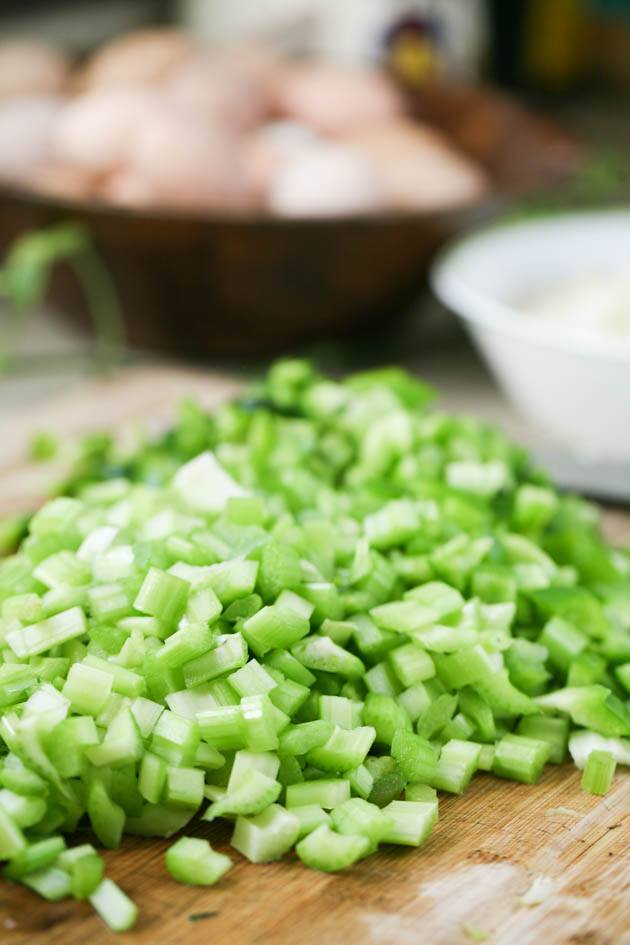
Then I diced the celery and the green peppers.
Homemade Stewed Tomatoes…
All right, it’s time to cook the vegetables!
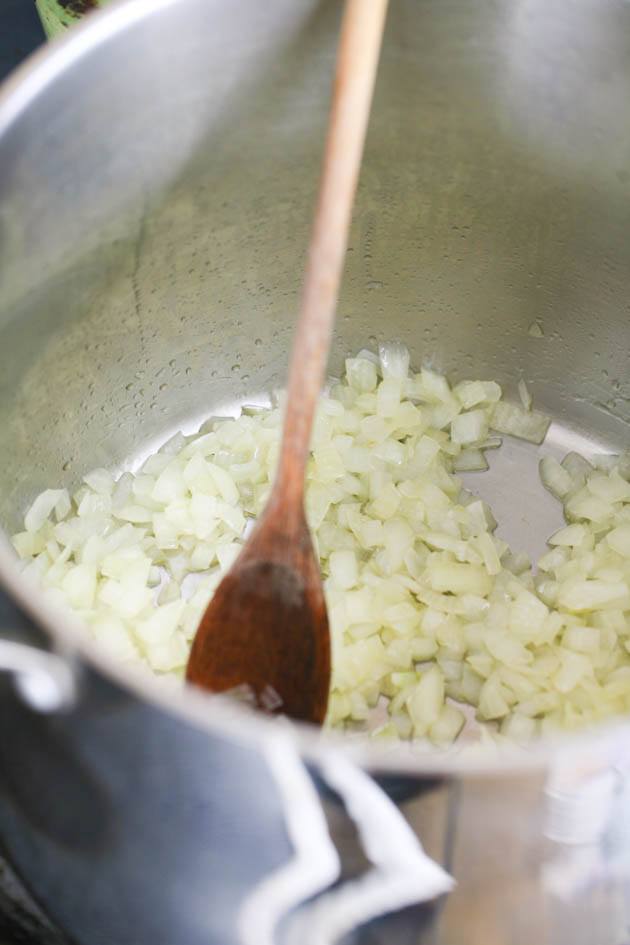
I start by adding 1/4 cup of olive oil to the large pot and I turn the heat to high. Once the oil is hot, I add the diced onions and turn the heat down to medium/high.
I use my wooden spoon to stir the onion so it doesn’t burn. You can fry it until it’s clear or you can go a couple of minutes extra until it starts to caramelized and brown. It’s up to you.
Once my onions are ready, I add the diced garlic and stir and cook for a couple of minutes until it’s fragrant.
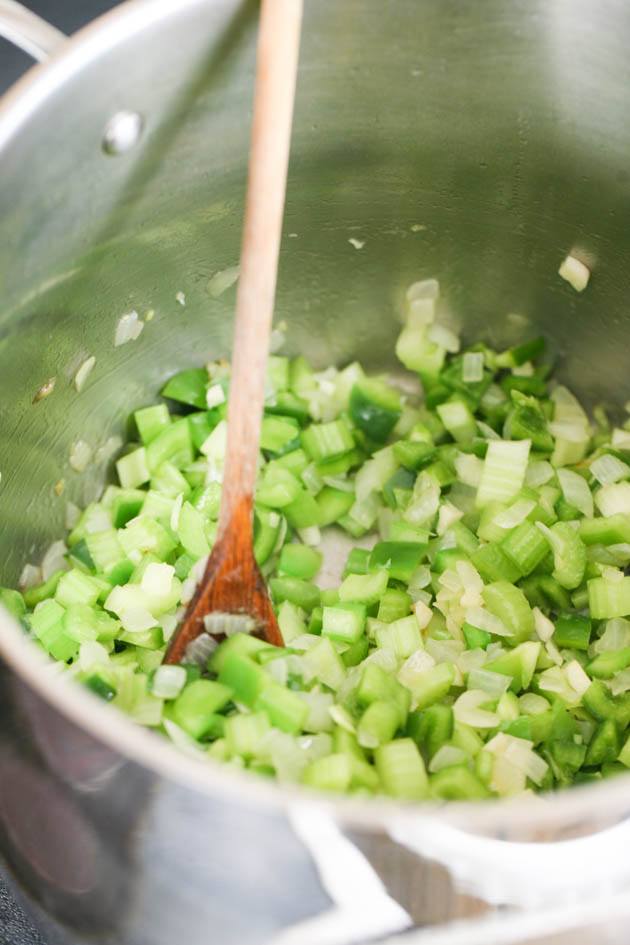
Next, I add the celery and peppers and stir and cook for an additional 5 minutes or so.
While the vegetables cook, I add my seasonings (it’s easier to do this before all the tomatoes go in)…
I add 2 teaspoons of salt, I teaspoon of paprika, 1 teaspoon of dry oregano, and 1 teaspoon of black pepper and stir that in.
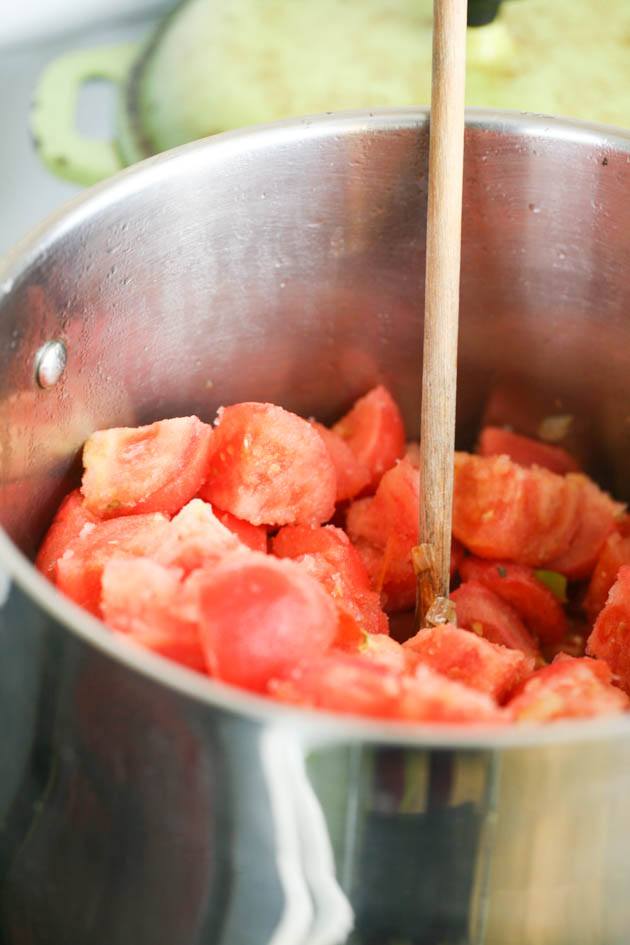
Then, I add all of my tomatoes. They are going to cook down considerably but for now, there is so much of them and mine were frozen so it was important to try and stir this even though it was a bit of a challenge to make sure that the other vegetables at the bottom don’t burn.
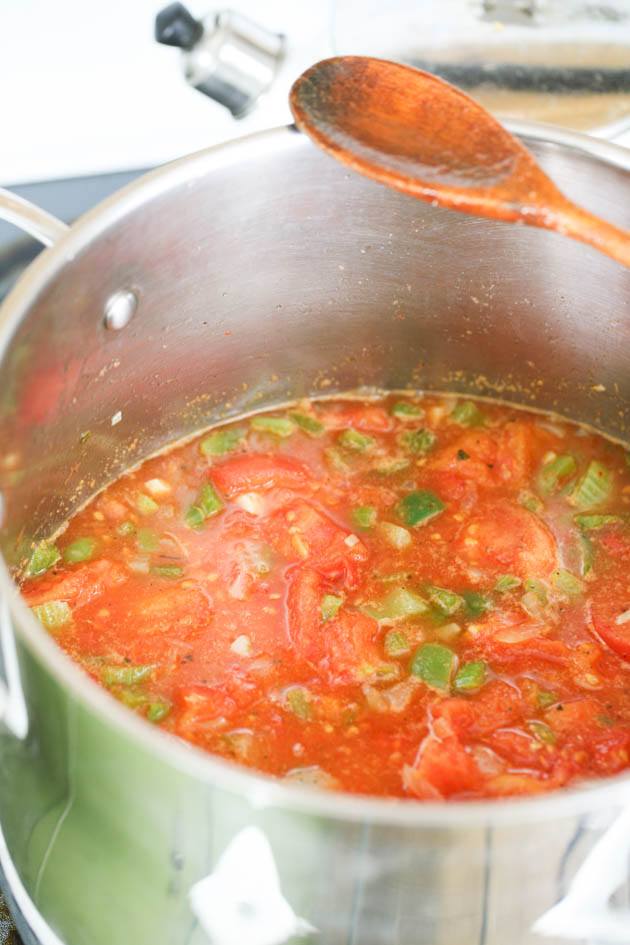
Now it’s just a matter of cooking and stirring these stewed tomatoes (pot stays uncovered) until they reach the desired consistency.
For me this time it took about 45 minutes. The time will change depending of the water content of your tomatoes (it’s different each time) and, of course, your desired consistency.
Once the stewed tomatoes are ready, you can taste and correct seasonings if you like but I personally don’t bother much because these stewed tomatoes are always used in a dish later on that I will season anyway.
Preparing the Jars and Canner…
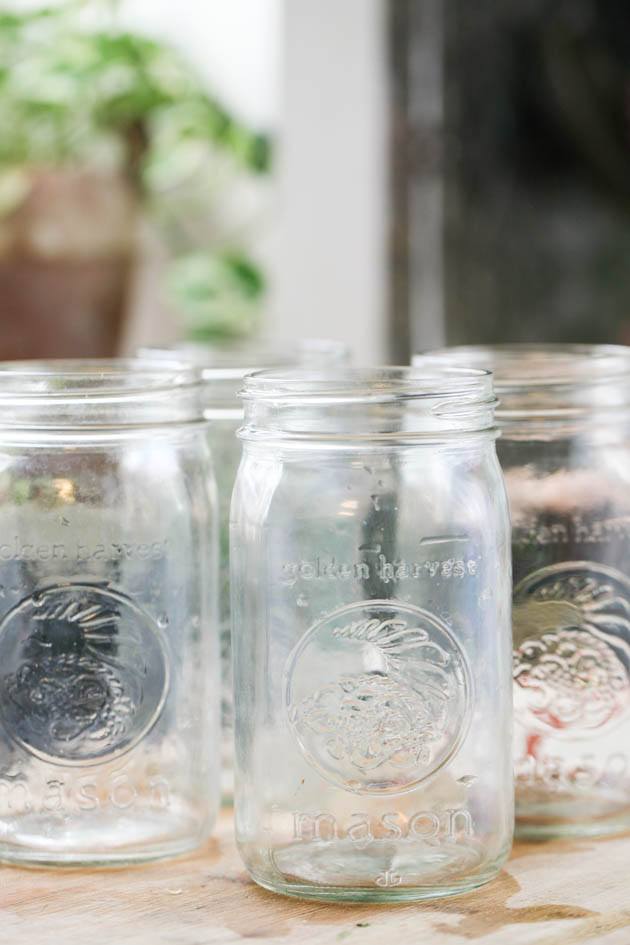
While the tomatoes are cooking, I wash my jars, lids, and bands with hot water and dish soap and set them on the counter…
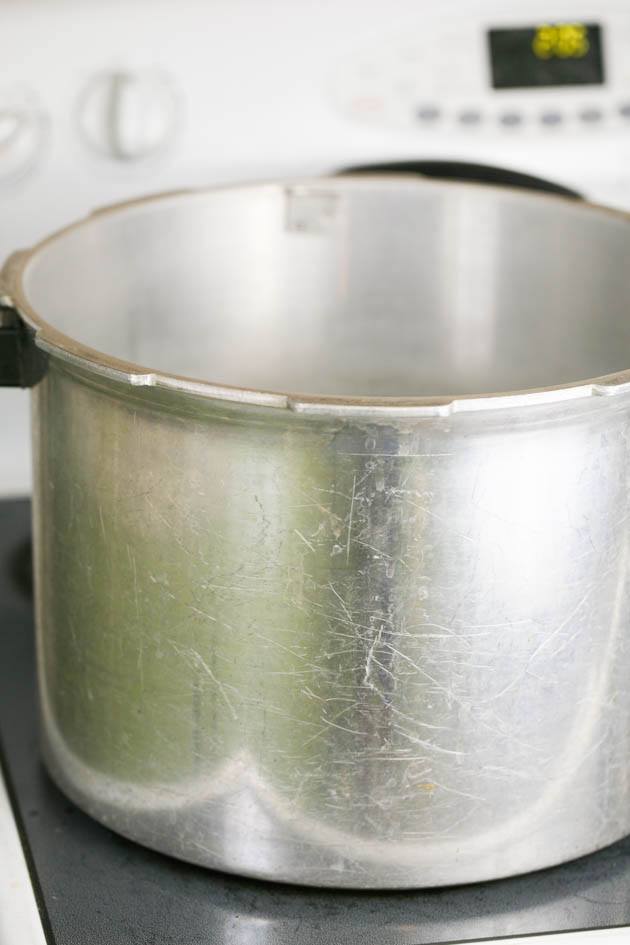
I also add 3 quarts of water to my pressure canner (the rack is left at the bottom of the canner), I turn the heat to high and bring the water to a simmer.
How to Can Stewed Tomatoes…
Once the tomatoes are ready, the jars, lids, and bands are clean, and the water in the canner is simmering, I go ahead and pack the jars.
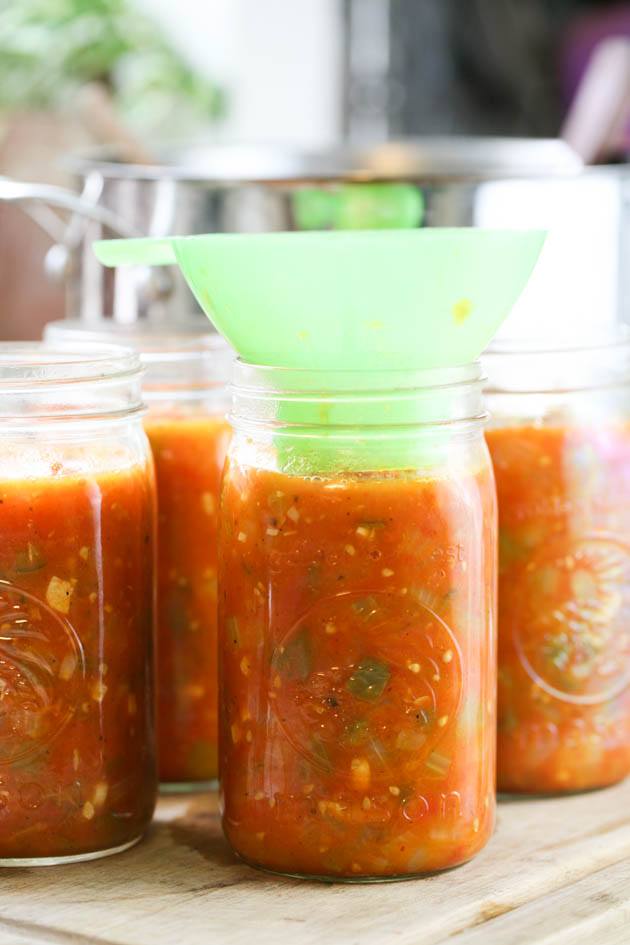
I set the canning funnel on the jar and use the ladle to scoop the stewed tomatoes and add them to the jar. I make sure to leave an inch of headspace.
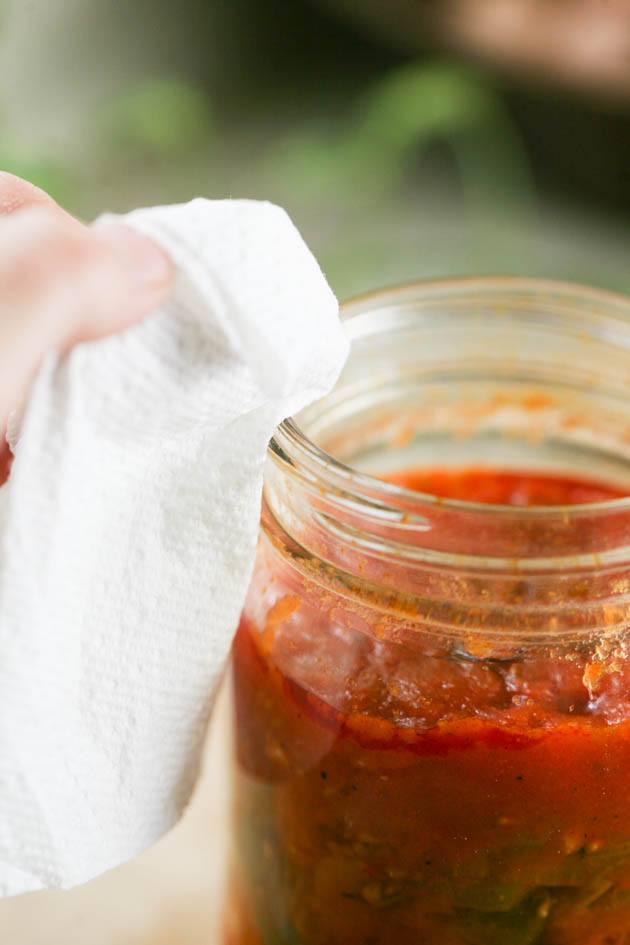
Next, I use the bubble remover to remove any air bubbles and use my clean paper towel to clean the rim of the jar (it’s important not to touch it with our fingers)…
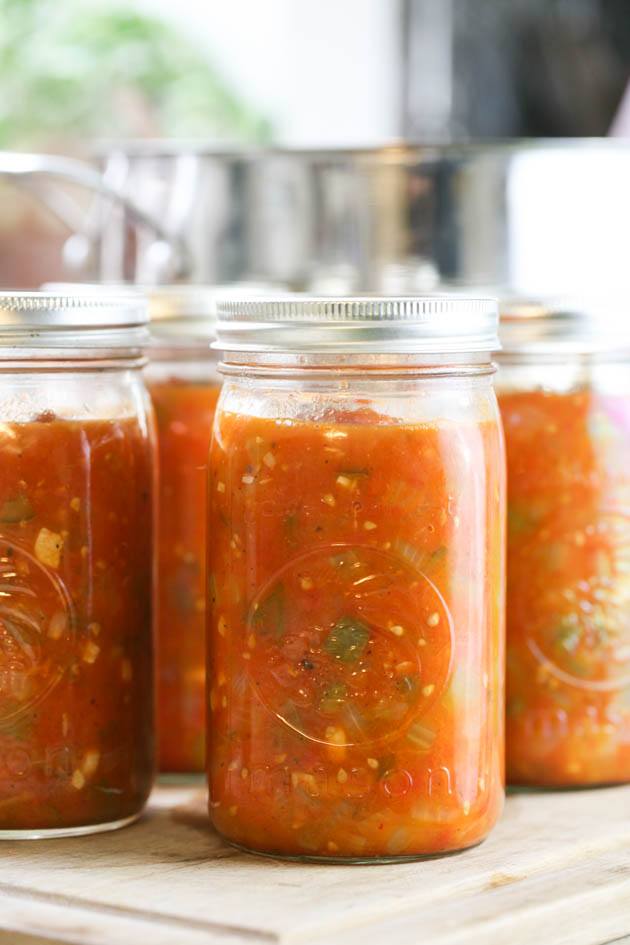
Then, I center the lid on the rim and close the jar with the band finger tight (in other words, not too tight).
Processing Stewed Tomatoes in the Pressure Canner…
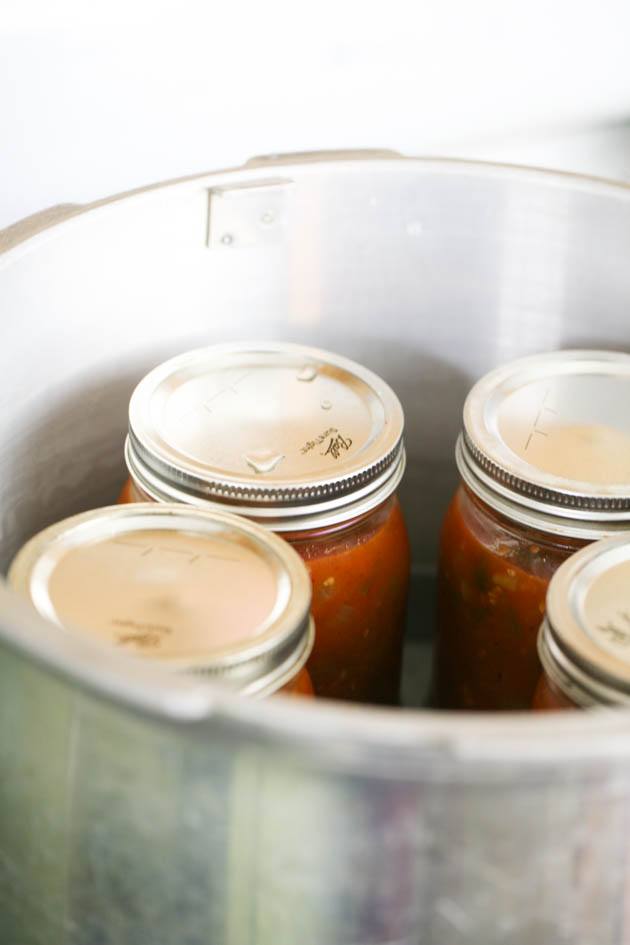
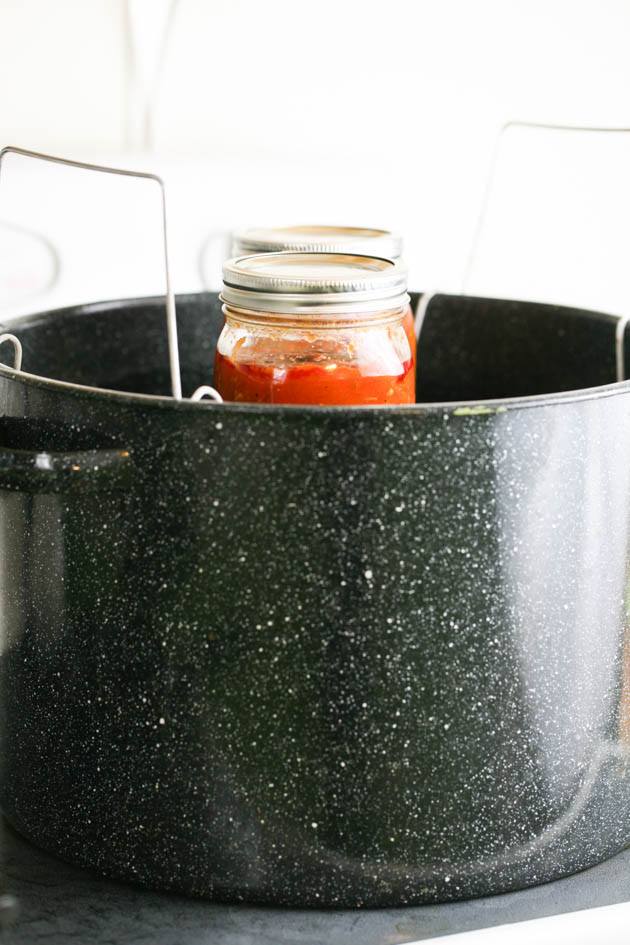
I set the jars in the pressure canner (on the rack) making sure they don’t touch each other. Then, I close the canner (weight is off the vent) and turn the heat to high.

After a few minutes, steam will start coming out of the vent. At this point, I set my timer to 10 minutes and I let the canner vent steam.
After 10 minutes, I place the weight on the vent and watch the dial.
The Presto pressure canner is a dial-gauge canner and I live in altitude lower than 1000 feet so the right pressure for me to process my stewed tomatoes is 11 psi.
Once the dial shows 11 psi, I turn the heat down just a bit to keep it at that pressure. I process my stewed tomatoes for 20 minutes (process time for quarts is 20 minutes and for pints is 15 minutes. I had 3 quarts and 1 pint in there and I processed them for 20 minutes).
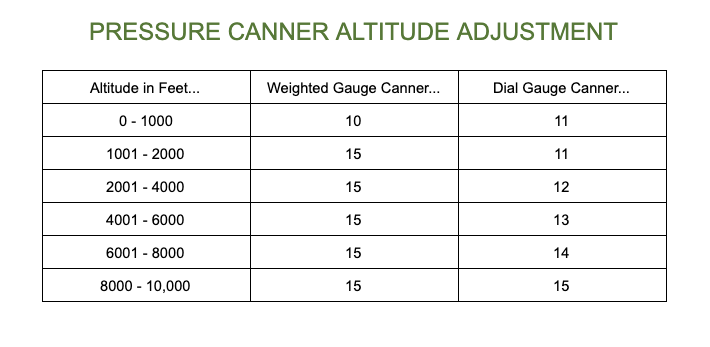
If you are using a weighted gauge canner like the All American or if you live in altitude higher than 1000 feet, the table above will guide you to the adjustments that you need to make.
When the processing time is done I turn off the heat and let the canner be. I do not try to open the canner and I do not remove the weight!
It’s important that we let the canner lose the pressure and cool gradually. Very gradually…
So I let it be and after a couple of hours, when the dial shows me that the pressure is 0, I open the canner but I do not remove the jars…
Gradually, remember?
I let the jars hang out in the warm water (with the canner open) for an additional 10 minutes or so. Then I use the jar lifter to lift the jars out of the canner and set them on the wooden cutting board or on a kitchen towel on the counter.
I do not disturb them for at least 10 hours (I usually leave them overnight)… Until they are completely cool.
Once they cooled down completely, I check that they all sealed by pressing on the center of each lid. If there is no movement there it means that the jar is sealed and ready for storage.
If I have a jar that didn’t seal I can either place it in the fridge and use it in the next few days, I can freeze it, or I can replace the lid and process it again. Usually, all the jars are sealed though.
Processing Stewed Tomatoes in A Water Bath Canner…
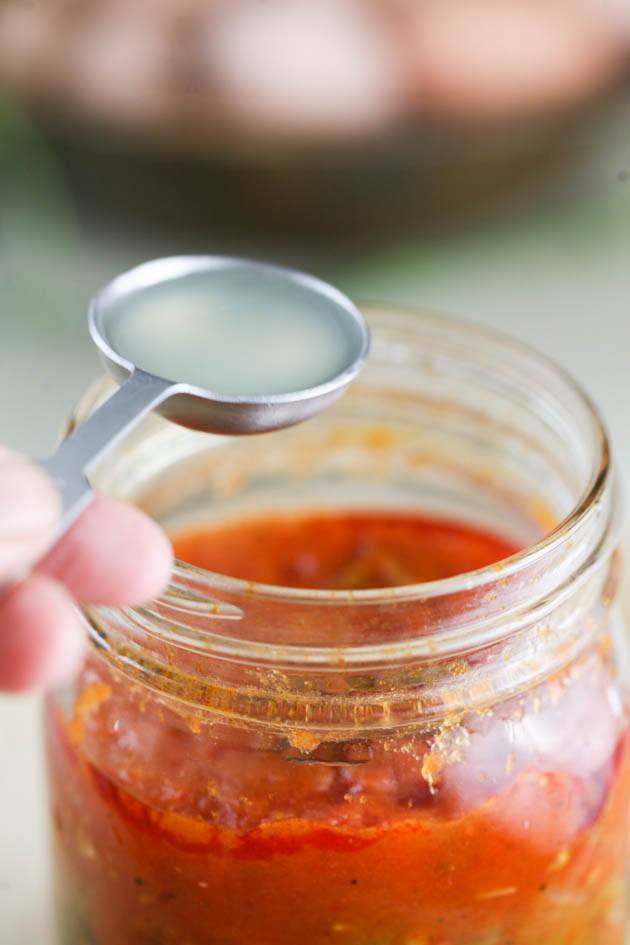
I do recommend that you process your stewed tomatoes in the pressure canner. But if you insist on doing it in the water bath canner you are going to have to make sure to add some acid.
This is easiest done by adding a tablespoon of bottled lemon juice (not fresh) to each quart jar or half a tablespoon to each pint jar before you clean the rim, center the lid and close the jar.
Bring the water in the water bath canner to a boil, place your jars on the rack and lower it into the boiling water.
Make sure that the water is covering the jars by an inch or so.

Cover the canner and process the jars for 20 minutes, then use the jar lifter to remove the jars from the water and set them on the wooden cutting boars or on a kitchen towel on the counter.
Leave them undisturbed for at least 10 hours to cool completely.
The recipe that I have below in the recipe card is for processing stewed tomatoes in the pressure canner. If you are looking for a recipe card for processing in a water bath you can find it here.
Storing Canned Stewed Tomatoes…
I always remove the band and wipe my jars before storing them.
It’s easier to monitor what’s going on inside the jar when the band is removed and I also reuse the bands when canning something else.
I don’t have a pantry so I store my canned stewed tomatoes on a shelf inside the house or in a kitchen cabinet. I use my canned stewed tomatoes within a year.
Using Canned Stewed Tomatoes…
There is so much that you can use these tomatoes for! You can add them to stews and chili. You can cook them further and let them thicken even more and make pizza sauce.
You can cook some ground beef, add stewed tomatoes and use this over rice or spaghetti.
You can use them to make a quick tomato soup… The sky is the limit! There are so many different things that you can do with stewed tomatoes.
Canned stewed tomatoes are an ingredient that I try to always have on hand. Not only does it saves me on a regular basis when I remember at the last minute that I don’t have anything prepared for dinner, it’s also a great way for me to process and preserve a few of my garden produce at the same time.
They don’t lose their fabulous summer taste, they last for months on the shelf, and there is nothing quite like using my summer harvest in the middle of winter!
If you liked this canning tutorial, check out these as well!
Canning Pickled Green Tomatoes
Canning Stewed Tomatoes
Follow these steps to make your own home-canned stewed tomatoes.
Ingredients
- 28 medium/large tomatoes (about 8 lb), peeled (see notes) and cut to 8 pieces
- 2 medium/large onions, peeled and diced
- 6 garlic cloves, peeled and diced
- 8 celery stalks diced
- 4 large green bell peppers, seeds removed and diced
- 1/4 cup olive oil
- 2 teaspoons salt
- 1 teaspoon black pepper
- 2 teaspoons paprika (sweet or spicy)
- 2 teaspoon dry oregano
Instructions
- Set a large pot on the stovetop, add 1/4 cup of olive oil, turn the heat to high.
- When the oil is hot, add the diced onions, lower the heat to medium/high and cook 5-10 minutes stirring frequently so the onions don't burn.
- Add the diced garlic and cook an additional 2 minutes until fragrant.
- Add the celery and green peppers, stir and cook for 5 minutes.
- While the vegetables are cooking, add the salt, black pepper, paprika, and oregano and stir.
- Add the tomatoes and stir.
- Cook for approximately 45 minutes (pot uncovered) or until the mixture reaches your desired thickness.
- While the tomatoes cook, wash your jars, lids, and bands with hot water and soap and set aside.
- Add 3 quarts of water to your pressure canner (leave rack at the bottom of the canner), set on the stovetop, turn the heat to high and bring to a simmer.
- When your stewed tomatoes are ready, set a canning funnel on the jar and ladle the stewed tomatoes into the jar. Make sure to leave 1'' headspace.
- Remove the funnel and use the bubble remover to remove air bubbles.
- Use a clean paper towel to clean the rim of the jar before centering the lid on it and closing the jar with the band. Do the same with the rest of the jars.
- Add the jars of stewed tomatoes to the pressure canner. Set them on the rack and make sure they don't touch each other.
- Close the canner (heat is on high). After a few minutes steam will start coming out of the vent. Set your timer to 10 minutes and let the canner vent steam.
- After 10 minutes, place the weight on the vent and watch the gauge. If you live below 1000 feet in elevation and are using a dial gauge canner like me, process your stewed tomatoes on 11 psi. Once the gauge shows 11 psi, lower the heat a little bit to keep it there. Process for 20 minutes.
** If you are using a weighted gauge canner or live in elevations higher than 1000 feet make sure to check the post for the adjustments that you'll have to make. - When the processing time is done, turn the heat off and let the canner be for a couple hours. Do not try to open it.
- When the canner is cooled completely, open the lid but do not remove the jars. Let them stay in the hot water for about 10 minutes (we want temperature changes to be very gradual).
- After 10 minutes, use the jar lifter to lift the jars out of the canner. Set them on a wooden cutting board or on a kitchen towel on the counter. Let them cool completely undisturbed for 10-12 hours.
- Once the jars are completely cool, check that they all sealed by pressing the center of the lid. If there is no movement there your jars are sealed (if a jar didn't seal you can store it in the fridge and use it, freeze it, or replace the lid and process it again. Usually they all seal though).
- Remove the band, wipe your jars, label them, and store them in the pantry or a kitchen cabinet for up to a year.
Notes
You don't have to peel your tomatoes. If you don't mind the skin you can leave it on but you should know that it doesn't break down during cooking very well.
To make peeling my tomatoes super easy, I freeze them before processing them. When I am ready to process them, I put them in a large mixing bowl on the counter and let them thaw for 30 minutes or so (you can hurry the thawing along by washing the tomatoes in warm water).
Then I cut an x at the bottom of each tomato and the skin comes right off.
If you don't want to freeze your tomatoes, you'll have to bring a large pot of water to a boil and close to it set a large bowl with water and ice.
Add a few tomatoes at a time to the boiling water, let the tomatoes hang in the boiling water for 2-3 minutes and then remove them right into the ice bath.
Then, cut an x at the bottom of each tomato and remove the skin.
Nutrition Information:
Yield: 14 Serving Size: 1 cupAmount Per Serving: Calories: 101Total Fat: 5gSaturated Fat: 1gTrans Fat: 0gUnsaturated Fat: 4gCholesterol: 0mgSodium: 336mgCarbohydrates: 15gFiber: 4gSugar: 9gProtein: 3g

Hi! I’m Lady Lee. I help homesteaders simplify their homesteading journey while still producing a ton of food! I am a single mother of four, I was born in Israel and raised in an agricultural commune called a Kibbutz. Now I homestead in central NC.
Wonderful post
Nice post. Thanks for sharing this post
Nice post
I noticed that you don’t use any citric acid in your canbed stewed tomatoes. Is this all right with stewed tomatoes? When canning plain tomatoes it says you have to use citric acid or lemon juice. I’m just wondering.
When you can just tomatoes, you add the acid to make sure they are acidic enough to process in a water bath canner. Since there are other vegetables added in stewed tomatoes the whole thing is not going to be acidic enough anyway and you are going to have to pressure can the stewed tomatoes anyway so there is no reason to add acid.
So the difference is really water bath canning vs. pressure canning.
Thank you for putting the waterbath directions on too. I haven’t used my pressure canner for a while and after the first batch was done I discovered I couldn’t get the lid off. So the rest of the stewed tomatoes will be waterbathed. I never thought about not having the strength to get the lid off!
Was it stuck somehow? Did you let the canner cool completely? It’s supposed to open after it had time to cool.
Anyway, I’ve heard many people say that they water bathed stewed tomatoes and they came out just fine. So definitely try that.
I can not find the water bath directions but want to use this recipe
I do recommend that you process stewed tomatoes in the pressure canner, however, the instructions to process in the water bath canner are in the post towards the end under the title “processing stewed tomatoes in the water bath canner”.
hello, I grew herbs in the garden to put in my tomatoes that I pressure can. what is your opinion of using fresh herbs in the jars? mine are rosemary, basil, golden oregano, sage and cilantro.
As long as you pressure can it you can use anything. These herbs are very strong so don’t use too much.
Fabulous article! Very well presented , articulate ,straight to the point , greta side comments and tips , excellent photos as well! Thanks very much ,I am glad I found your site during a search on how to can stewed totmatoes. I live in Northern Ontario Canada by the way. I will bookmark your site and recommend you t others. Well done! Al the best, Bob
Thank you so much for the feedback! I really appreciate it. And I’m so happy that this was helpful to you.