Honey Strawberry Jam Recipe
This post may contain affiliate links, view our disclosure policy for details.
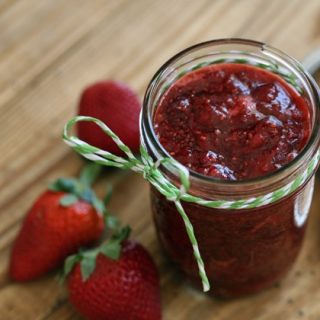
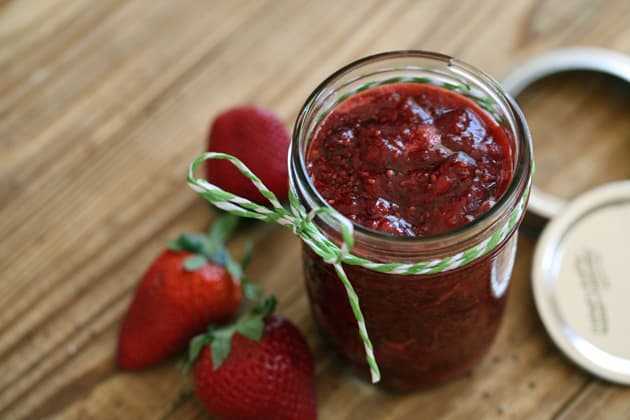
This honey strawberry jam is simple to make! We’ll use just a little bit of honey to sweeten it and chia seeds to help it gel, no store-bought pectin. It’s delicious and a great substitute for traditional jam.
If you’ve been hanging around here for a while, you know that I love making jams. It’s my favorite way of preserving fruit! All of my jams are low in sugar. I never use the traditional one-part fruit to one-part sugar ratio, it’s way too sweet for me.
I usually cut my sugar in half and use a ratio of one-part fruit to one-half part sugar. This is plenty sweet enough and these jams also last just as long on the shelf after canning. However, for a while, I wanted to try and make a honey jam. Jam that is sweetened with just honey, no white sugar at all. I figured that I would start with strawberries and this honey strawberry jam turned out amazing!
Honey Strawberry Jam Recipe…
Since I was going to make jam without white sugar which means that I can’t use pectin from the store, I decided to add some chia seeds to the mix as well. They add a crunch and are very healthy for us. They also gel, therefore, help the jam thicken.
Ingredients…
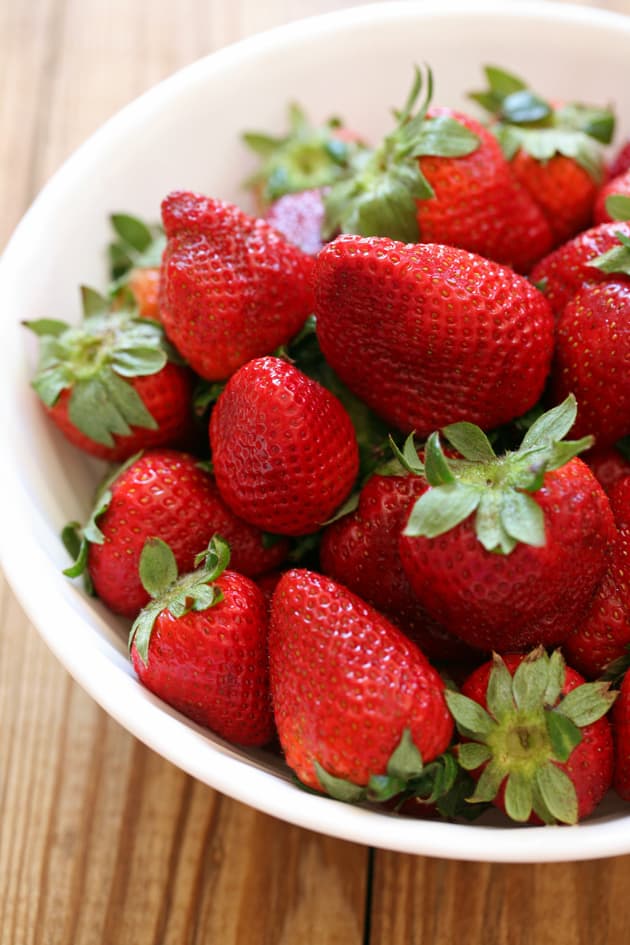
- Strawberries – make sure to start with ripe fruit (freshly picked local strawberries are best). Since we’re going to use just a little bit of honey, it’s important that the fruit is ripe since that’s when it’s at its peak of sweetness (a side note here… You can follow this recipe with any other fruit it doesn’t have to be strawberries!). This recipe uses 2 pounds of strawberries.
- Honey – we’ll use 1/2 cup of honey in this recipe.
- Fresh lemon juice – we’ll use 1 teaspoon of fresh lemon juice to add a bit of acidity (and it also is rich in natural pectin).
- Chia seeds – we’ll use 3 tablespoons of chia seeds to add a fun texture to the jam and to help it gel.
Kitchen Tools…
- Cutting board, a strawberry huller, and a knife – to prepare the strawberries.
- Deep pan – or pot with a heavy bottom to cook the jam in.
- Spatula – for stirring and a potato masher for mashing the fruit.
- Half-pint jars – you can keep this honey strawberry jam in the fridge if you’d like but you can also can it. If you choose to can it, I think that half-pint jars work best. You’ll also need…
- Canning utensils – we’ll use the funnel and the bubble remover. Also, make sure that you have a ladle or a large spoon to help you fill the jars and a damp paper towel to clean the rim of the jar before closing it.
- Water bath canner – to process those jars we are going to need the good old water bath canner and the rack that it comes with.
How to Make Honey Strawberry Jam Step By Step…
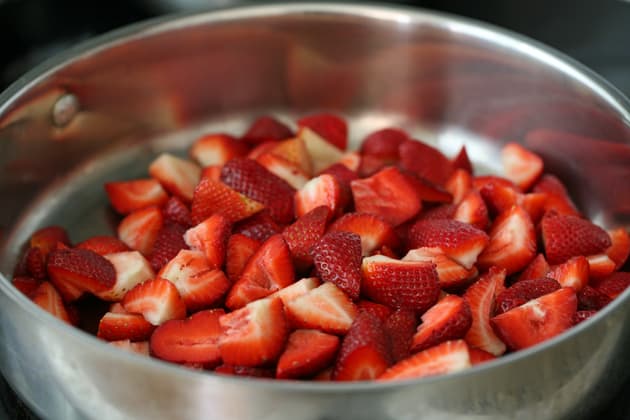
Step 1 – prep the strawberries. Make sure to wash the strawberries well. Then hull them and cut each strawberry into a few pieces. Add the strawberries to a deep pan…
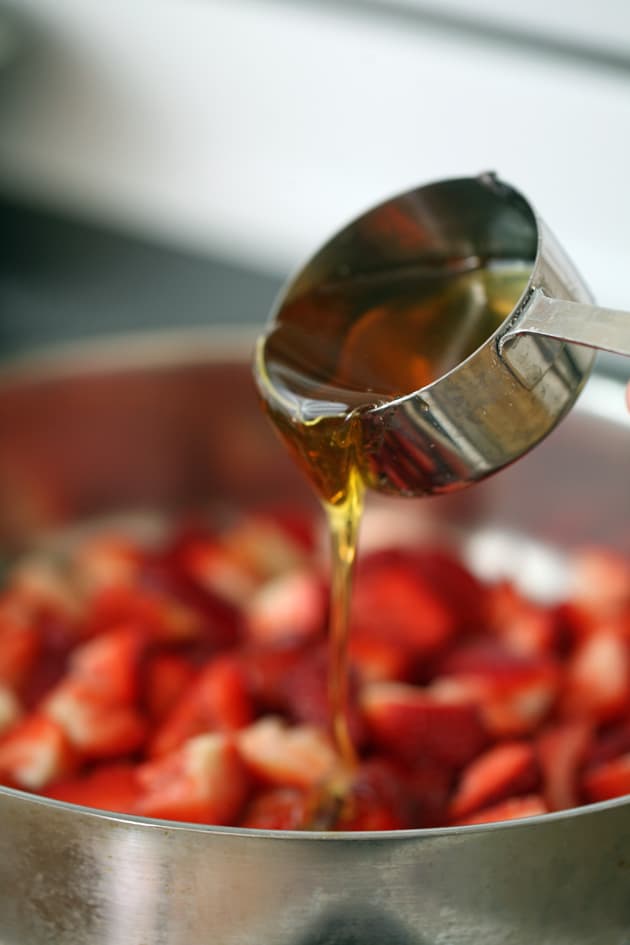
And add 1/2 cup of honey.
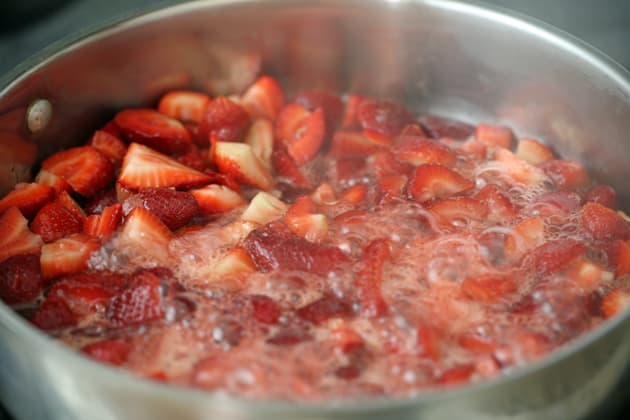
Step 2 – bring the fruit to a boil. Set the pan on the stovetop and turn the heat to medium-high. Stir the fruit frequently so it doesn’t burn and wait for it to come to a boil, this should take a few minutes. Turn the heat down just a little bit and boil for five minutes. Lower the heat to medium-low and keep cooking for another 20 minutes.
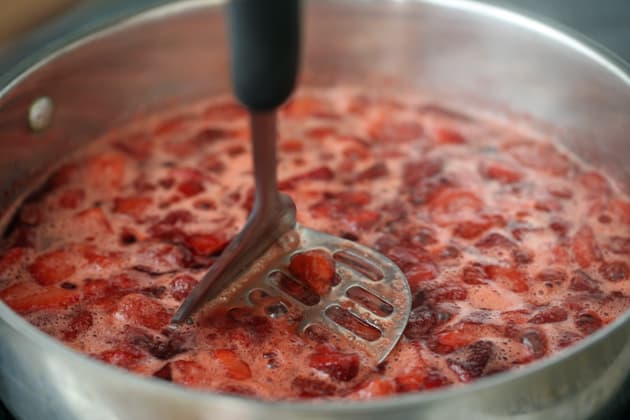
Step 3 – mash and add lemon juice. At this point, the strawberries are soft. Go ahead and use the potato masher to mash them…
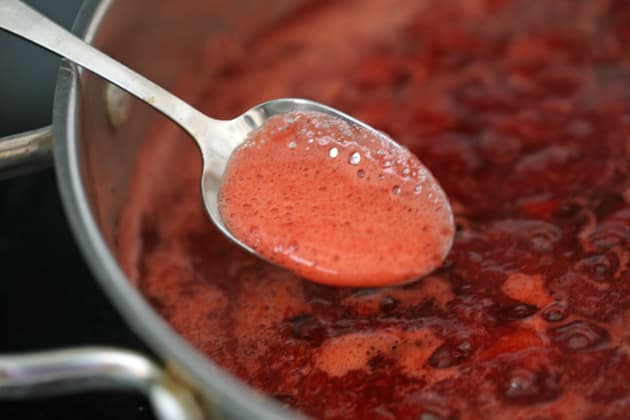
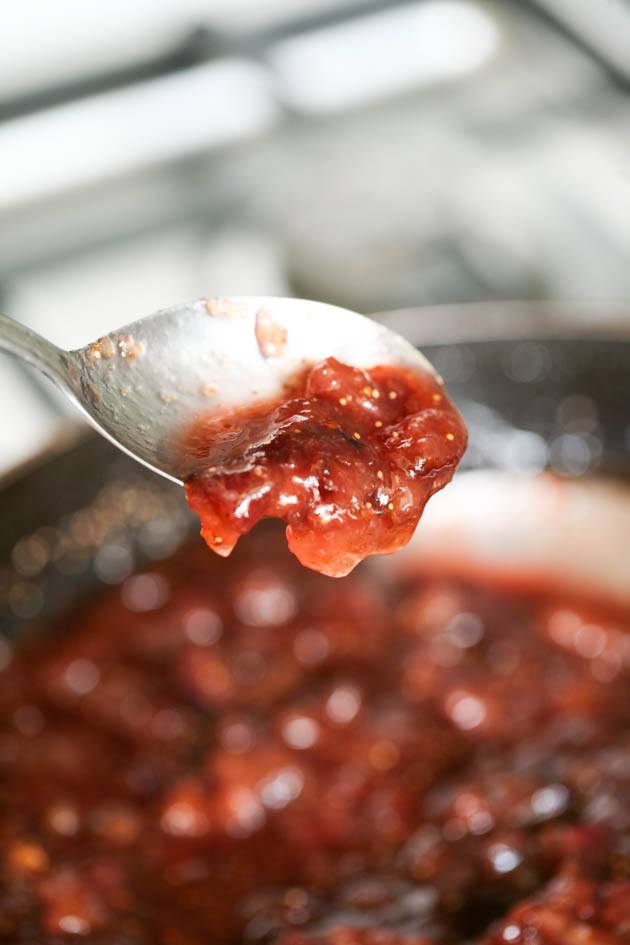
Keep cooking for an additional 10 minutes or so. You might notice some foam forming on top of the jam. This usually happens when cooking strawberries. You can stir it in (it usually disappears by the time that the jam is ready) or you can fish it out with a spoon. Place the foam in a small bowl and let it cool, you can use it just as you’d use the jam, it’s delicious!
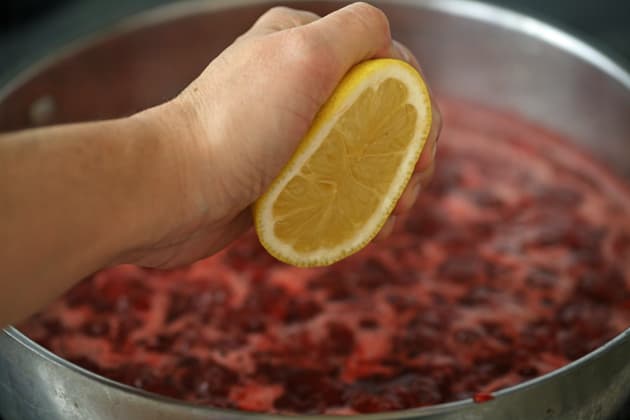
At this point, also go ahead and add the lemon juice and stir it in. Keep cooking, stirring frequently for another 10 minutes or so.
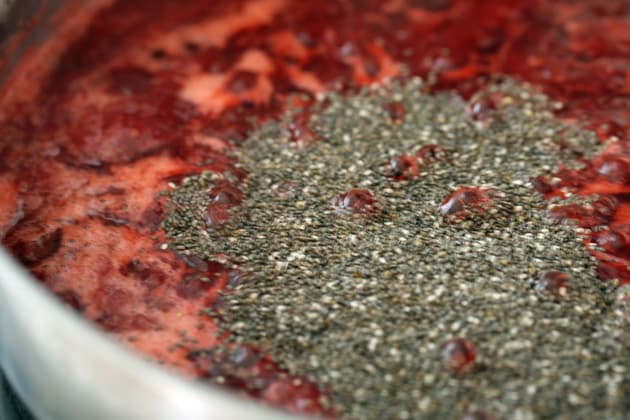
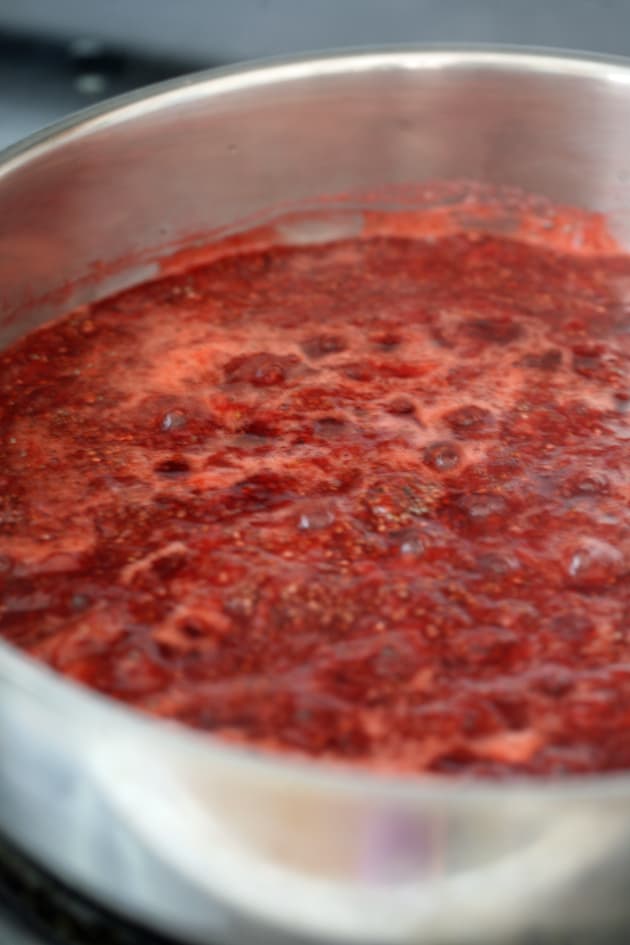
Step 4 – add chia seeds. You should notice at this point that the juices reduced and the jam is starting to thicken. Go ahead and add the chia seeds, stir them in and cook for an additional 2-3 minutes. Chia seeds gel very quickly so the jam should be ready at this point. Take into consideration that the jam is going to keep thickening in the jars as the chia seeds soak up more of the juices.
Canning Honey Strawberry Jam…
This is a small batch that makes just a couple of half-pint jars. This honey strawberry jam is delicious so it’s going to go fast! If you want to use it right away, feel free to add it to clean jars and store them in the fridge. It should last in the fridge for a few weeks.
However, you can also can this jam (and you can double or triple the recipe if you want to make a larger batch for canning). If you choose to can your jam, follow the instructions below…
- Fill the water bath canner with enough water to cover the jars by at least an inch. Set on the stovetop and turn the heat to high. Bring the water to a boil.
- Wash the jars, lids, and bands with hot water and dish soap (there is no need to sterilize the jars since we are going to process the jam for 10 minutes).
- Fill the jars with the hot jam leaving 1/2 inch of headspace. Use the bubble remover to remove air bubbles by scraping it along the inside of the jar. Use a damp paper towel to clean the rim of the jar before centering the lid and closing it with the band.
- Set the filled jars on the rack of the canner and lower them into the boiling water. Cover the canner and process the jars for 10 minutes.
- Turn the heat off and uncover the canner. Let the jars rest in the hot water for five minutes before you remove them. Set them on a kitchen towel on the counter to completely cool overnight.
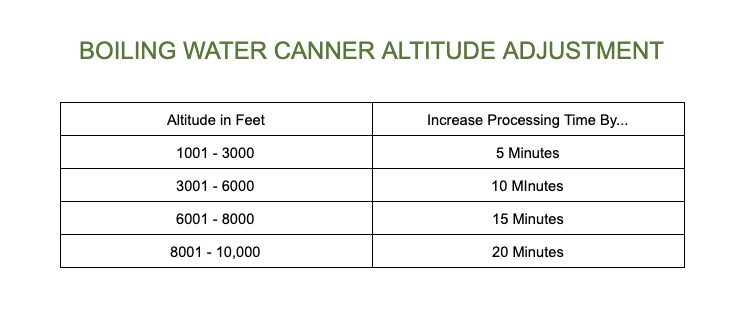
Remember to adjust processing time according to the table below if you live above 1000 feet in elevation…
Storing Honey Strawberry Jam…
Before you store the jars, check to make sure that they have all sealed properly by pressing on the center of each lid. If there is no movement there it means that the jars have sealed. If you have a jar that didn’t seal you can store it in the fridge and use it first.
I usually wipe the jars and remove the bands before storage because they sometimes rust and it’s hard to open the jars down the road. I can also reuse the bands and it’s easier for me to monitor what is happening inside of the jar if the band is not in the way. Store this jam in the pantry. It should last up to 12 months.
How to Serve This Jam…
This jam might not be as sweet as jam made with white sugar, however, you can use it the same way. Because of the chia seeds, it’s pretty thick so it can be easily used in baked goods like these delicious thumbprint cookies. We love it on toast or bagel or homemade bread with or without cream cheese.
It’s great in the classic peanut butter and jelly sandwich and it’s a great addition on top of yogurt with some homemade granola. The bottom line is, you can use it any way that you’d use regular jam.
Frequently Asked Questions…
Yes, you can double or triple this recipe. If you are a beginner jam-maker, I suggest that you don’t process more than 4 pounds of fruit at a time, things tend to get a bit more tricky when processing a large amount of fruit.
Yes, feel free to add different berries or even different fruit. Or, you can use this recipe to make jam with another kind of fruit altogether. This basic process works with all types of fruit.
Definitely! You don’t have to can it, you can store this jam in the fridge especially if you make a small batch. It’s delicious and going to go fast, so simply store it in the fridge and use it right away. Make sure to use a clean fork or spoon when scooping jam from the jar, it should last a few weeks in the fridge.
If you can this jam in the water bath canner it should last up to 12 months on the shelf at room temperature. I honestly never had it stay there that long, we usually use it within 6 months or less but reports from others say that it’s still good even after a year on the shelf. I personally make it a rule to use my canned goods within a year.
I personally consider it a sugar-free jam but many consider honey just another form of sugar. If you are a diabetic, you might need to consult your doctor to decide if honey is ok for you or if it will act like sugar in your body.
If you want to make this jam completely sugar-free, you can use one tablespoon of Splenda or another powdered sweetener like in this recipe.
I hope that you give this recipe a try! It’s very simple to put together and a basic honey jam recipe that you can use with any kind of fruit, it doesn’t have to be strawberries or just strawberries, you can add other berries or use different fruit.
Other Recipes You Might Like…
You can find all the jam recipes that I have here on the blog on my low sugar jam recipes page, but here are a few of my favorites…
- How to Make Candied Oranges and Can Them – recipe with half the amount of sugar usually used to preserve oranges.
- How to Make Mulberry Jam – special, fresh, hand-picked (in Israel!) Pakistani Mulberries turn into a delicious jam with less sugar.
- Pineapple jam – basically placing summer in a jar and canning it! It’s delicious.
- Low Sugar Fig Jam – hands down, my favorite jam of all my favorite jams! I absolutely love fig jam. Check out this simple recipe.
- Plum and Apple Jam – a relatively quick and very easy to make jam. I use plums from my tree. It’s a great way to preserve them!
- Low Sugar Mixed Berry Jam – one of our favorites! Throw in any berries you’d like and make this quick delicious jam.
- Strawberry mango jam – these two work together so well!
- Strawberry rhubarb jam – sweet and tart, I love this one.
Honey Strawberry Jam
Simple honey strawberry jam made with a little bit of honey and chia seeds.
Ingredients
- 2 lb ripe strawberries, washed, hulled, and diced
- 1/2 cup honey
- 1 teaspoon fresh lemon juice
- 3 tablespoons chia seeds
Instructions
- To a deep pan, add the strawberries and honey. Set on the stovetop, turn the heat to medium-high, and bring to a boil. Turn the heat down just a bit and boil for five minutes, stirring frequently.
- Turn the heat to medium-low for the rest of the cooking. Cook for an additional 20 minutes or so, stirring. At this point the fruit should be soft, use a potato masher to mash it.
- Add the lemon juice and stir it in. Cook for an additional 10 minutes or so. You can scoop out some of the foam or just stir it in, it usually disappears by the time that the jam is ready.
- At this point, you should notice that some of the juices have reduced and the jam is starting to thicken. Add the chia seeds and stir them in. Cook for an additional 2-3 minutes before turning the heat off.
Take into consideration that the jam will keep thickening as the chia seeds gel and soak up more of the juices. - You can keep this honey jam in the fridge, however, if you want to can it, follow these instructions... Fill the water bath canner with enough water to cover the jars by at least an inch. Set on the stovetop and turn the heat to high. Bring the water to a boil (I usually do this as the jam is cooking since it takes some time).
- Wash the jars, lids, and bands with hot water and dish soap (there is no need to sterilize the jars since we are going to process the jam for 10 minutes).
- Fill the jars with the hot jam leaving 1/2 inch of headspace. Use the bubble remover to remove air bubbles by scraping it along the inside of the jar. Use a damp paper towel to clean the rim of the jar before centering the lid and closing it with the band.
- Set the filled jars on the rack of the canner and lower them into the boiling water. Cover the canner and process the jars for 10 minutes (remember to adjust processing time according to the table in the notes if you live above 1000 feet in elevation).
- Turn the heat off and uncover the canner. Let the jars rest in the hot water for five minutes before you remove them. Set them on a kitchen towel on the counter to completely cool overnight.
- Check that the jars have sealed by pressing on the center of each lid. If there is no movement there it means that they are sealed. Wipe your jars and remove the bands before storing in the pantry for up to a year (I remove the bands because they tend to rust and it's sometimes hard to open the jar down the road. It's also easier for me to monitor what's happening inside the jar if the ring is not in the way).
Notes
Adjust processing time according to the table below if you live above 1000 feet in elevation...
Recommended Products
As an Amazon Associate and member of other affiliate programs, I earn from qualifying purchases (there is no change in product cost or charge to you! Thank you for helping me support the blog).
-
 Norpro Canning Essentials Boxed Set, 6 Piece Set
 -
 MSC International Joie Stainless Steel Strawberry Huller, 1-Pack, Red
 -
 Granite Ware Covered Preserving Canner with Rack, 12-Quart
 -
 PremiumVials 12 pcs 8 oz Mason Jars with Silver Lids for Jam, Honey, Wedding Favors, Shower Favors, Baby Foods, Canning, spices, Half Pint
Nutrition Information:
Yield: 2 Serving Size: One half-pint jarAmount Per Serving: Calories: 491Total Fat: 7gSaturated Fat: 1gTrans Fat: 0gUnsaturated Fat: 6gCholesterol: 0mgSodium: 11mgCarbohydrates: 112gFiber: 15gSugar: 92gProtein: 6g




hello I was super excited to find a recipe that I could use honey and chai seeds without pectin and I have bought everything at the store and plan to make this tomorrow after strawberry picking with my girls and their friends. But I did not read the whole recipe until now where it comes to the fact that I need a part for a canning bath. My question is, can we just pour the jam from the pot into the clean jars and put the lids on and then put them in the freezer? After they cool? Or pour the jam in the jars and let it cool, and then pop lids on and freeze them without having to do the hot bath . My idea thinks that if it’s being frozen that night or the next day then I should not have to do the 10 minute bath, correct?
i’m so happy for your healthy recipes and I’ve been finding things with honey because I am doing a Treasure Journalling series with my girls club with honey and bees and the bee-attitudes. Thanks again I look forward to your reply.
Sorry it took me so long to get back to you! Gardening season is here and things are crazy.
Anyway, yes! Of course you can freeze this jam. It doesn’t matter if you put the lid on after the jam cools in the jars or right after you pour it in. Just let it cool and then place in the freezer.
Thanks for sharing! Does it keep long?
Not as long as jam made with sugar but I kept it at room temperature for three months I think. It was gone into our bellies by then anyways.
This looks so good! What a great combination of flavors!
Yeah… Honey and strawberries work really great together!
How many jars does one batch make?
2 half-pint jars.
Great recipe! Just made some today. Do you have a similar recipe with raspberries? I like the honey and chia seeds!
Do the same exact thing just with raspberries. You can change the fruit to whatever fruit you want, the only thing that will change is the cooking time.
Could this jam be stored in the freezer?
Yes, you should be able to store it in the freezer.
Is there a reason for adding the chia seeds? Could I omit them?
I use the chia seeds to gel the jam. Instead, you can add some lemon juice and a few lemon seeds.