This post may contain affiliate links, view our disclosure policy for details.

Pickled garlic scapes are a delicious snack or side dish. They are firm, tangy, and healthy. Pickling garlic scapes is also a great way to preserve them for the long term and keep them at room temperature.
Lady Lee’s Note…
I have to admit, that to this point in my life, I don’t have a lot of experience with pickling. I think that it’s mainly because I don’t like the taste of vinegar much so when it comes to preserving I either can, freeze, dry, or ferment.
We grew a lot of hardneck garlic this year. And when you grow hardneck garlic, you also get to harvest the garlic scapes. This special crop that we can’t find in grocery stores didn’t disappoint! It’s delicious and so much fun to work with in the kitchen.
I wanted to try and prepare and serve garlic scapes in just about any way possible but I also wanted to try and preserve some of the crop for later. I kept hearing about pickling garlic scapes and decided to give it a try. I am so glad I did! These pickled scapes are tangy and delicious. They are vinegary but the taste of the vinegar is not overwhelming (I also made this amazing balsamic onion jam recently. I guess my opinion about vinegar is changing a bit…). All in all, this is a great way to serve and preserve garlic scapes!
What are Garlic Scapes?
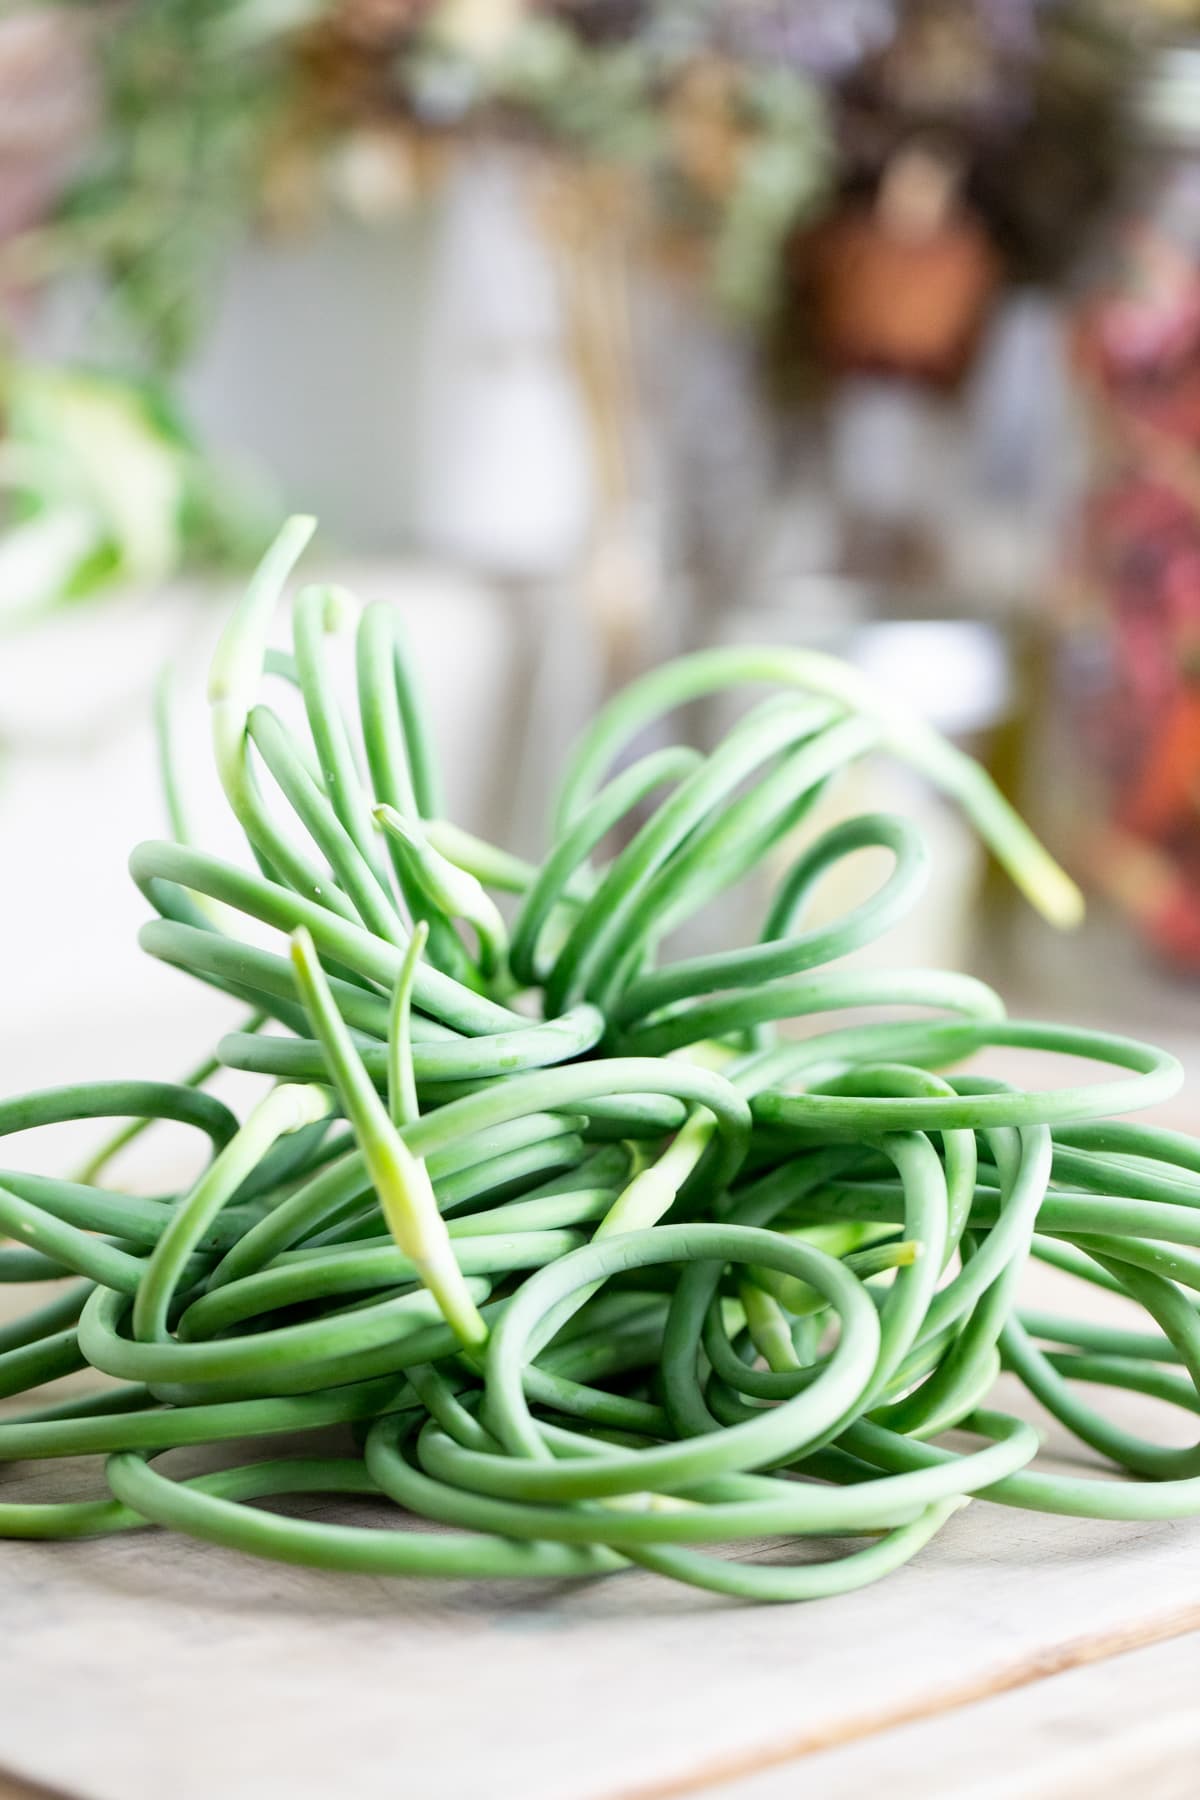
Garlic scapes are the developing flower bud of the garlic plant. Think about them as somewhere between asparagus, scallions, or chives. They are green and thin, and have a gentle garlic flavor to them. They start growing out of the garlic plant straight, then curl, and then, if left on the plant, they straighten again and become rather woody.
The stem of the scape is thin but at the tip, you’ll find a bulb. That bulb is actually a bud and if the scape is left on the plant this bud will transform into a flower. Garlic scapes, at their young stage, are edible and there are many ways to use them.
Ingredients…
- Garlic scapes – I used 40 in this tutorial.
- White vinegar
- Water
- 1/4 cup salt – pickling, canning, or sea salt.
Kitchen Tools…
- Cutting board
- Knife
- Jar with a lid – I use regular-mouth pint jars but you can also use quart jars.
- Measuring spoon
- 2 cup measuring cup
- Small pot
Step-by-Step Instructions…
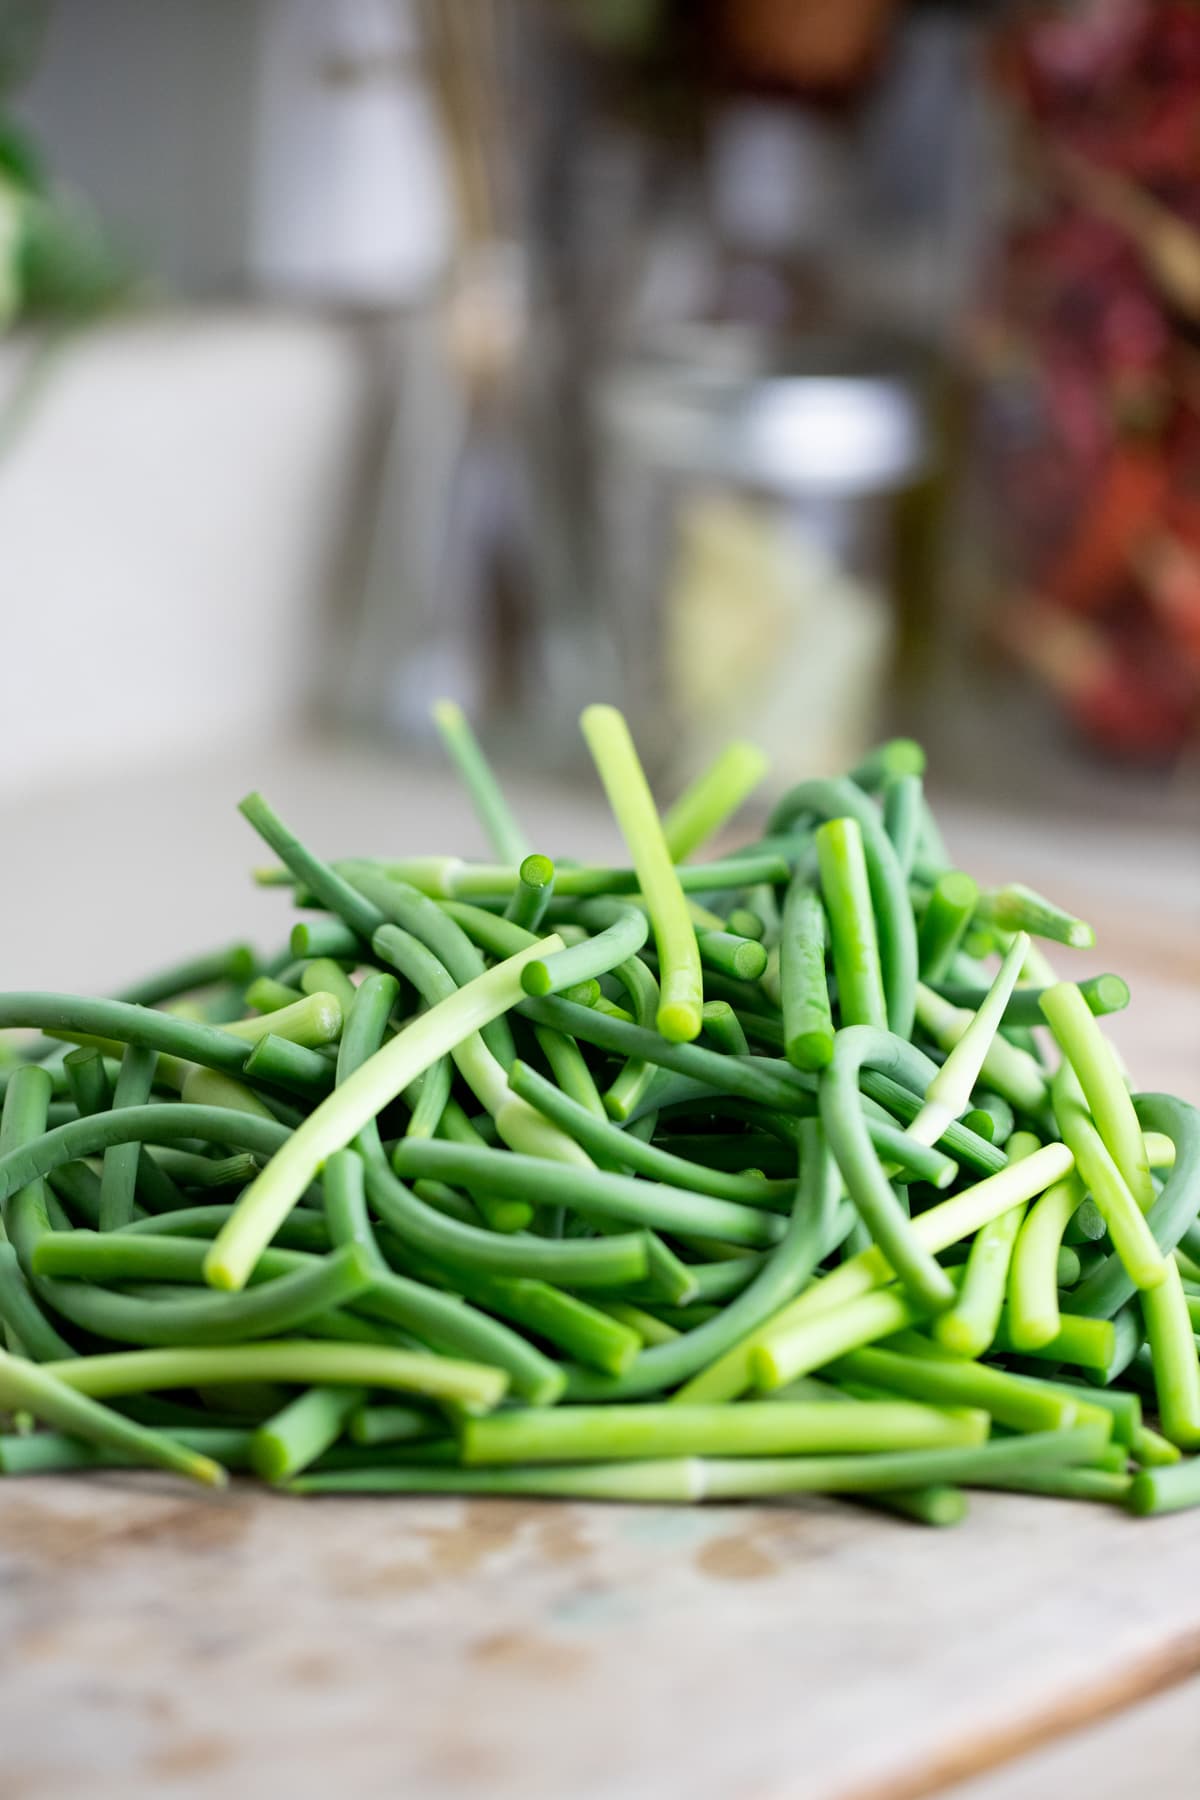
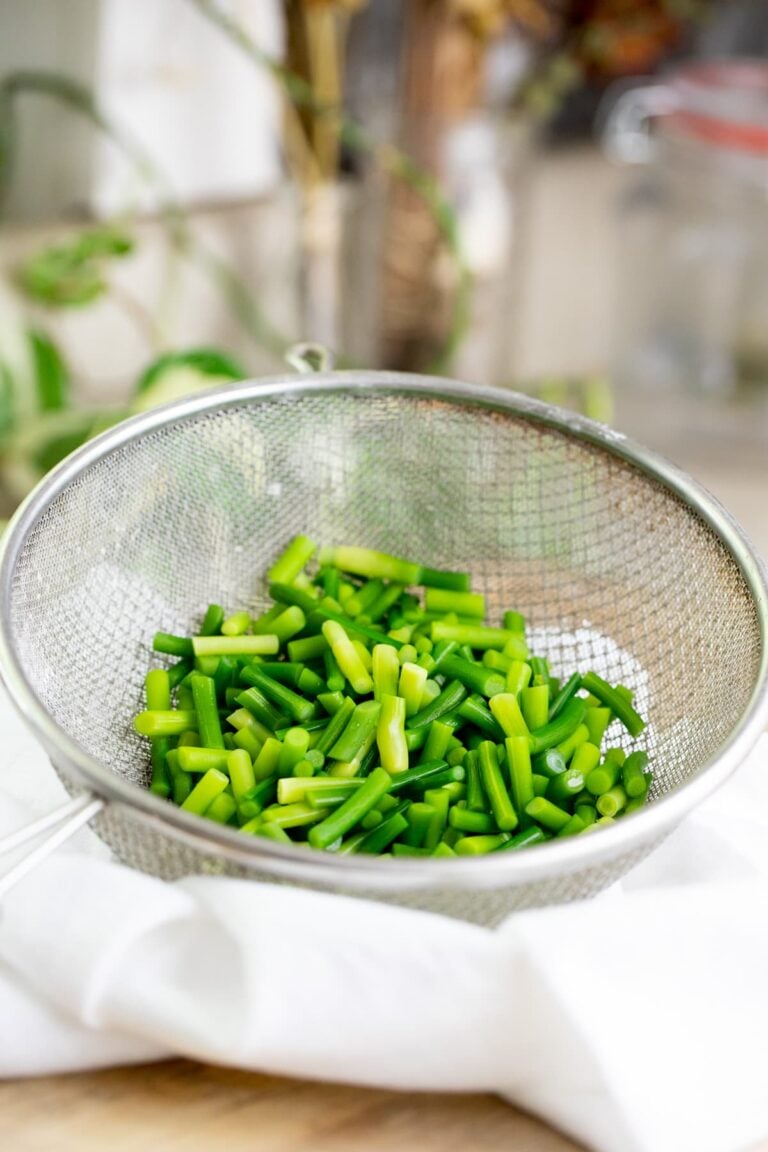
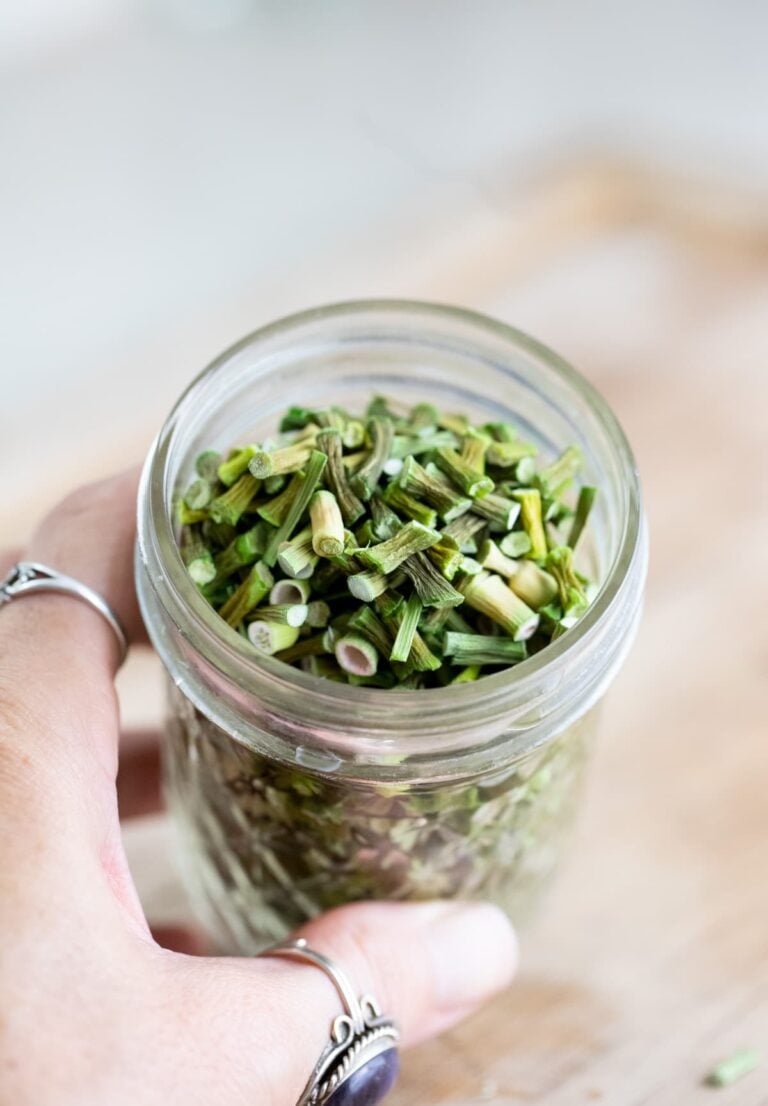
Step one – prep the scapes. You can cut the scapes however you like so they fit in the jar. I like to cut them into 3-4 inch pieces.
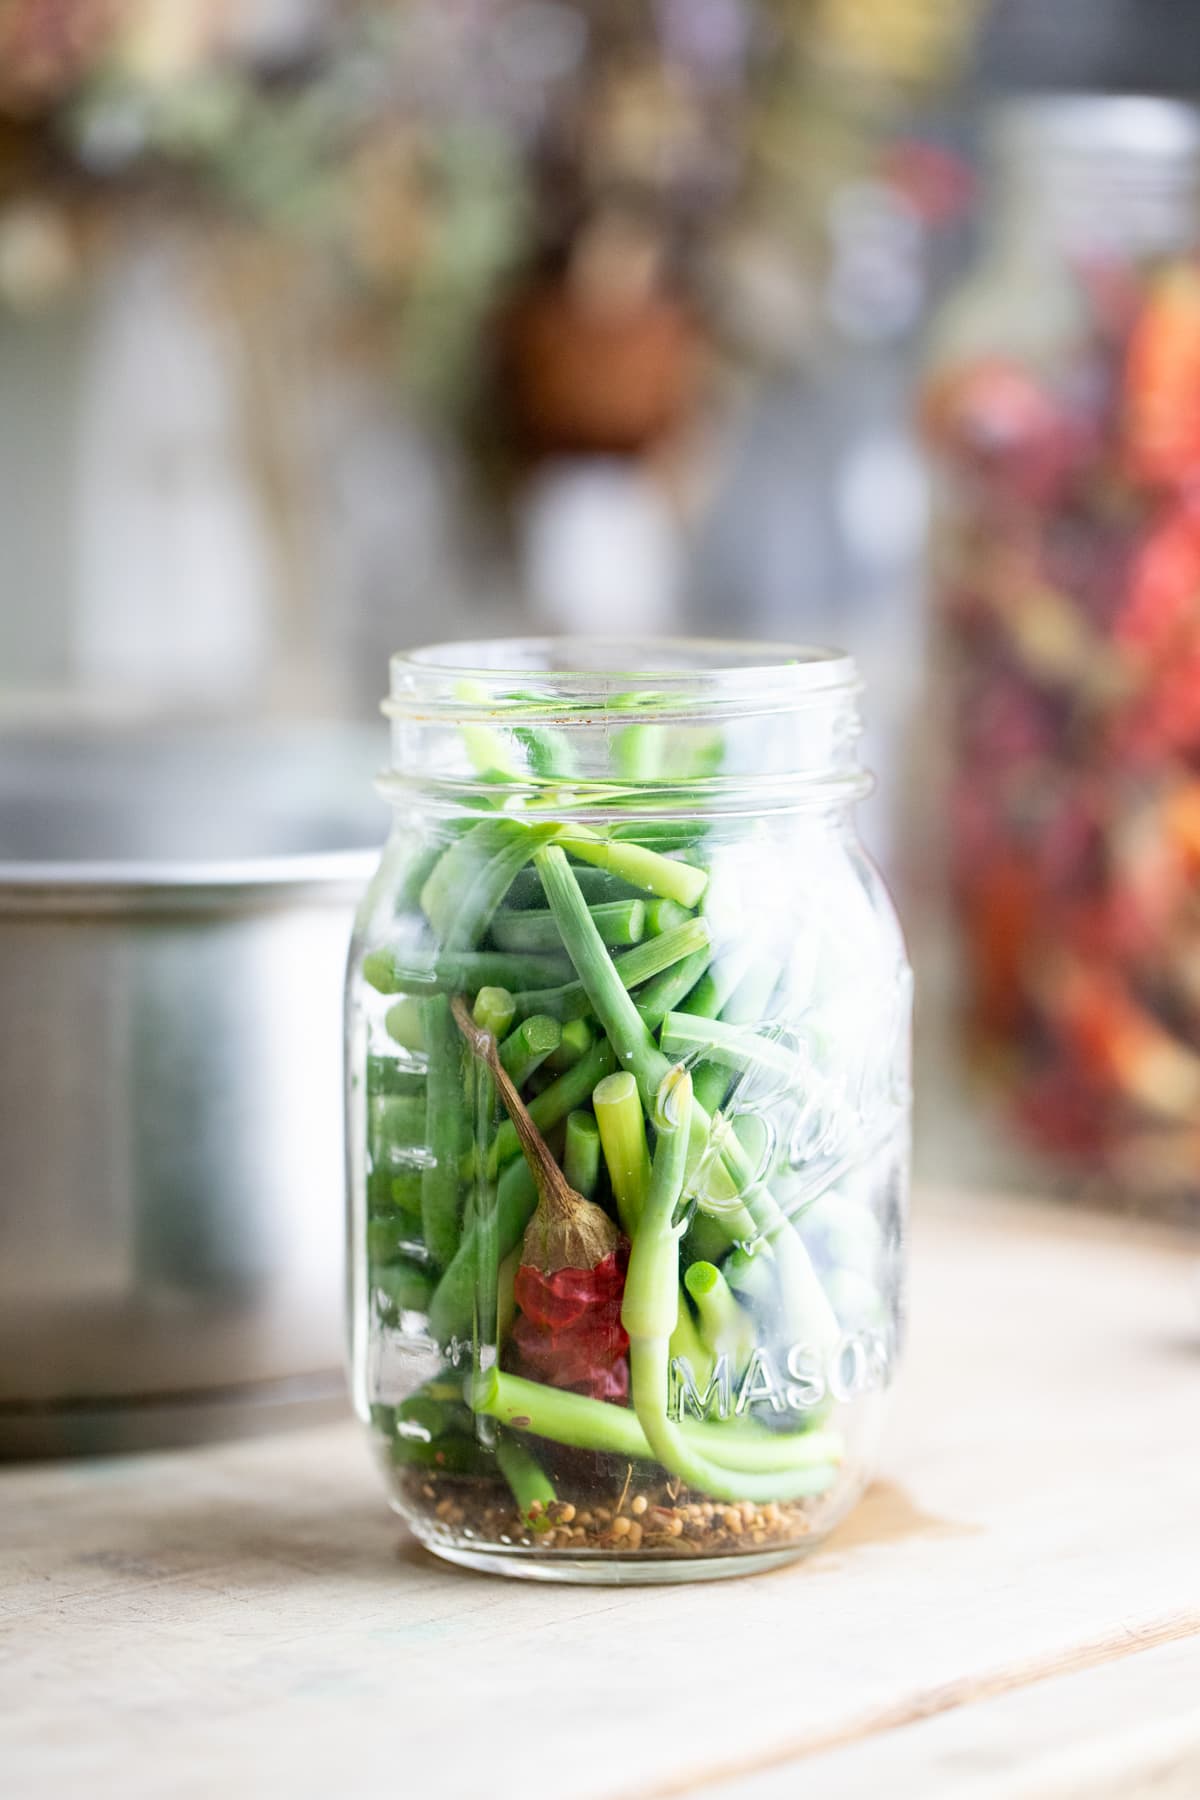
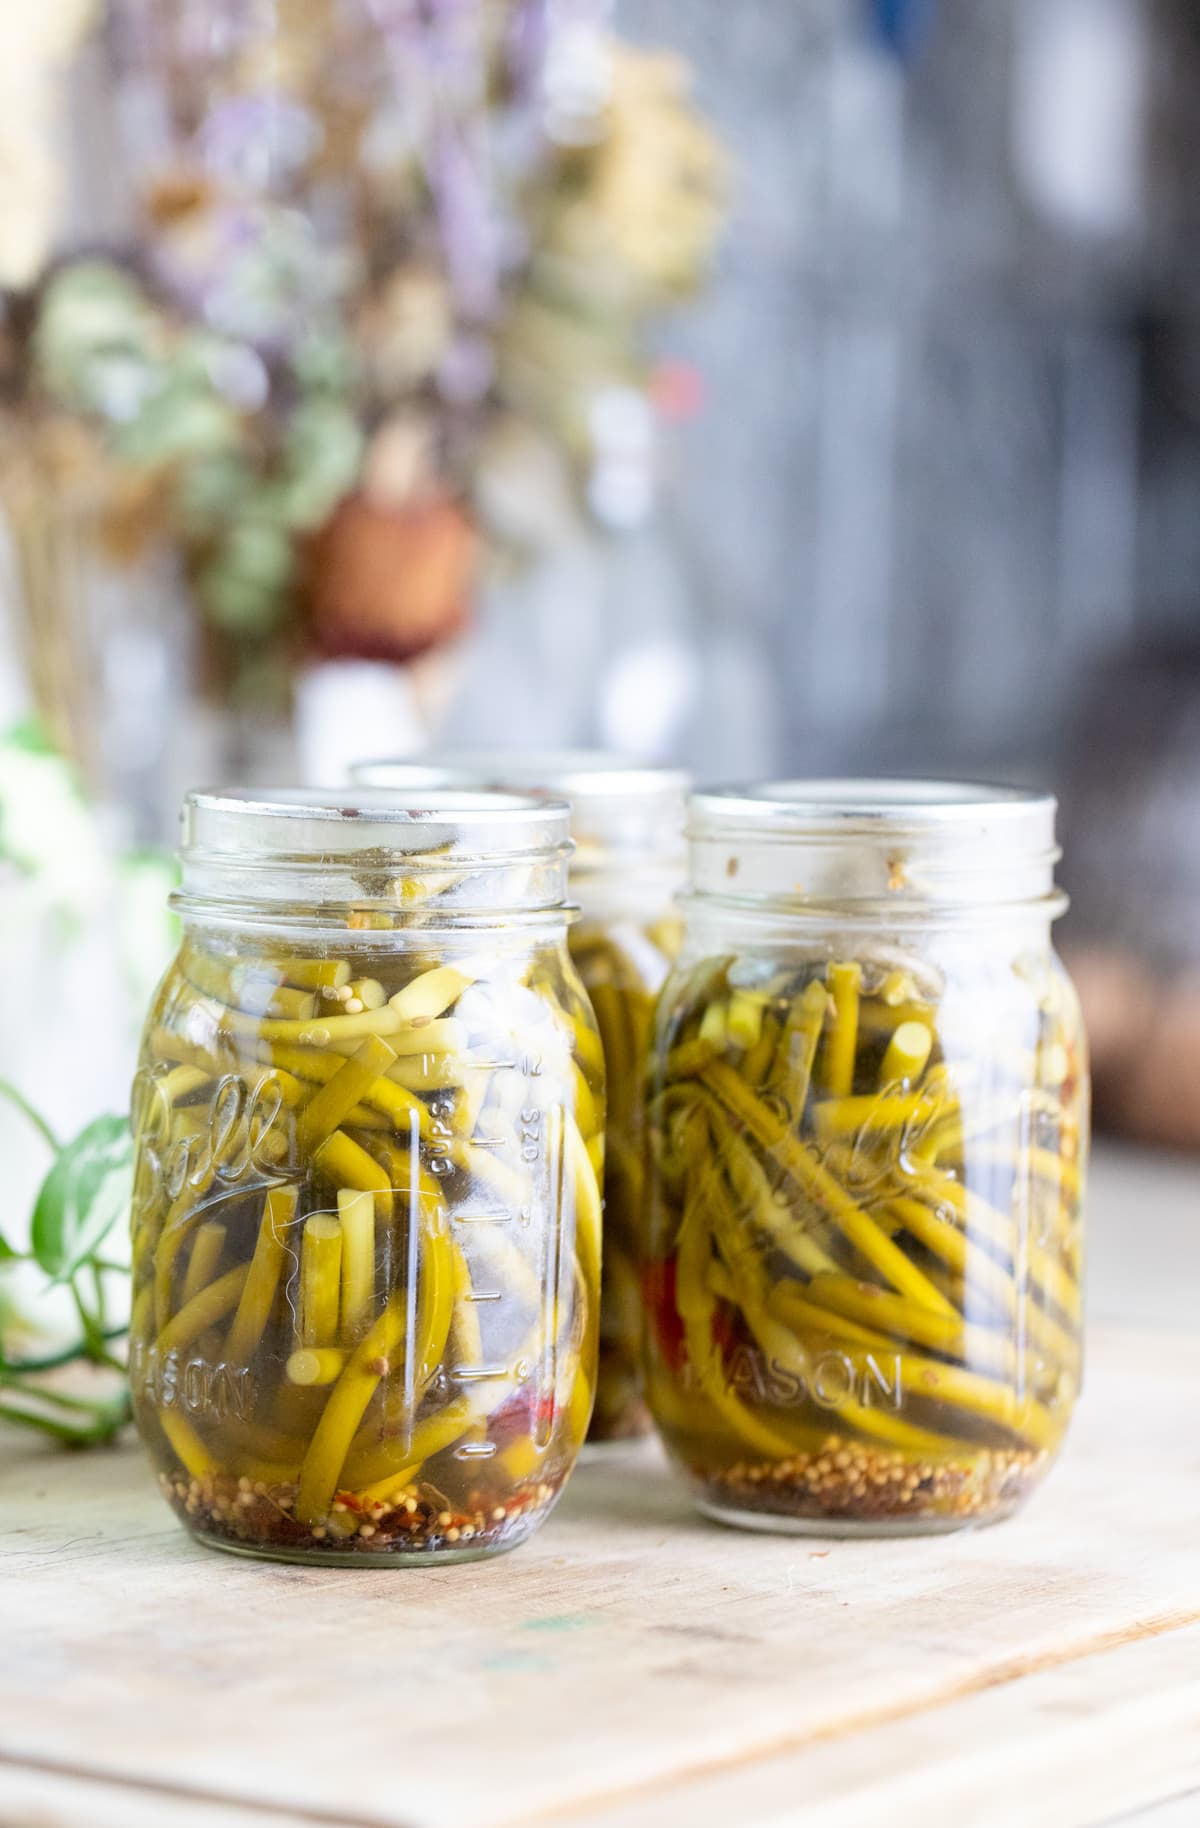
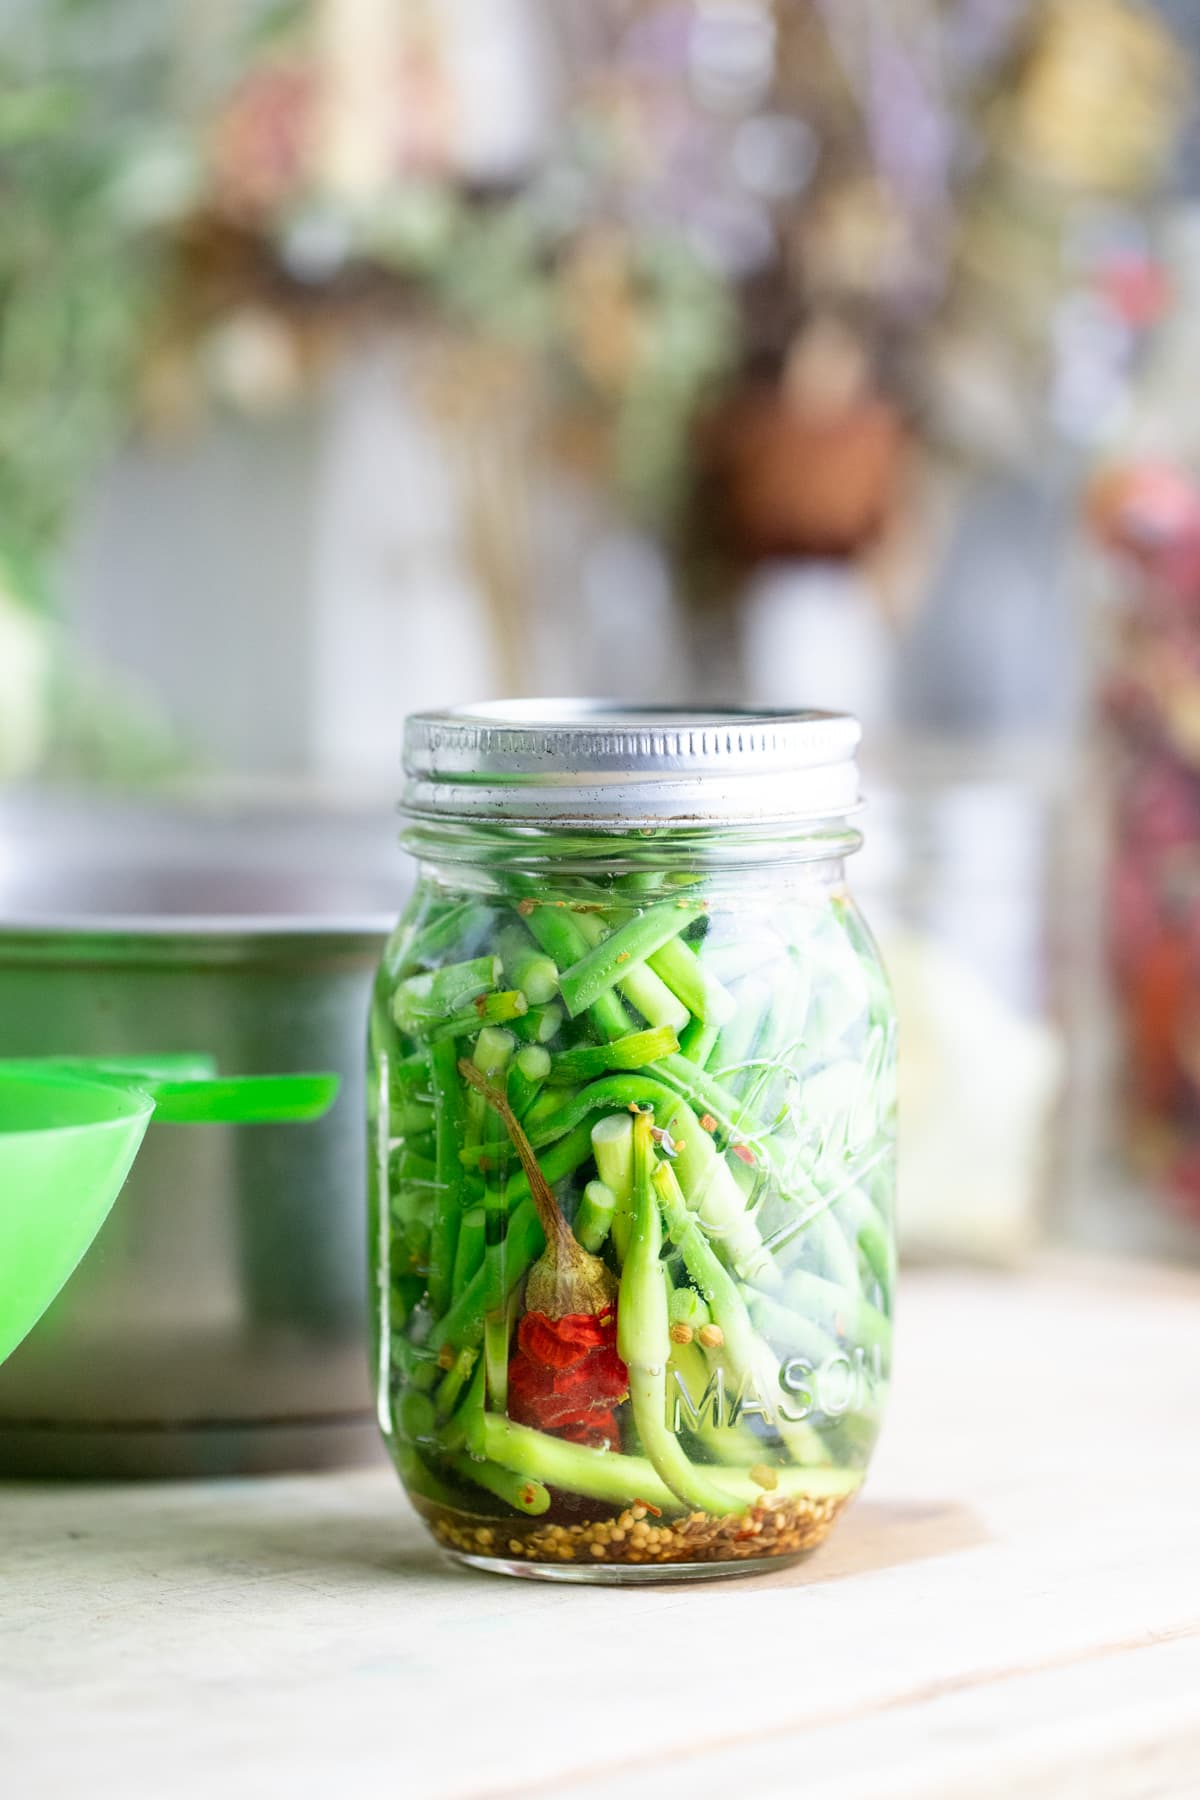
Step two – pack the jars. Pack the jars with the seasonings, dry pepper, and garlic scapes. Make sure to leave about half an inch of headspace.


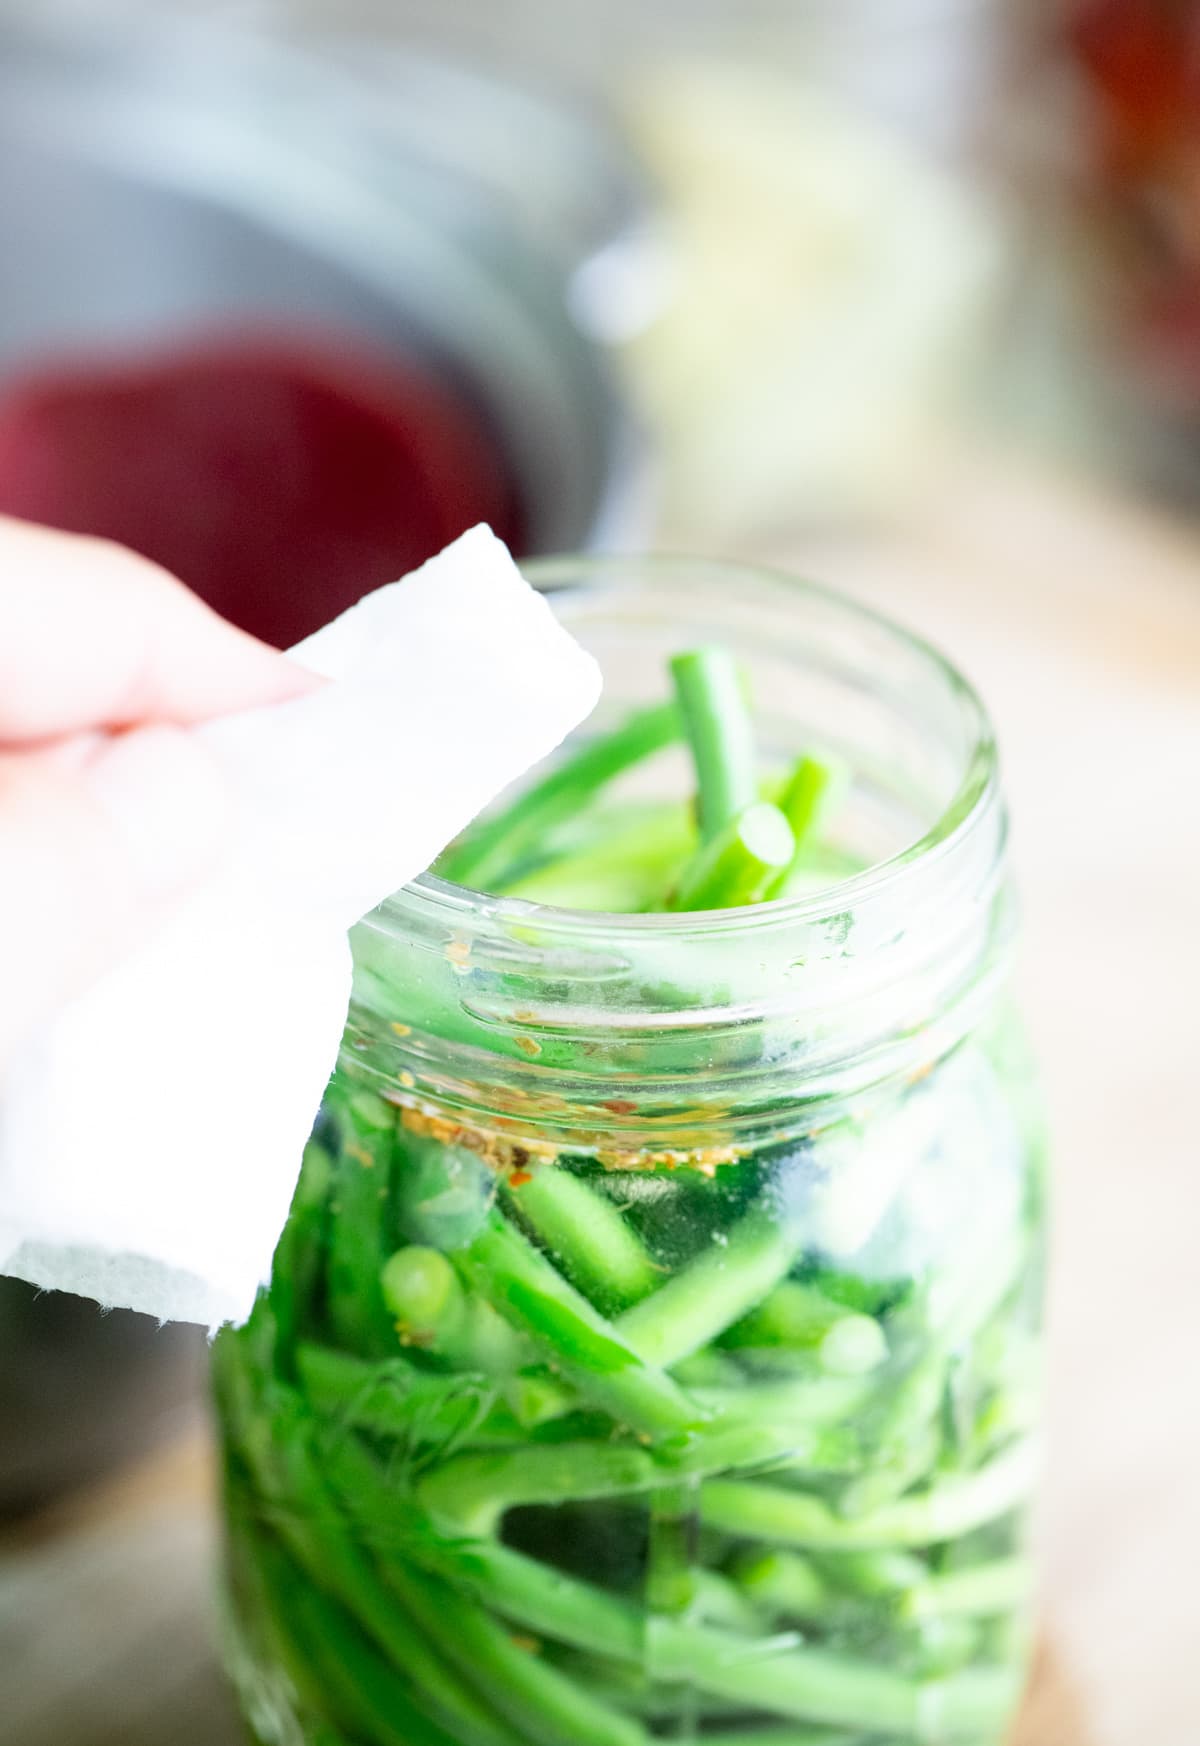
Step three – add brine and close the jar. In a saucepan, bring water, vinegar, and salt to a boil. Use a ladle or a measuring cup to help you add the hot pickling brine over the vegetables. Make sure to leave about 1/2 inch of headspace. Use the bubble remover to remove air bubbles, then, use a damp paper towel to clean the rim of the jar before closing the jars with the two-piece lid.
Storing Pickled Garlic Scapes in the Fridge…
Pickled garlic scapes will last a few months in the fridge, so feel free to skip the canning part if you have enough fridge space and just store your jars in the fridge (you can use a plastic lid if you do that). Make sure to use a clean fork or spoon every time you grab a scape from the jar.
Canning Pickled Garlic Scapes…
Step four – processing in the water bath. Bring enough water in the water bath canner to a boil (water should cover the jars by about an inch). This might take some time so it’s better to set the water bath canner on the stovetop and start heating the water when you start preparing the garlic scapes. Place the jars on the elevated wire rack and gently lower the rack into the boiling water. Bring the water back to a boil, cover the pot, and process for 10 minutes.

Always remember to adjust processing time according to the table above if you live higher than 1,000 feet in elevation.
Once processing time has passed, turn off the heat and uncover the pot. Let the jars rest in the hot water for five minutes. Use the jar lifter to remove the jars from the pot and set them on a kitchen towel on the counter or on a wooden cutting board to cool, undisturbed, overnight. You should hear the “pop” that indicates that the jars have been sealed as the jars cool.
How to Store…
When the jars have all cooled to room temperature, check that they have sealed by pressing the center of each lid. If there is no movement there it means that the jars are sealed. If a jar didn’t seal properly, store it in the fridge and use it first.
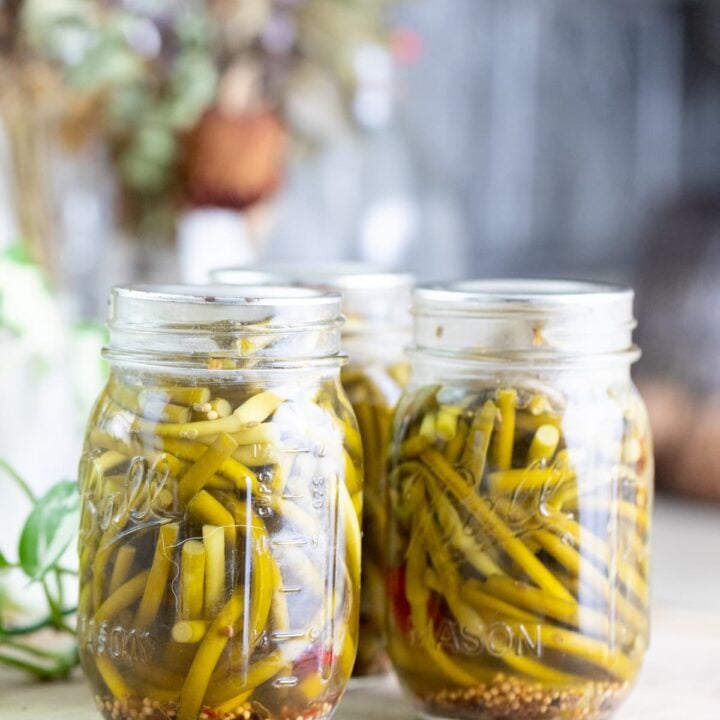
Wipe the jars and remove the metal band. It sometimes rusts in storage and makes it hard to open the jar down the road and you can also reuse it to can something else. Store the jars at room temperature in your pantry, on a shelf, or in a kitchen cabinet. Sealed jars should last up to 18 months.
How to Serve…
- As a snack – they are tangy and delicious. I love scooping a few scapes into a bowl and snacking on them. It’s so much better than reaching for chips.
- As a side – pickled garlic scapes are a great side for an easy sandwich lunch. Add them as a side to a burger instead of the fries, add them as a side to a meat wrap, or a BBQ sandwich or any other.
Add them as a side to this Mediterranean zucchini casserole, or serve them with zucchini and corn fritters for a simple vegetarian lunch or breakfast. - Throw them in salads – they are a delicious, salty addition to any salad. I sometimes add them to my favorite Mediterranean egg salad or a classic Israeli salad.
Frequently Asked Questions…
When we pickle, we use vinegar. The acidity of the vinegar allows us to process the jars in the water bath canner and store them on the shelf for a long period of time. When we ferment, we use a salty brine (there is no vinegar). After the process of fermentation, the jars are stored in cold storage (in the fridge). There are many fermentation recipes on the blog. Make sure to check them out.
Yes. You want to make sure that you use vinegar with a 5% acidity. Apple cider vinegar is a good option.
Literally, any way you want. I like the flavor of the Ball seasoning mix and it keeps my life simple because it’s all already there. But feel free to use just mustard seeds, or just peppercorns, or jalapenos instead of cayenne, or dry or fresh herbs (like thyme)… Really, the options are endless.
Pressure canning pickled food is unnecessary. The vinegar adds enough acidity that it’s safe to process the jars in the water bath canner.
Use non-iodized salt such as Kosher salt, sea salt, or canning salt.
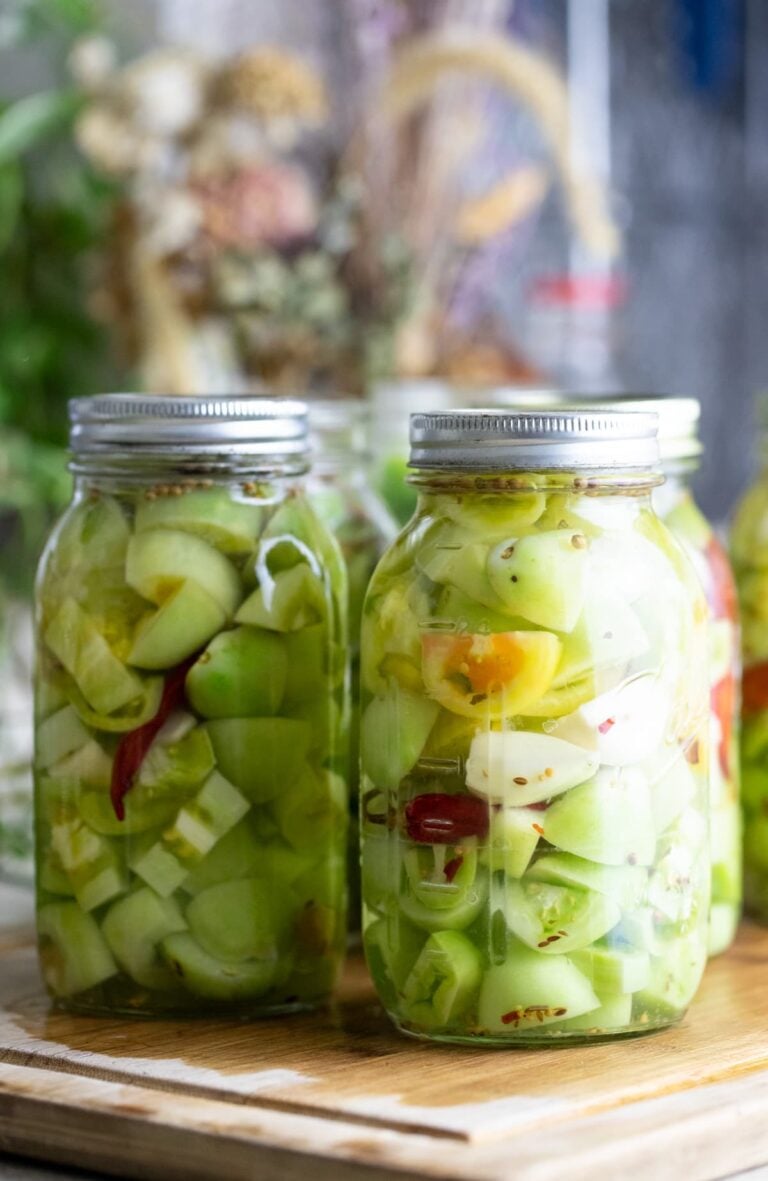
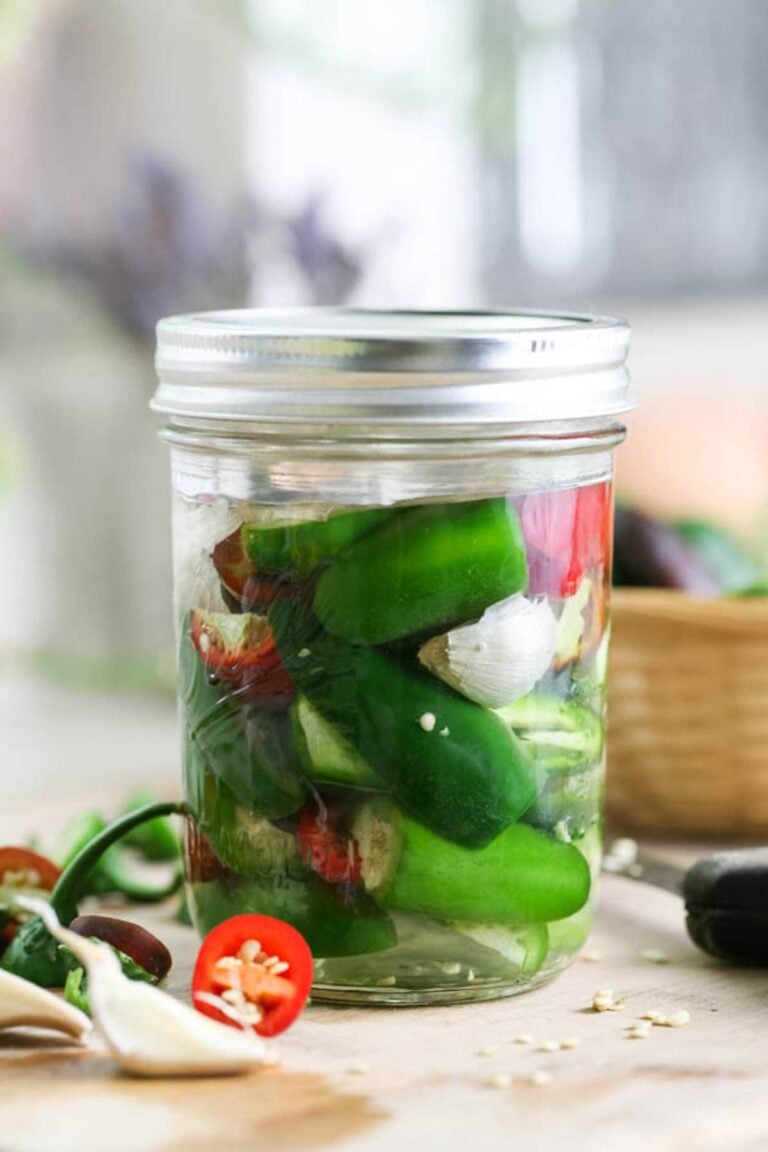
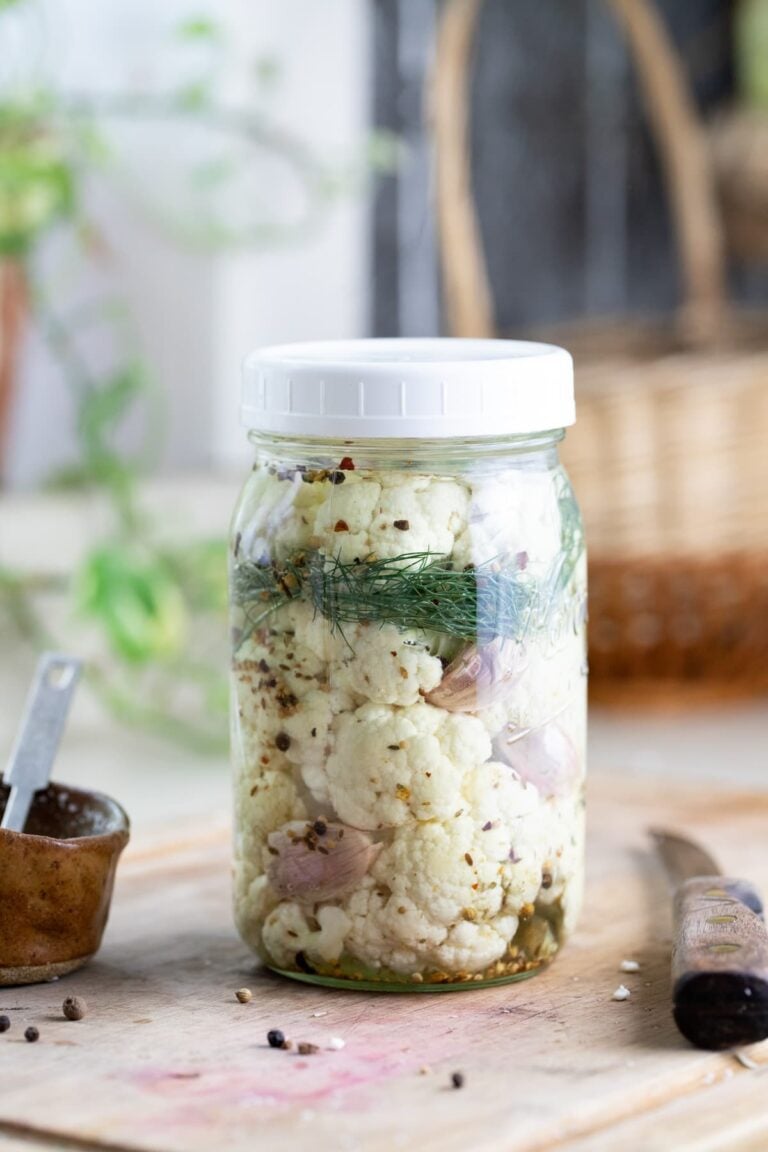
Pickled garlic scapes are tangy and delicious! I sure hope that you’ll give them a try. They are a great ingredient to have on the shelf, a great addition to many dishes, and this is also a great way to preserve them. If you like pickling, also try pickling beets, preserving peppers in vinegar and salt, and pickling green tomatoes.
More Garlic Scape Tutorials and Recipes…
- Fermenting Garlic Scapes
- Dehydrated Garlic Scapes
- Roasted Garlic Scapes
- Garlic Scape Pesto
- Freezing Garlic Scapes
Pickled Garlic Scapes
Healthy, tangy, and delicious pickled garlic scapes.
Ingredients
- 40 garlic scapes
- 3 teaspoon Ball pickling mix
- 3 dry red peppers (I used cayenne)
- 3 dry bay leaves (optional)
For the Brine:
- 3 cups white vinegar 5%
- 3 cups water
- 1/4 cup pickling salt (or sea salt, or canning salt)
Instructions
- You can cut the scapes however you like so they fit in the jar. I like to cut them into 3-4 inch pieces.
- Wash the jars well. Place one teaspoon of Ball seasoning mix, one red pepper, and one bay leaf (optional) in each jar. Then pack the jars with the garlic scapes. Make sure to leave about half an inch of headspace.
- In a saucepan, bring water, vinegar, and salt to a boil. Use a ladle or a measuring cup to help you add the hot pickling brine over the vegetables. Make sure to leave about 1/2 inch of headspace. Use the bubble remover to remove air bubbles, then, use a damp paper towel to clean the rim of the jar before closing the jars with the two-piece lid.
- Bring enough water in the water bath canner to a boil (water should cover the jars by about an inch). This might take some time so it’s better to set the water bath canner on the stovetop and start heating the water when you start preparing the garlic scapes. Place the jars on the elevated wire rack and gently lower the rack into the boiling water. Bring the water back to a boil, cover the pot, and process for 10 minutes. Always remember to adjust processing time according to the table in the post above if you live higher than 1,000 feet in elevation.
Once processing time has passed, turn off the heat and uncover the pot. Let the jars rest in the hot water for five minutes. Use the jar lifter to remove the jars from the pot and set them on a kitchen towel on the counter or on a wooden cutting board to cool, undisturbed, overnight. You should hear the “pop” that indicates that the jars have been sealed as the jars cool. - When the jars have all cooled to room temperature, check that they have sealed by pressing the center of each lid. If there is no movement there it means that the jars are sealed. If a jar didn’t seal properly, store it in the fridge and use it first.
Wipe the jars and remove the metal band. It sometimes rusts in storage and makes it hard to open the jar down the road and you can also reuse it to can something else. Store the jars at room temperature in your pantry, on a shelf, or in a kitchen cabinet. Sealed jars should last up to 18 months.
Notes
Storing in the fridge...
Pickled garlic scapes will last a few months in the fridge, so feel free to skip the canning part if you have enough fridge space and just store your jars in the fridge (you can use a plastic lid if you do that). Make sure to use a clean fork or spoon every time you grab a scape from the jar.
Frequently Asked Questions...
- Can I use other kinds of vinegar?
Yes. You want to make sure that you use vinegar with a 5% acidity. Apple cider vinegar is a good option. - Can I season these pickled garlic scapes differently?
Literally, any way you want. I like the flavor of the Ball seasoning mix and it keeps my life simple because it’s all already there. But feel free to use just mustard seeds, or just peppercorns, or jalapenos instead of cayenne, or dry or fresh herbs (like thyme)… Really, the options are endless. - Is it better to pressure can pickled garlic scapes?
Pressure canning pickled food is unnecessary. The vinegar adds enough acidity that it’s safe to process the jars in the water bath canner. - Can I use other types of salt?
Use non-iodized salt such as Kosher salt, sea salt, or canning salt.
Nutrition Information:
Yield: 3 Serving Size: 1Amount Per Serving: Calories: 139Total Fat: 1gSaturated Fat: 0gTrans Fat: 0gUnsaturated Fat: 0gCholesterol: 0mgSodium: 242mgCarbohydrates: 23gFiber: 7gSugar: 10gProtein: 5g

Loved garlic scape section. But the dehydration scape link took me to pickling scapes.
Oh! I’ll fix it. Thanks for letting me know!