This post may contain affiliate links, view our disclosure policy for details.

This is a simple pickled beets recipe for canning that will guide you step-by-step through the process of pickling beets for long-term storage.

Lady Lee’s Note…
Growing up in Israel, beets were on the table at pretty much every meal. But always in the form of a beet salad, never pickled. In fact, even when it comes to cucumbers, we were always served pickles in a salty brine, never vinegary (you must try these Israeli cucumber pickles!). Needless to say, when I arrived in the South and discovered people’s deep love for vinegar, I couldn’t relate.
I am still having a bit of a hard time with it, I’ll admit (I still prefer fermented beets), but I’m much more open to tasting foods in vinegar. Also, as a homesteader who knows how important it is to preserve everything that comes out of the garden, I can’t ignore vinegar’s preserving superpowers. And so, pickled beets were a must for me to try since I grow a ton of beets every year.
Ingredients…
- Beets
- Ball mixed pickling spice (optional)
- Sugar
- Vinegar
- Cinnamon sticks
- Pickling salt
- Water
Step-By-Step Instructions…
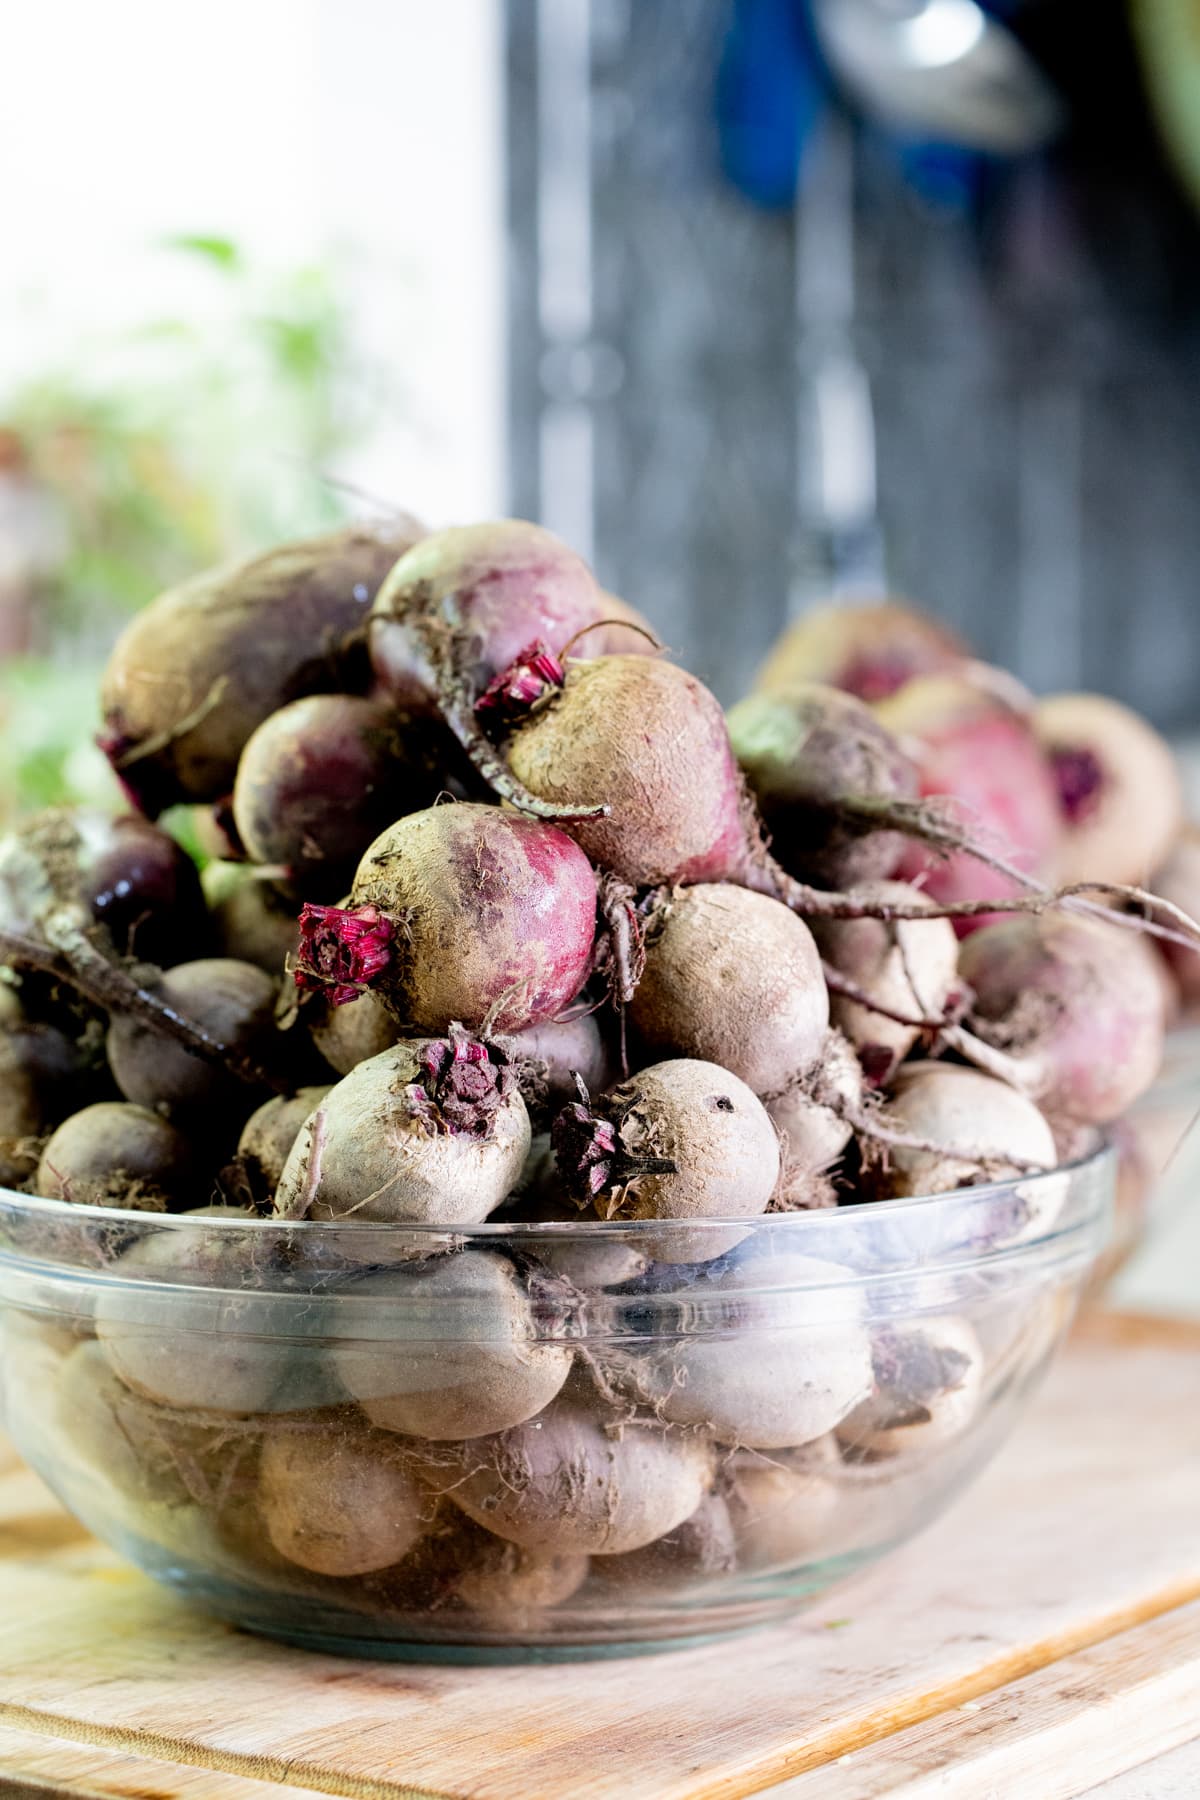
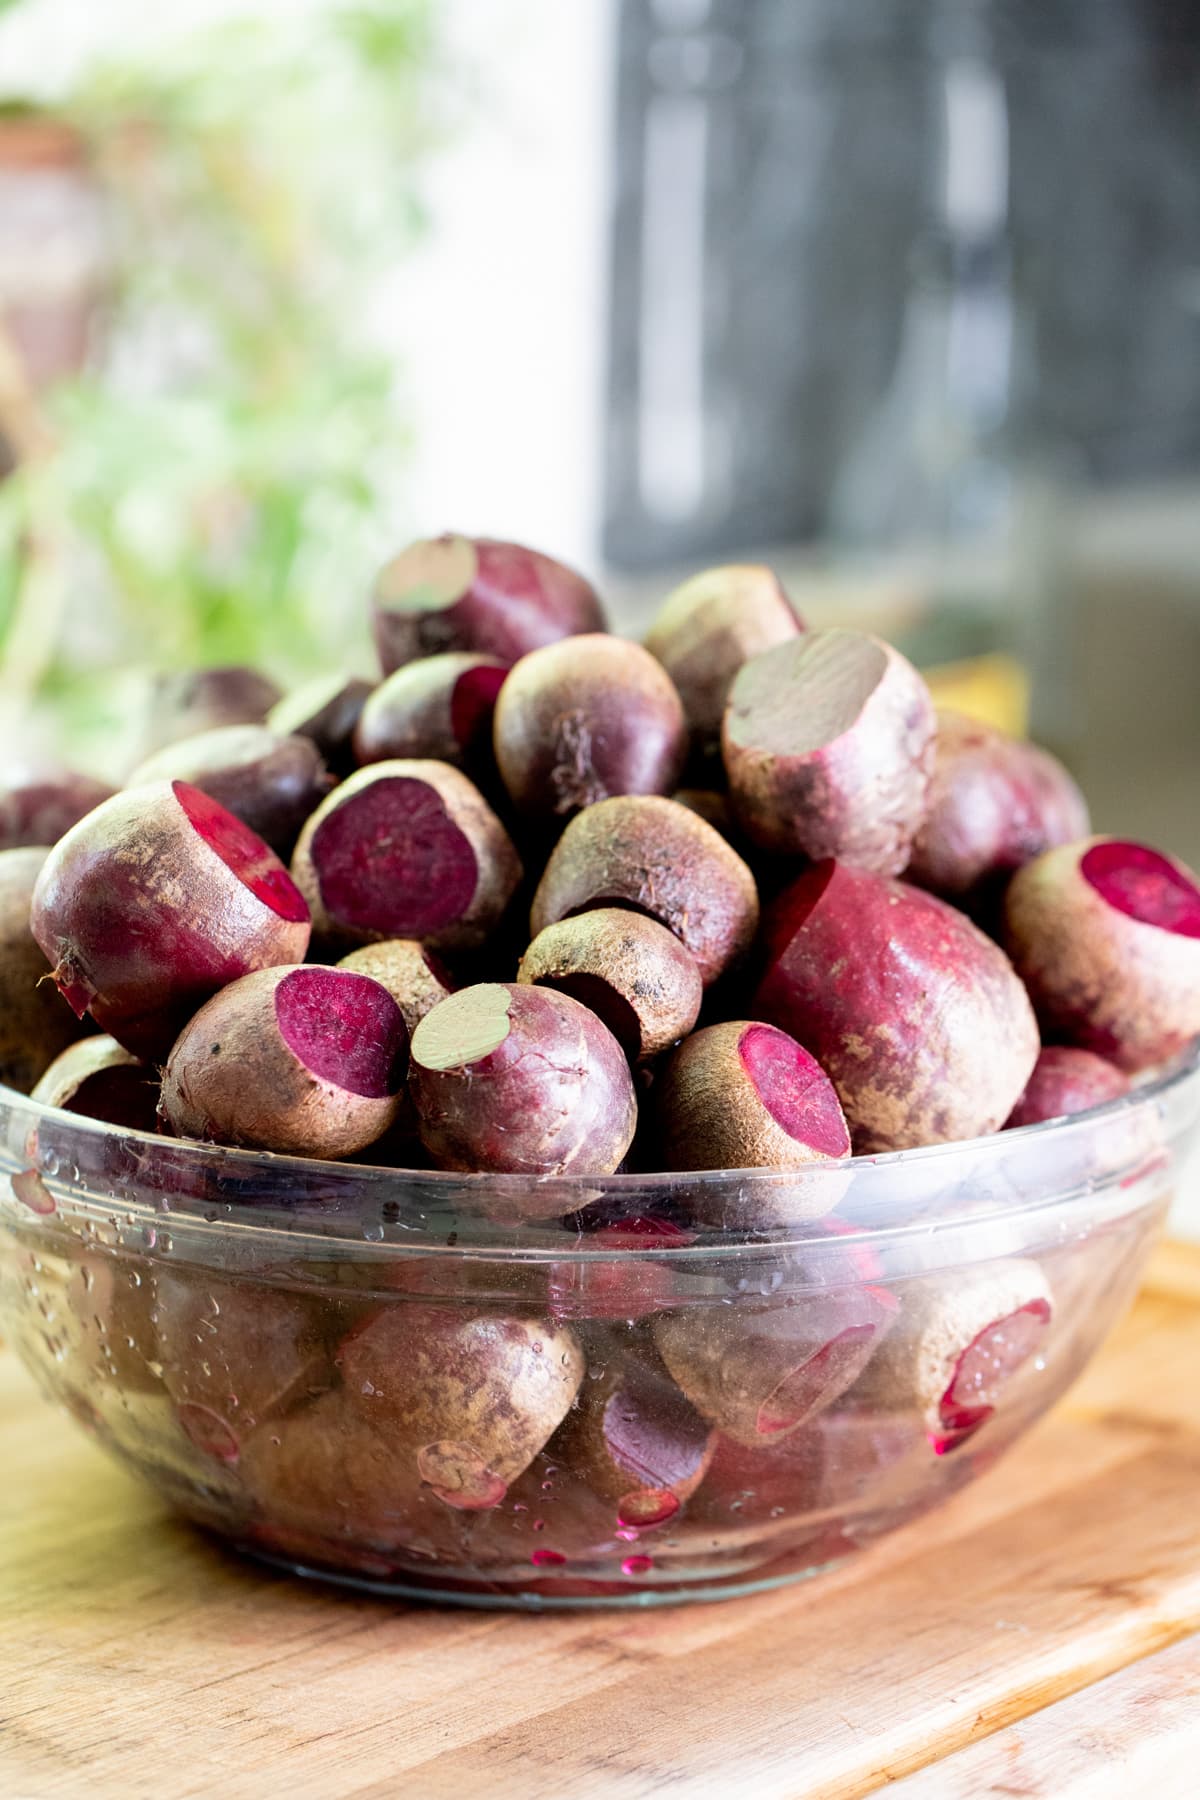
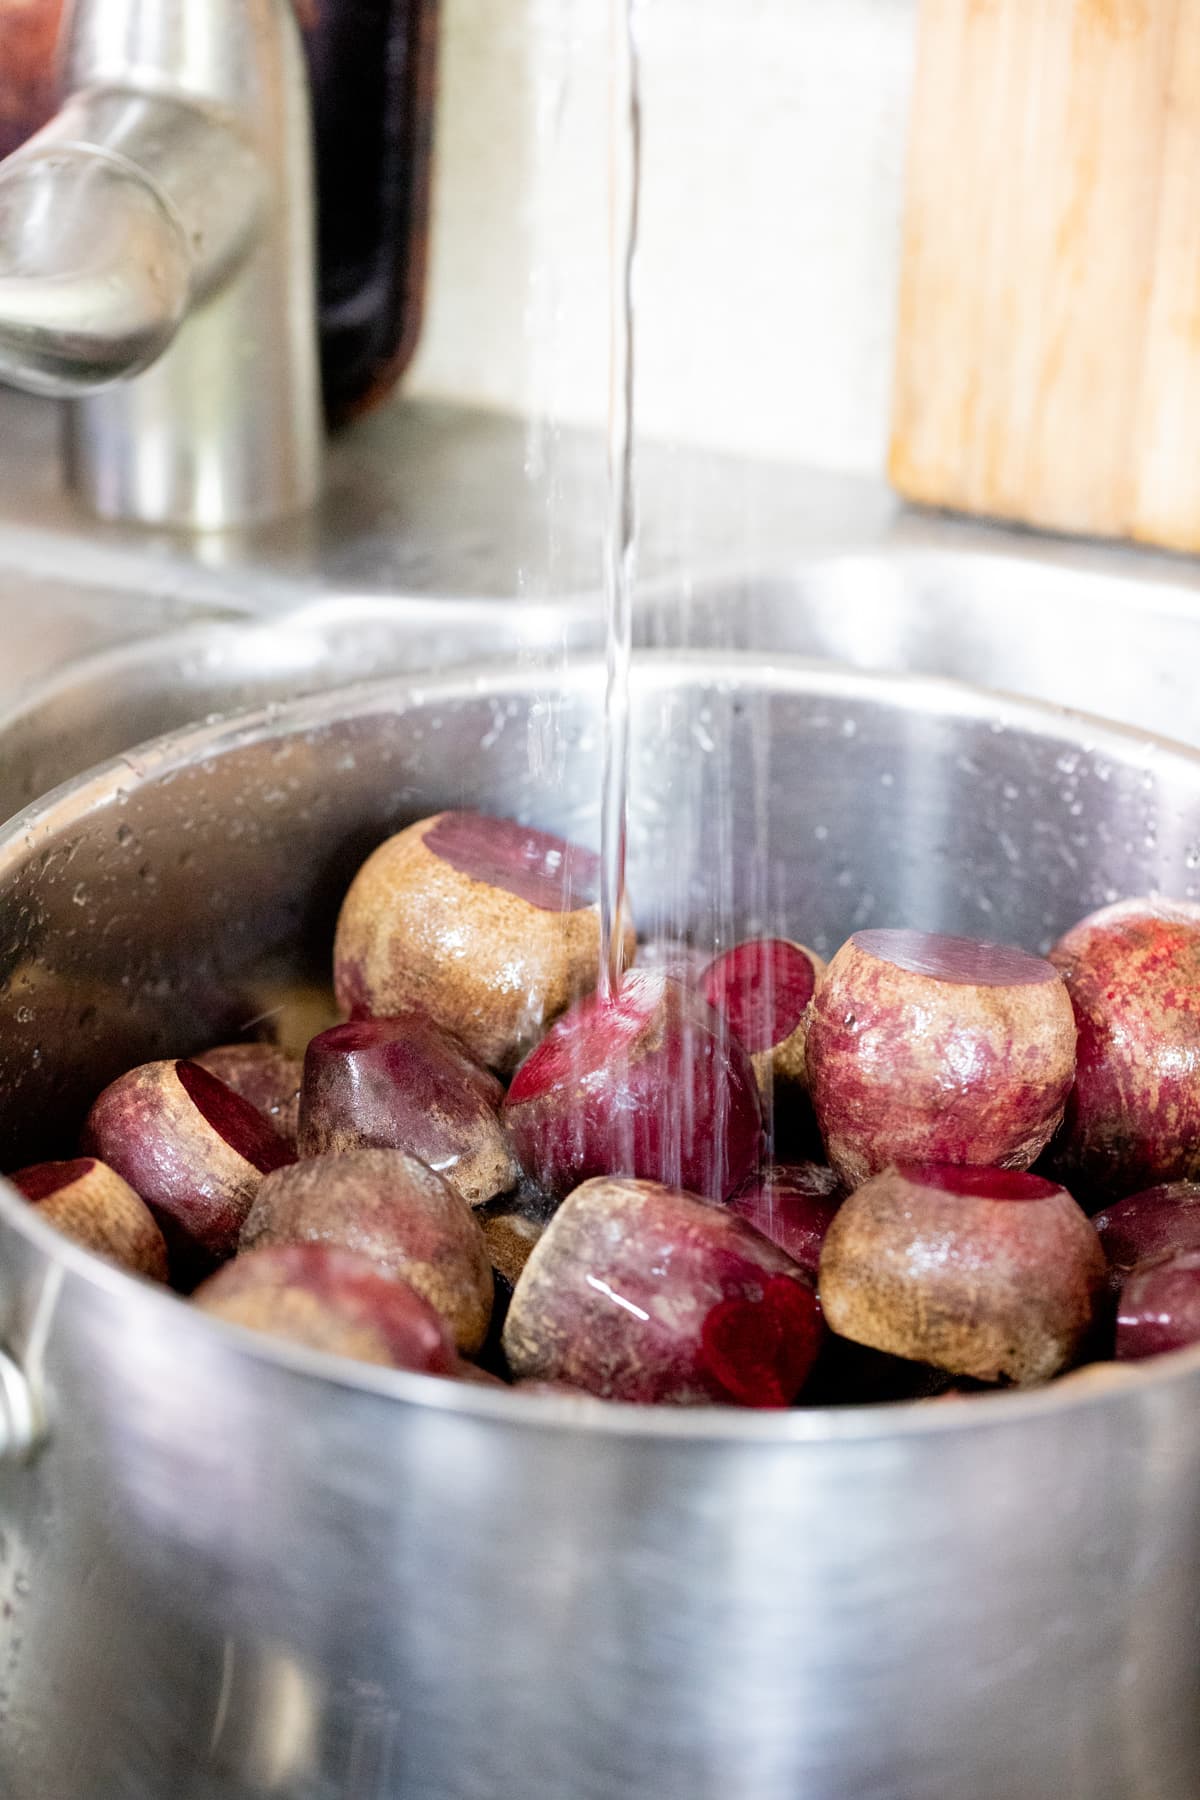
Step one – prep the beets. Start by washing the beets. Then cut the tops and the roots.
Pro tip: If you are going to can your beets, fill the water bath canner with enough water to cover the jars and set it on the stove top. Turn the heat to high and bring the water bath to a boil. This takes some time, so it’s better to set the water bath canner on the stovetop and heat the water as you prepare the beets.
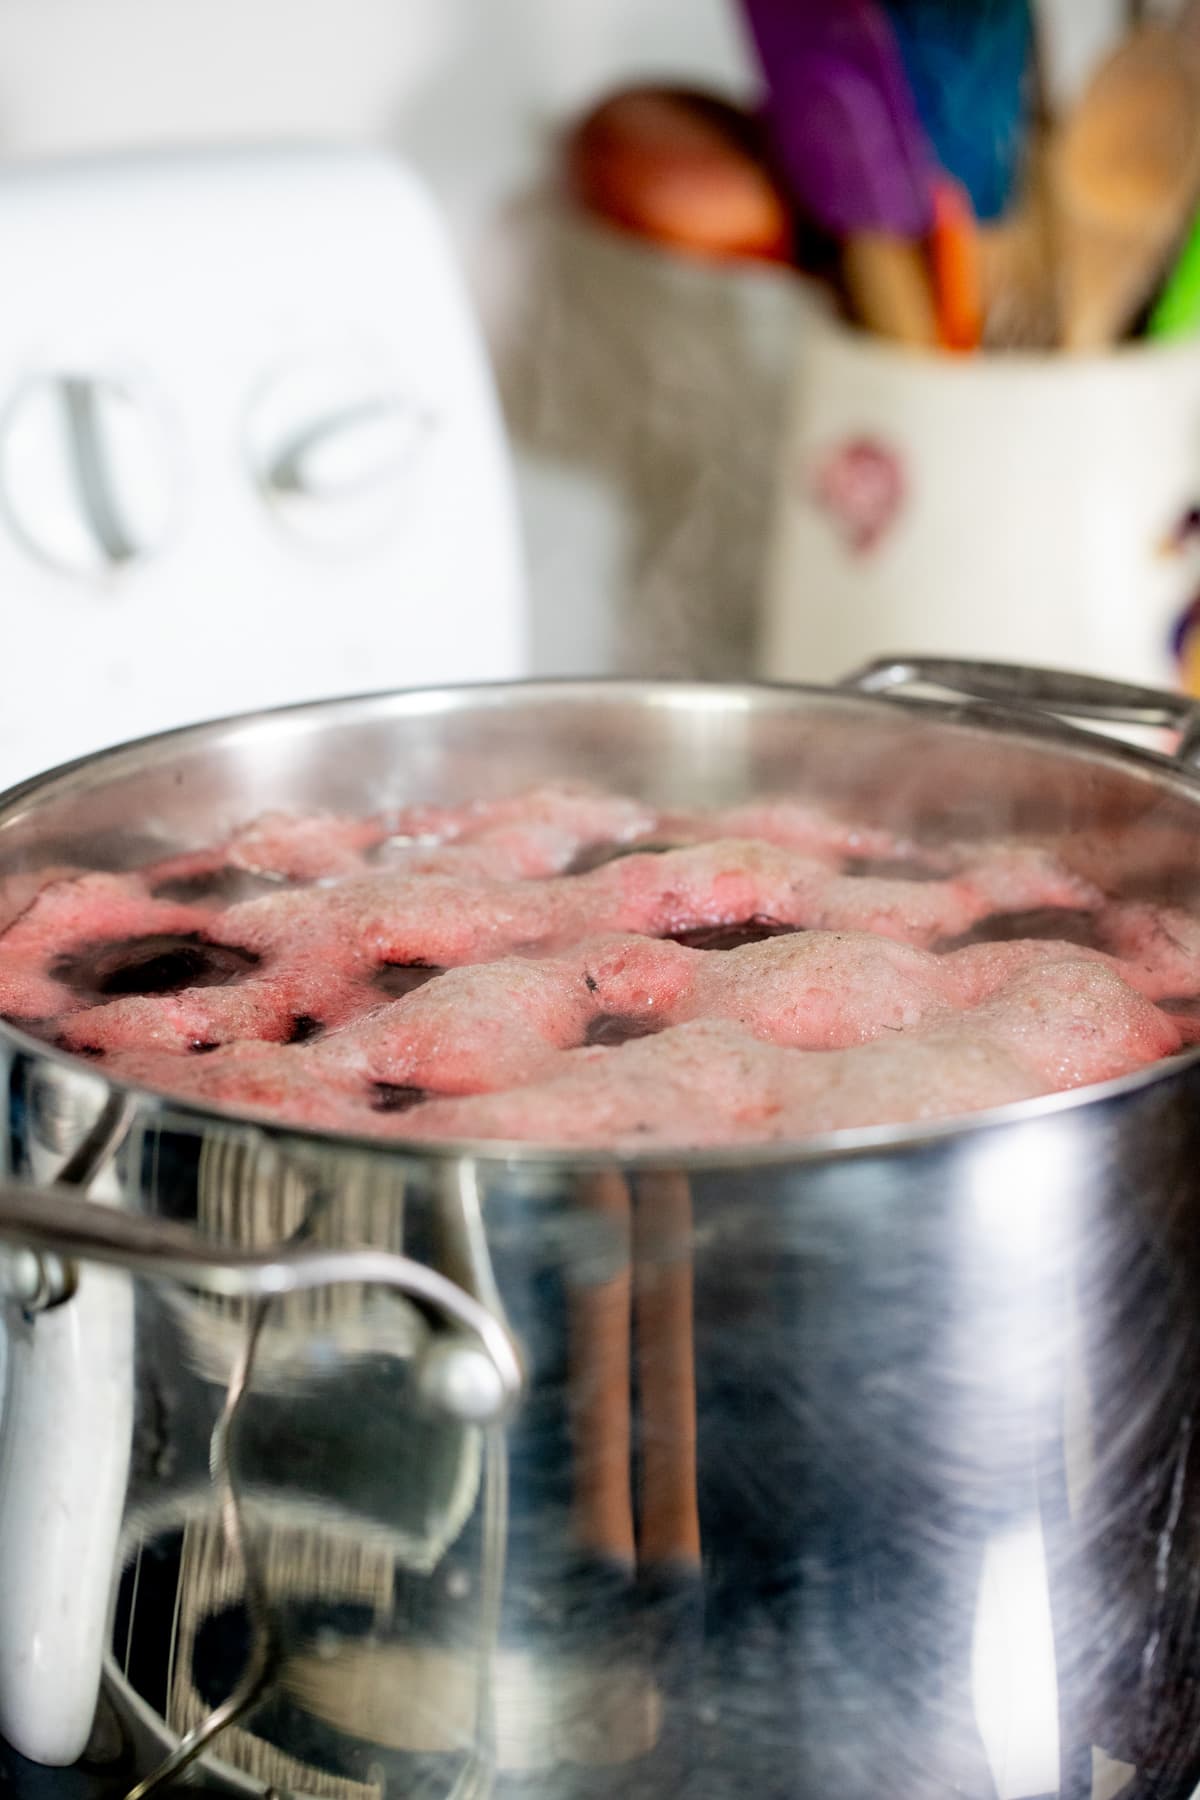
Step two – boil the beets. Add the beets to a pot and add water to cover the beets. Place the pot on the stovetop, turn the heat to high, and bring the water to a boil. Lower the heat, and gently boil the beets for about 40 minutes. Boiling time will change depending on the size of the beets.
To know if your beets are done, stick a fork in a few of them. The fork should go in just a bit. Turn the heat off. Use a slotted spoon to scoop the beets out of the hot water into a bowl and let them cool to a point where you can handle them.
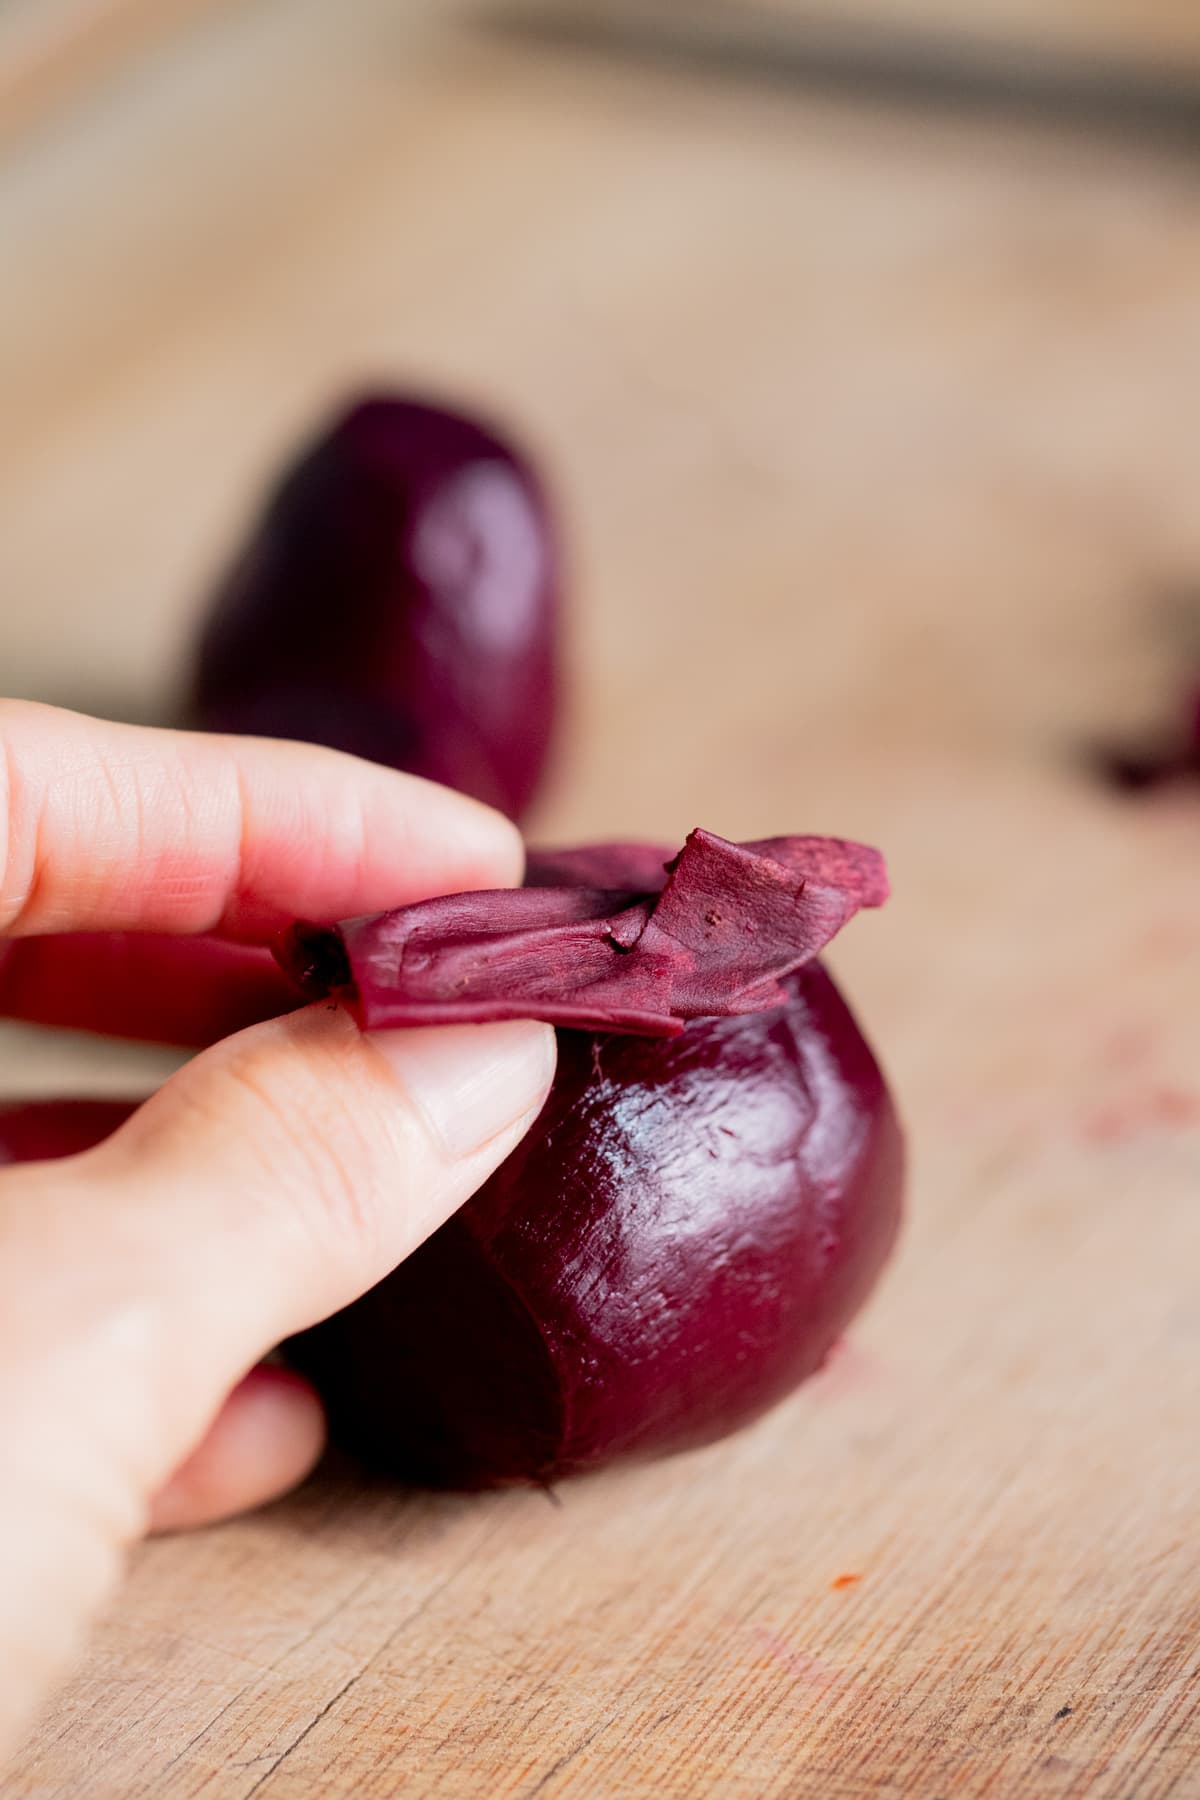

Step three – peel and cut the beets. Squeeze the skin of each beet just a bit, and it should come right off. Now, cut the beets however you want. You can slice them, you can halve them, you can dice them. This is really up to you.

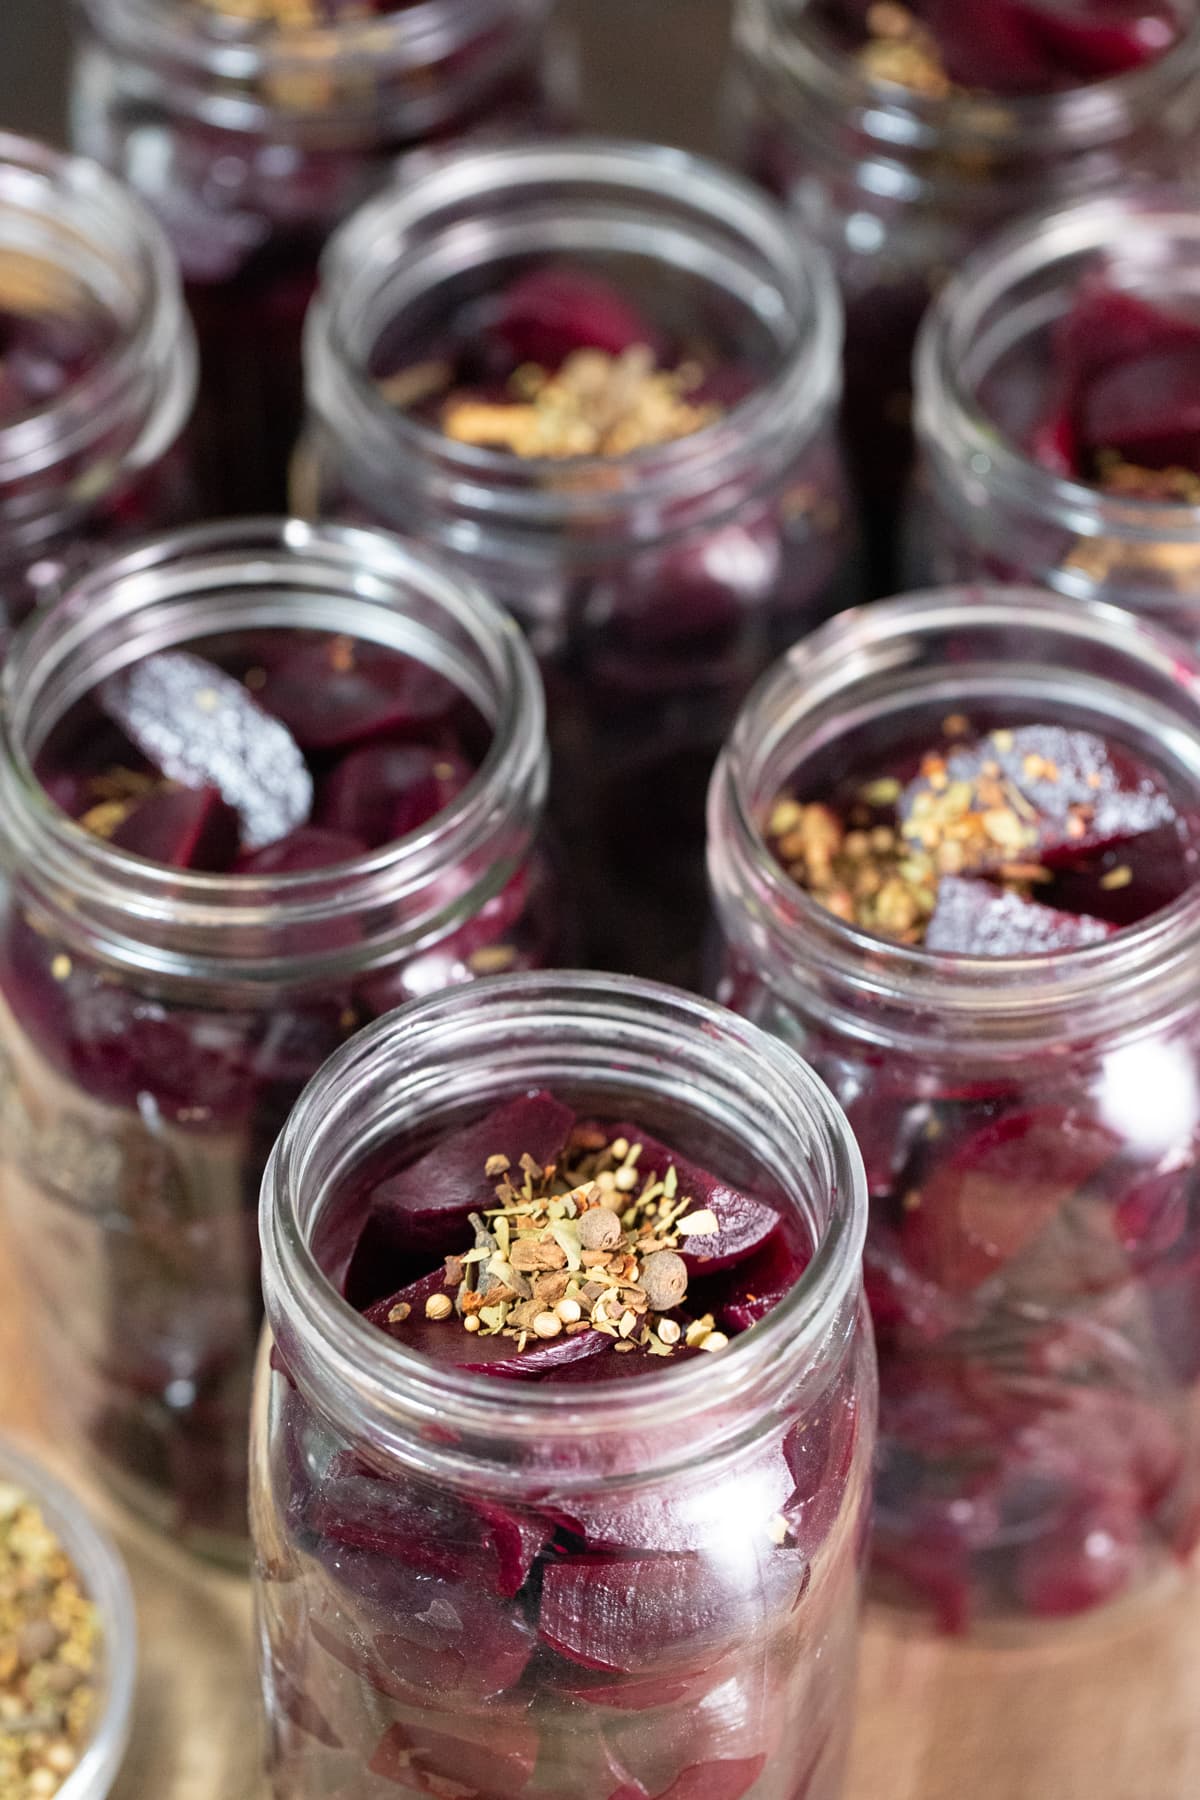
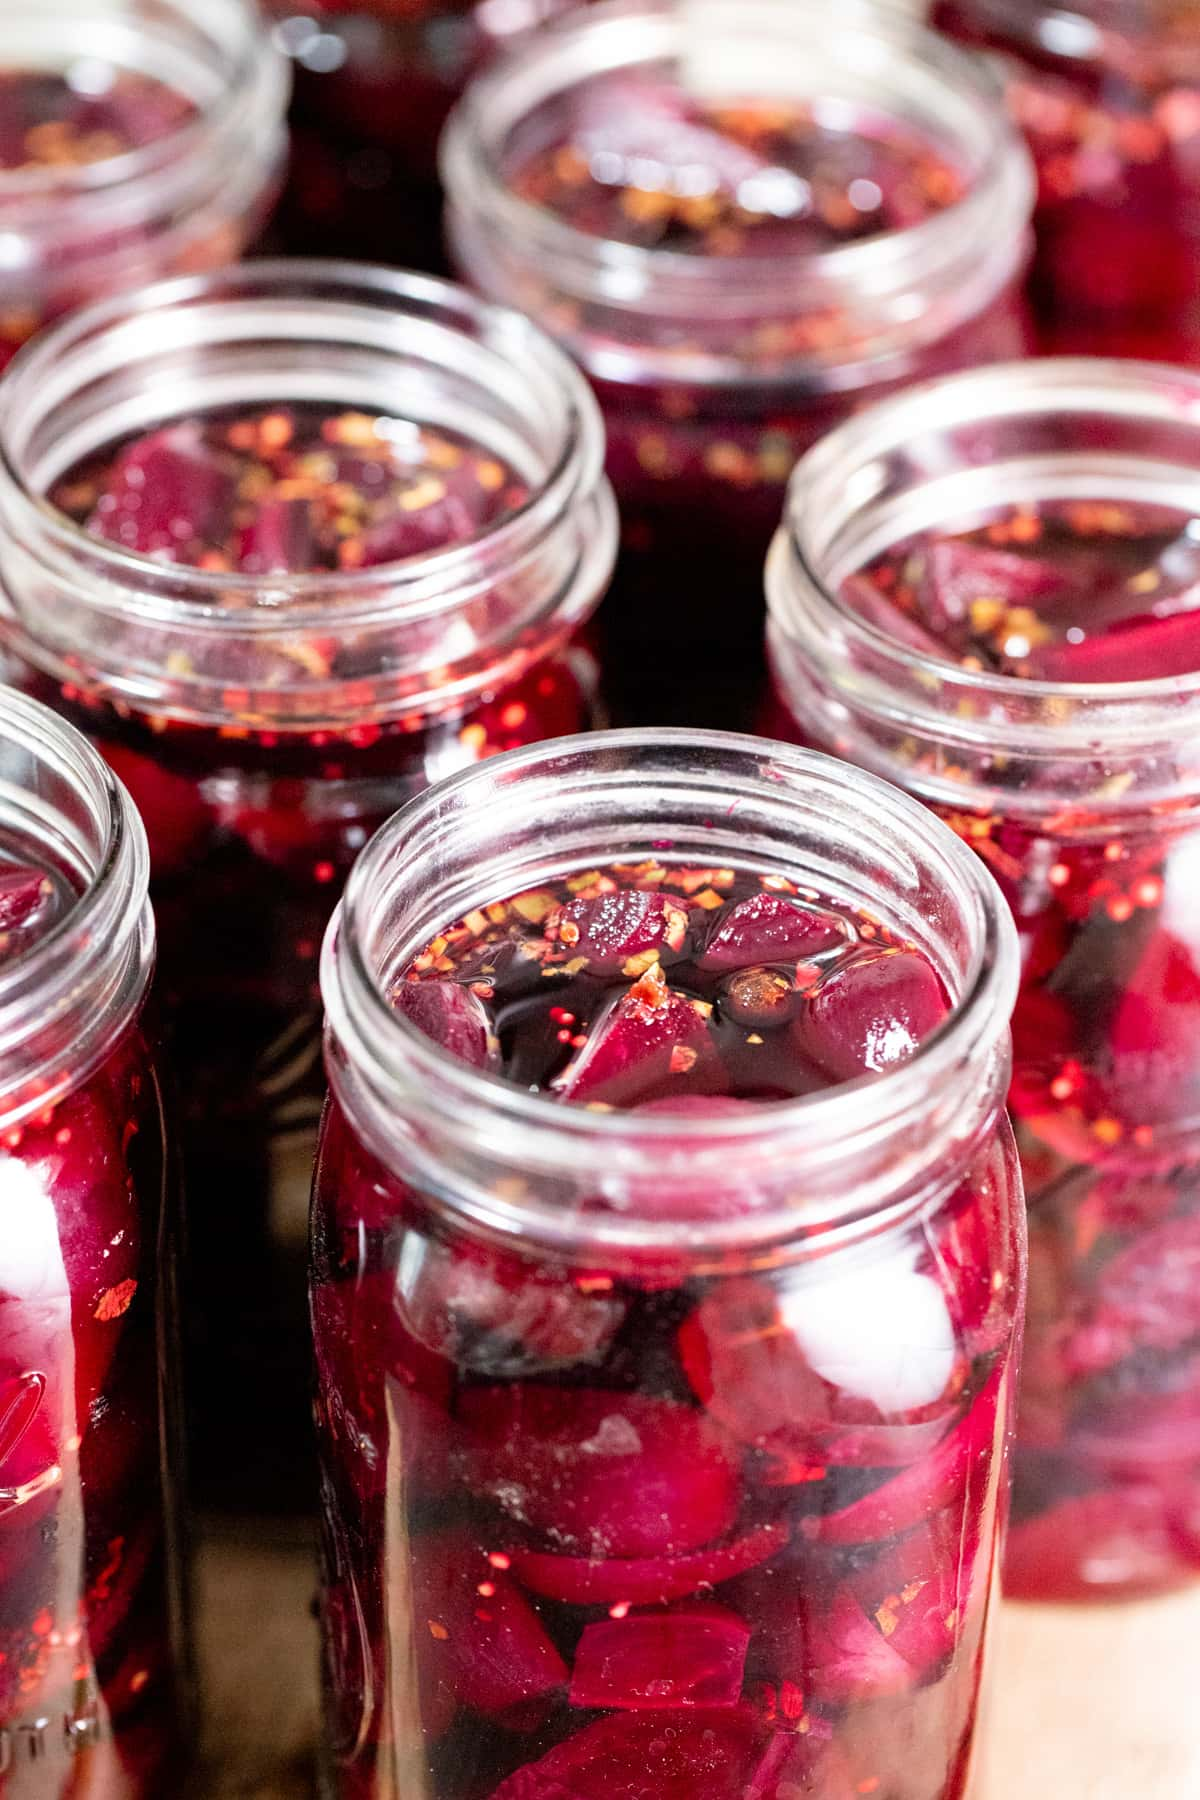
Step four – make the brine and pack the jars. Wash the jars, lids, and bands with hot water and dish soap. Pack the jars with the beets, leaving 1/2 inch of headspace. Next, add the seasonings if you want to season your beets. I added a teaspoon of Ball pickling mix to each jar.
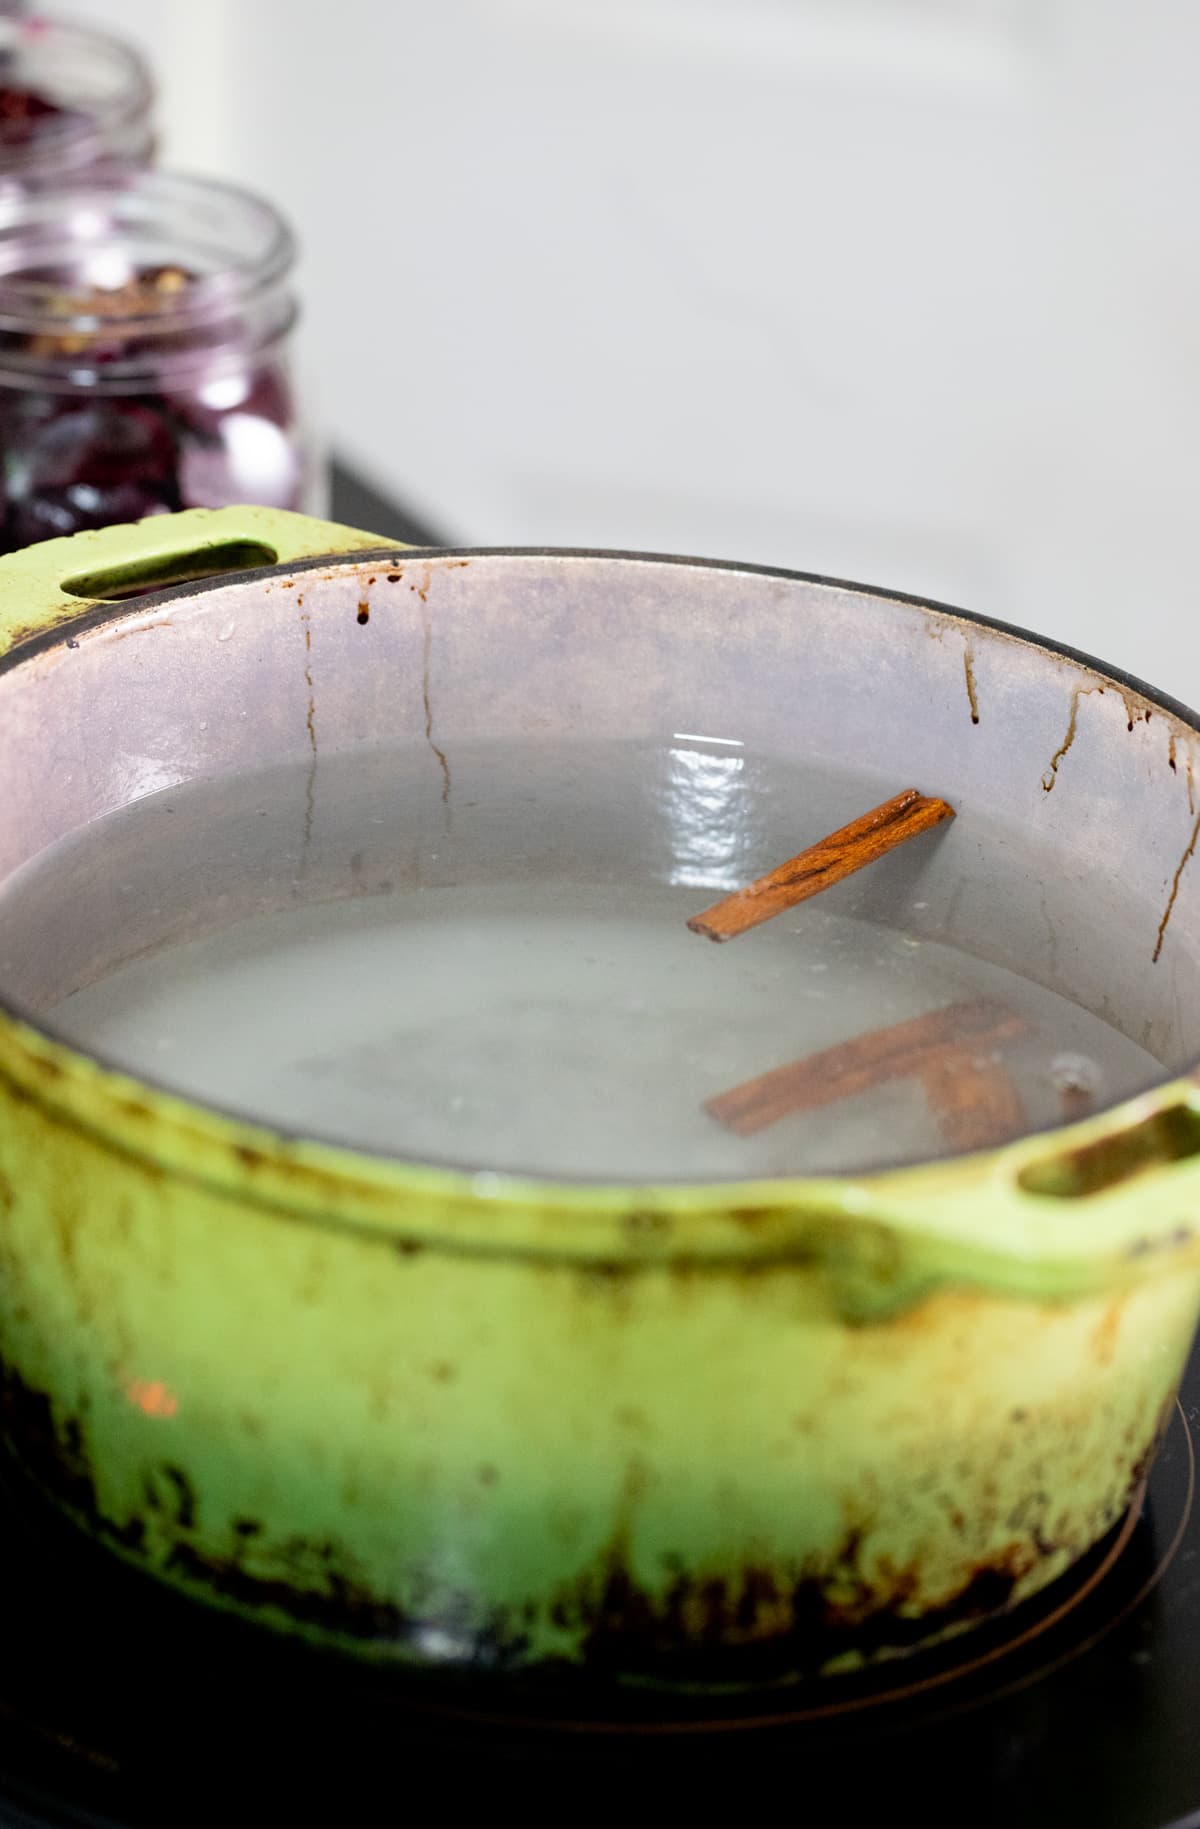
To make the pickling brine, bring vinegar, water, sugar, salt, and cinnamon sticks to a boil. Lower the heat and let the pickling brine simmer for 15 minutes. Turn the heat off. Ladle the hot pickling brine over the beets, leaving 1/2 inch of headspace.
Use the bubble remover to remove air bubbles from each jar. Then, use a damp paper towel to clean the rim of each jar. Center the lids and close the jars with the bands fingertight.
Storing Pickled Beets in the Fridge…
Pickled beets will last a few months in the fridge, so feel free to skip the canning part if you have enough fridge space and just store your jars in the fridge (you can use a plastic lid if you do that). Make sure that you use a clean fork or spoon every time that you grab beets from the jar.
Canning Instructions…
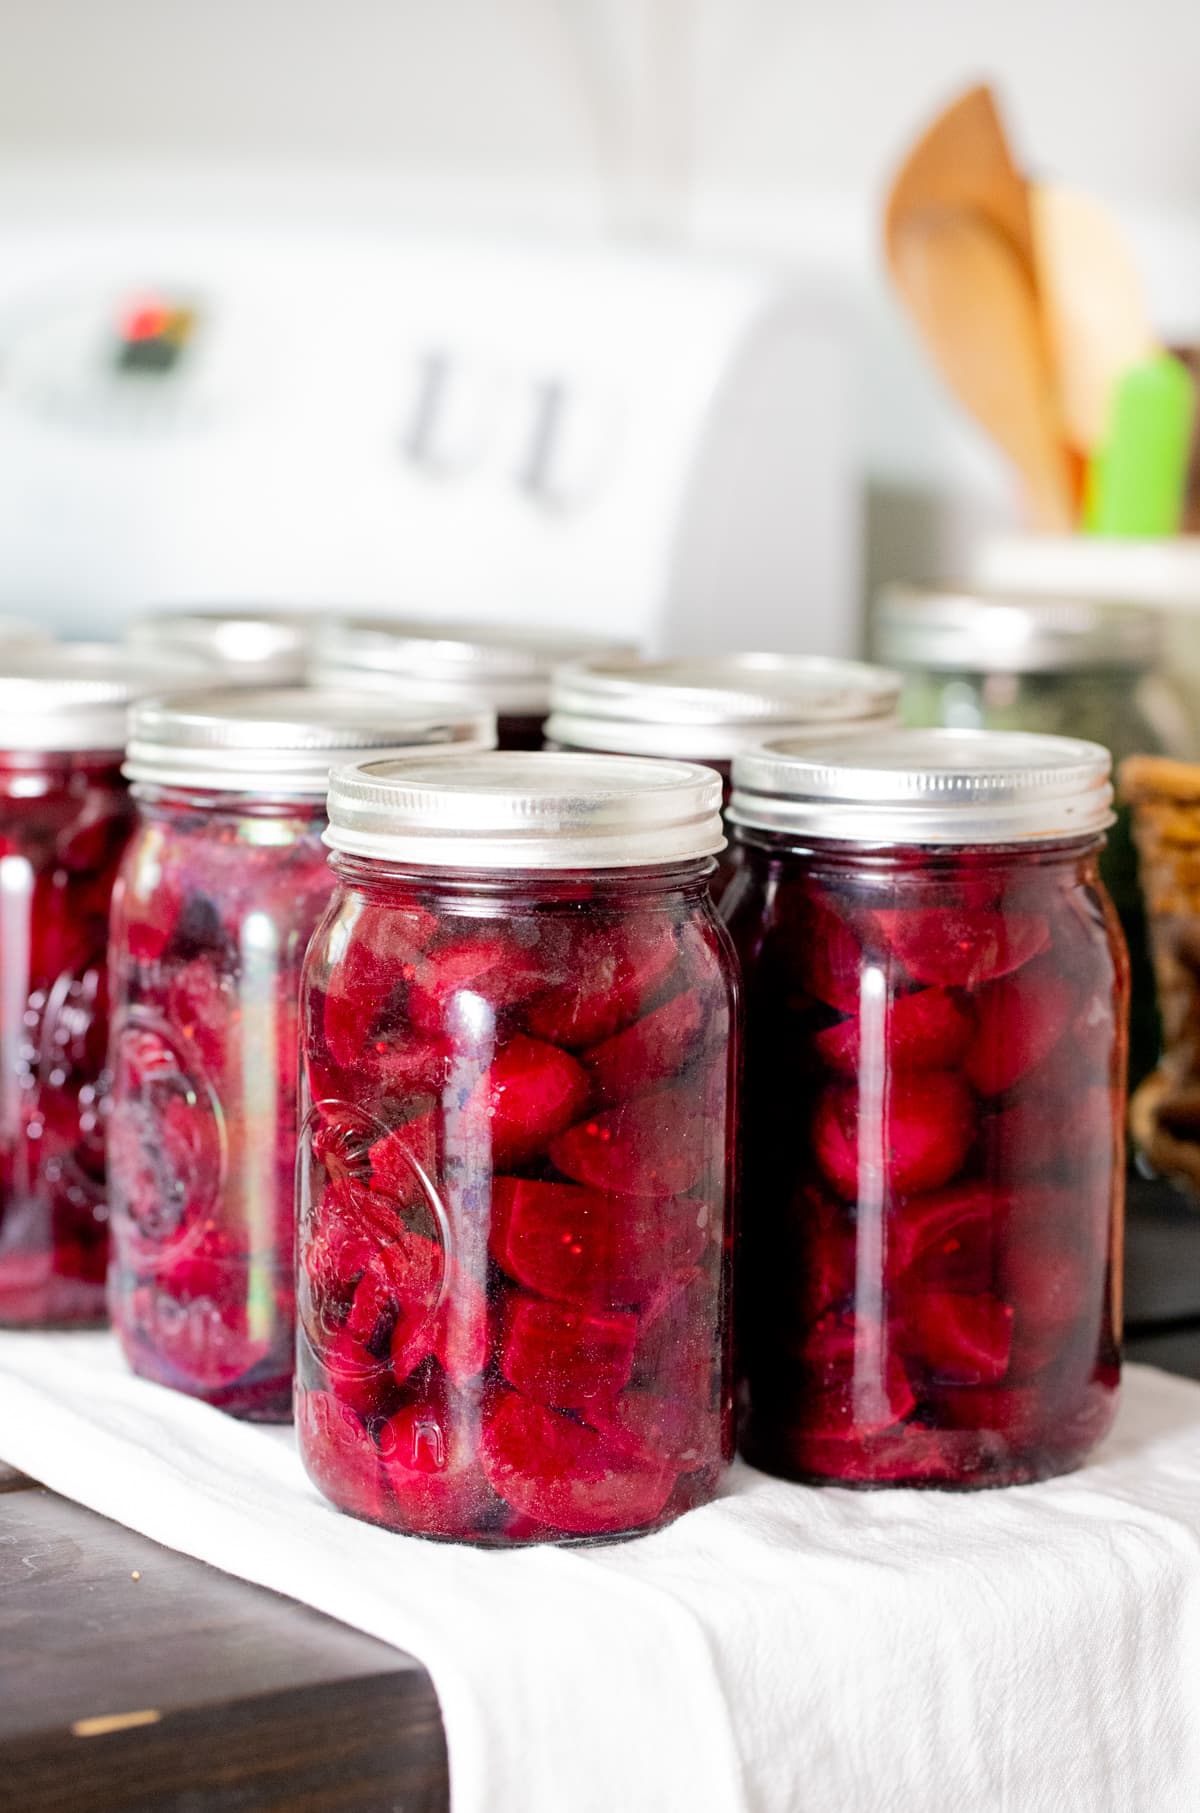
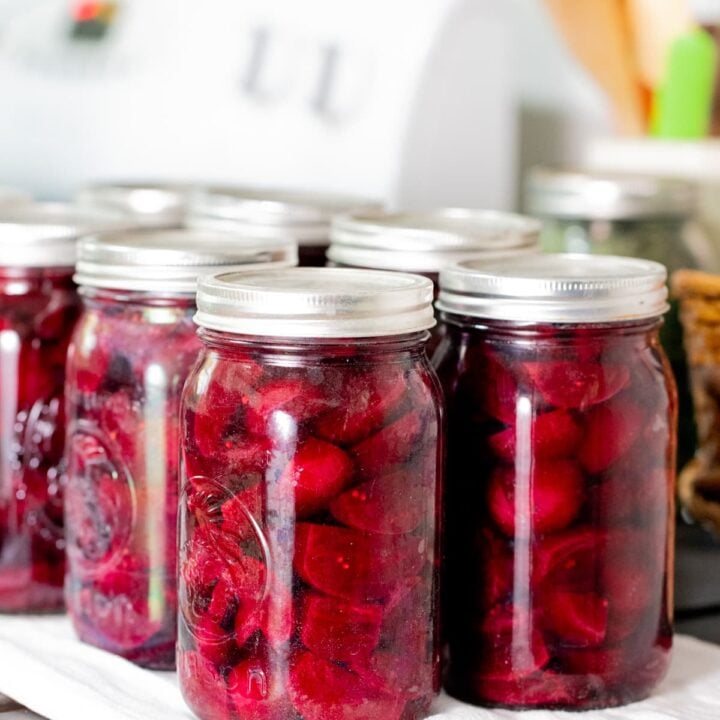
Step five – processing in the water bath. Place the jars on the elevated wire rack of the water bath canner and gently lower the rack into the boiling water. Bring the water back to a boil, cover the pot, and process quart jars for 15 minutes (10 minutes for pint jars). Always remember to adjust processing time according to the table below if you live at elevations above 1000 feet.

Once processing time has passed, turn off the heat and uncover the pot. Let the jars rest in the hot water for five minutes. Use the jar lifter to remove the jars from the pot and set them on a kitchen towel on the counter or on a wooden cutting board to cool, undisturbed, overnight. You should hear the “pop” that indicates that the jars have been sealed as the jars cool.
How to Store…
When the jars have all cooled to room temperature, check that they have sealed by pressing the center of each lid. If there is no movement there, it means that the jars are sealed. If a jar didn’t seal properly, store it in the fridge and use it first.
Wipe the jars and remove the metal band. It sometimes rusts in storage and makes it hard to open the jar down the road, and you can also reuse it to can something else. Store the jars at room temperature in your pantry, on a shelf, or in a kitchen cabinet. Sealed jars should last up to 18 months.
How to Serve Pickled Beets…
- As a snack – they are vinegary, sweet, and delicious. I love scooping a few beets into a bowl and snacking on them. And they are a gut cleaner! Let’s just say, don’t freak out if what comes out of you when you go visit the potty is purple!
- As a side – pickled beets are a great side for an easy sandwich lunch. Add them as a side to a burger instead of the fries, add them as a side to a meat wrap, or a BBQ sandwich, or any other.
Add them as a side to this Mediterranean zucchini casserole, or serve them with zucchini and corn fritters for a simple vegetarian lunch or breakfast. - Throw them in salads – they are a delicious, salty addition to any salad. I sometimes add them to my favorite Mediterranean egg salad or a classic Israeli salad.
Kitchen Notes…
- You can use other kinds of vinegar. Just make sure that the vinegar that you use has a 5% acidity.
- Feel free to change the seasonings (or don’t season at all). I like the flavor of the Ball seasoning mix, and it keeps my life simple because it’s all already there. But feel free to use just mustard seeds, or just peppercorns, or jalapenos or cayenne, or dry or fresh herbs… The options are endless. Many people love pickling beets with whole allspice.
- I am often asked if we shouldn’t pressure can beets. Beets are a low-acid food, so if you want to can beets and not pickle beets, you’ll have to use a pressure canner. In this case, it’s just fine to use the water bath canner because we add a lot of vinegar, which is acidic.
- If you don’t have canning salt, you can use other types of salts that are non-iodized, like kosher salt or sea salt.
- Feel free to double or triple the recipe depending on how many beets you are processing.
- Sugar – if you are planning to keep your beets in the fridge and not can them, feel free to reduce the sugar to as low as 1/2 cup. If you want to process your jars so they can last at room temperature for long-term storage, sugar is important. You can reduce it a bit, but I won’t reduce it too much.
Over here in the South, pickled beets are a spring and early summer staple. They are delicious and a great way to preserve beets (I also make sure to dehydrate some of my beets). I hope that this tutorial was helpful!
More Pickling and Fermenting Tutorials…
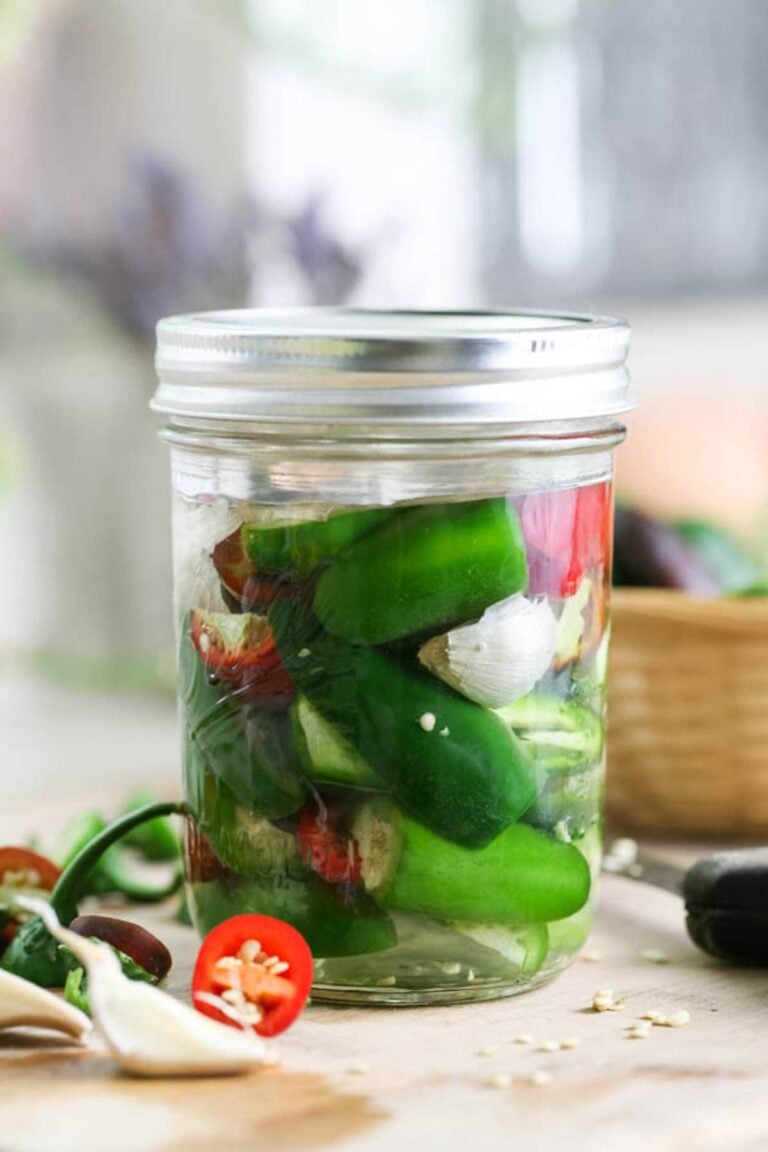
- Preserving Peppers in Vinegar and Salt
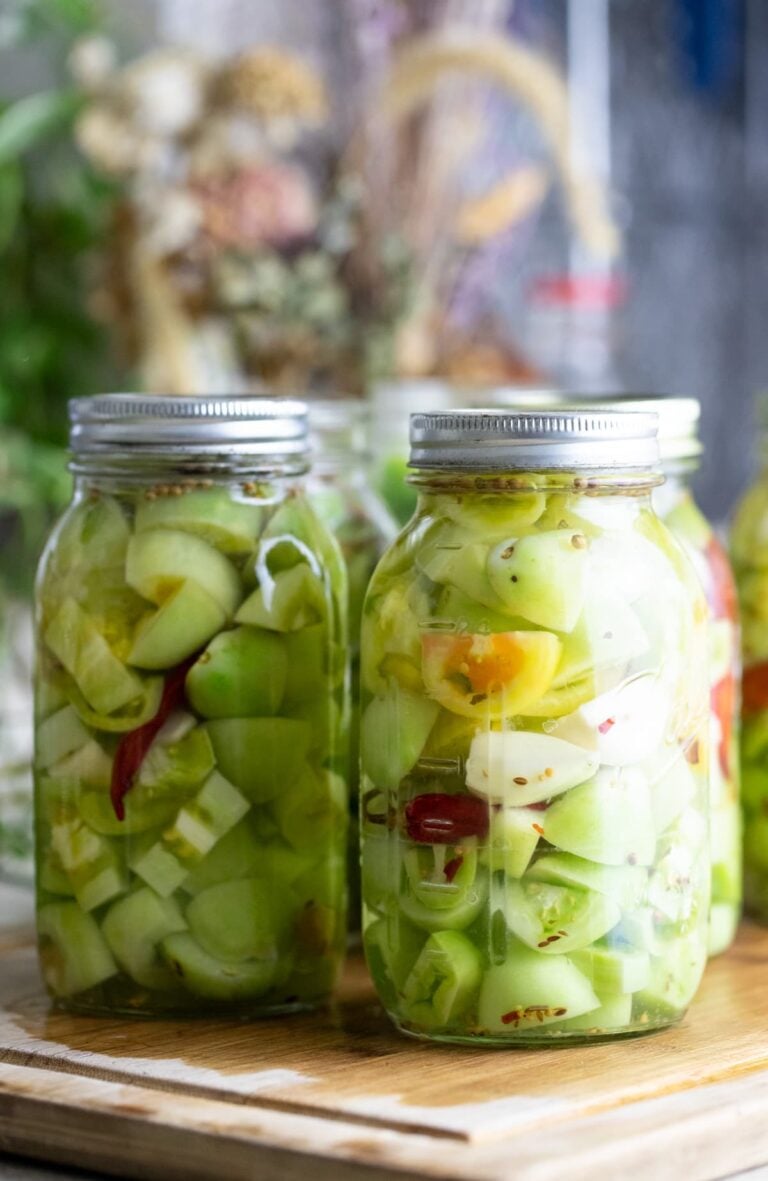
- Fermented Green Tomatoes
- Pickled Green Tomatoes
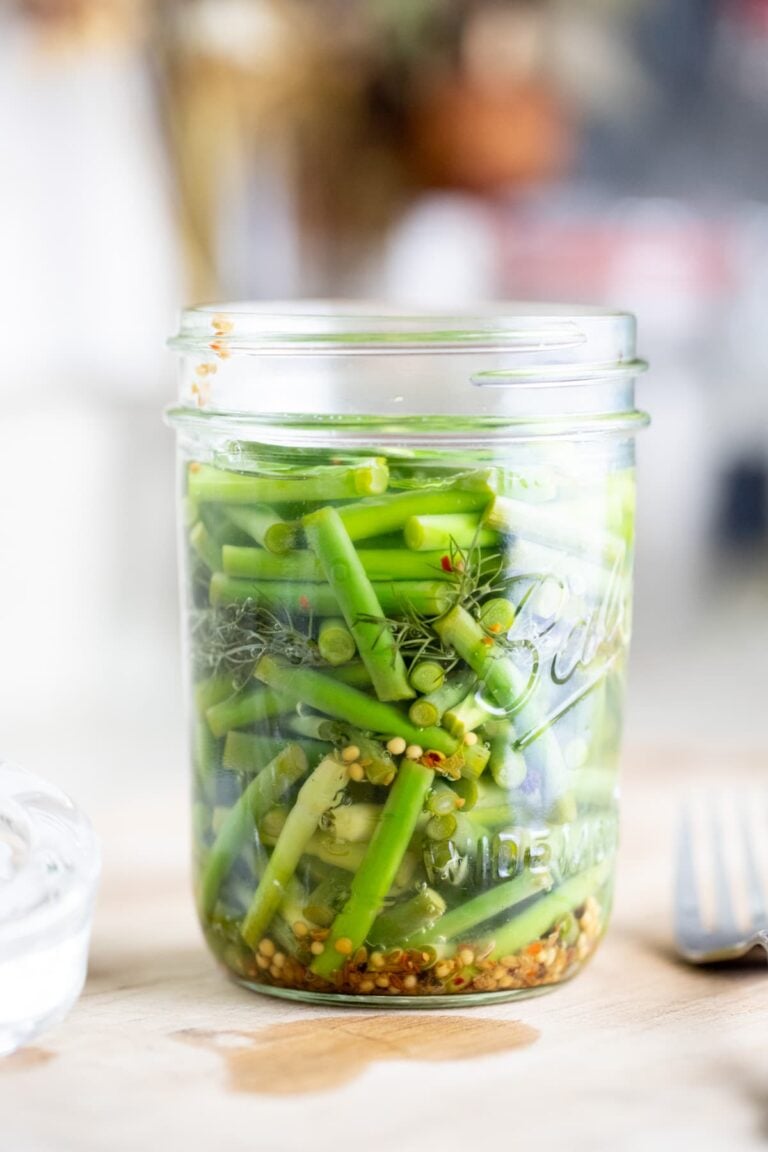
- Fermented Garlic Scapes
- Fermenting Turnips
- Pickled Carrots Recipe for Canning
Pickled Beets Recipe
Old fashion pickled beets recipe and canning instructions.
Ingredients
- Beets - enough to fill 4 quarts
- 4 teaspoons pickling spice (optional)
For the Pickling Brine...
- 2 cups sugar (you can reduce the sugar. More info in the notes below)
- 2 cinnamon sticks
- 1 1/2 teaspoons pickling salt
- 3 1/2 cups vinegar
- 1 1/2 cups water
Instructions
- Start by washing the beets. Then cut the tops and the roots.
- Add the beets to a pot and add water to cover the beets. Place the pot on the stovetop and boil the beets for about 40 minutes. Boiling time will change depending on the size of the beets. To know if your beets are done, stick a fork in a few of them. The fork should go in just a bit. Turn the heat off. Remove the beets from the hot water into a bowl and let them cool to a point that you can handle them.
- Squeeze the skin of each beet just a bit and it should come right off. Now cut the beets however you want. You can slice them, you can half them, you can dice them. This is really up to you.
- Wash the jars, lids, and bands with hot water and dish soap. Pack the jars with the beets, leaving 1/2 inch of headspace. Next, add the seasonings if you want to season your beets. I added a teaspoon of Ball pickling mix to each jar.
- To make the brine, bring vinegar, water, sugar, salt, and cinnamon sticks to a boil. Lower the heat and let the pickling brine simmer for 15 minutes. Turn the heat off. Ladle the hot pickling brine over the beets, leaving 1/2 inch of headspace. Use the bubble remover to remove air bubbles from each jar. Then, use a damp paper towel to clean the rim of each jar. Center the lids and close the jars with the bands fingertight.
- Bring enough water in the water bath to a boil (water should cover the jars by about an inch). This might take some time so it’s better to set the water bath canner on the stovetop and start heating the water when you start preparing the beets. Place the jars on the elevated wire rack and gently lower the rack into the boiling water. Bring the water back to a boil, cover the pot, and process for 15 minutes (always remember to adjust processing time according to the table in the post above if you live higher than 1000 feet in elevation).
- Once processing time has passed, turn off the heat and uncover the pot. Let the jars rest in the hot water for five minutes. Use the jar lifter to remove the jars from the pot and set them on a kitchen towel on the counter or on a wooden cutting board to cool, undisturbed, overnight. You should hear the “pop” that indicates that the jars have been sealed as the jars cool.
- When the jars have all cooled to room temperature, check that they have sealed by pressing the center of each lid. If there is no movement there it means that the jars are sealed. If a jar didn’t seal properly, store it in the fridge and use it first.
Wipe the jars and remove the metal band. It sometimes rusts in storage and makes it hard to open the jar down the road and you can also reuse it to can something else. Store the jars at room temperature in your pantry, on a shelf, or in a kitchen cabinet. Sealed jars should last up to 18 months.
Notes
Kitchen Notes...
- Pickled beets will last a few months in the fridge, so feel free to skip the canning part if you have enough fridge space and just store your jars in the fridge (you can use plastic lids if you do that). Make sure that you use a clean fork or spoon every time that you grab beets from the jar.
- You can use other kinds of vinegar. Just make sure the vinegar that you use has a 5% acidity.
- Feel free to change the seasonings (or don’t season at all). I like the flavor of the Ball seasoning mix and it keeps my life simple because it’s all already there. But feel free to use just mustard seeds, or just peppercorns, or jalapenos or cayenne, or dry or fresh herbs… The options are endless. Many people like to pickle beets with whole Allspice.
- I am often asked if we shouldn’t pressure can beets since they are low-acid food. In this case, it’s just fine to use the water bath canner because we add a lot of vinegar which is acidic.
- If you don’t have pickling salt you can use other types of salts that are non-iodized like kosher salt or canning salt.
- Feel free to double or triple the recipe depending on how many beets you are processing.
- Sugar – if you are planning to keep your beets in the fridge and not can them, feel free to reduce the sugar to as low as 1/2 cup. If you want to process your jars so they can last at room temperature for long-term storage, sugar is important. You can reduce it a bit but I won’t reduce it too much.
Nutrition Information:
Yield: 4 Serving Size: 1 quartAmount Per Serving: Calories: 725Total Fat: 1gSaturated Fat: 0gTrans Fat: 0gUnsaturated Fat: 1gCholesterol: 0mgSodium: 678mgCarbohydrates: 168gFiber: 14gSugar: 154gProtein: 11g