Southwest Chicken Chili
This post may contain affiliate links, view our disclosure policy for details.
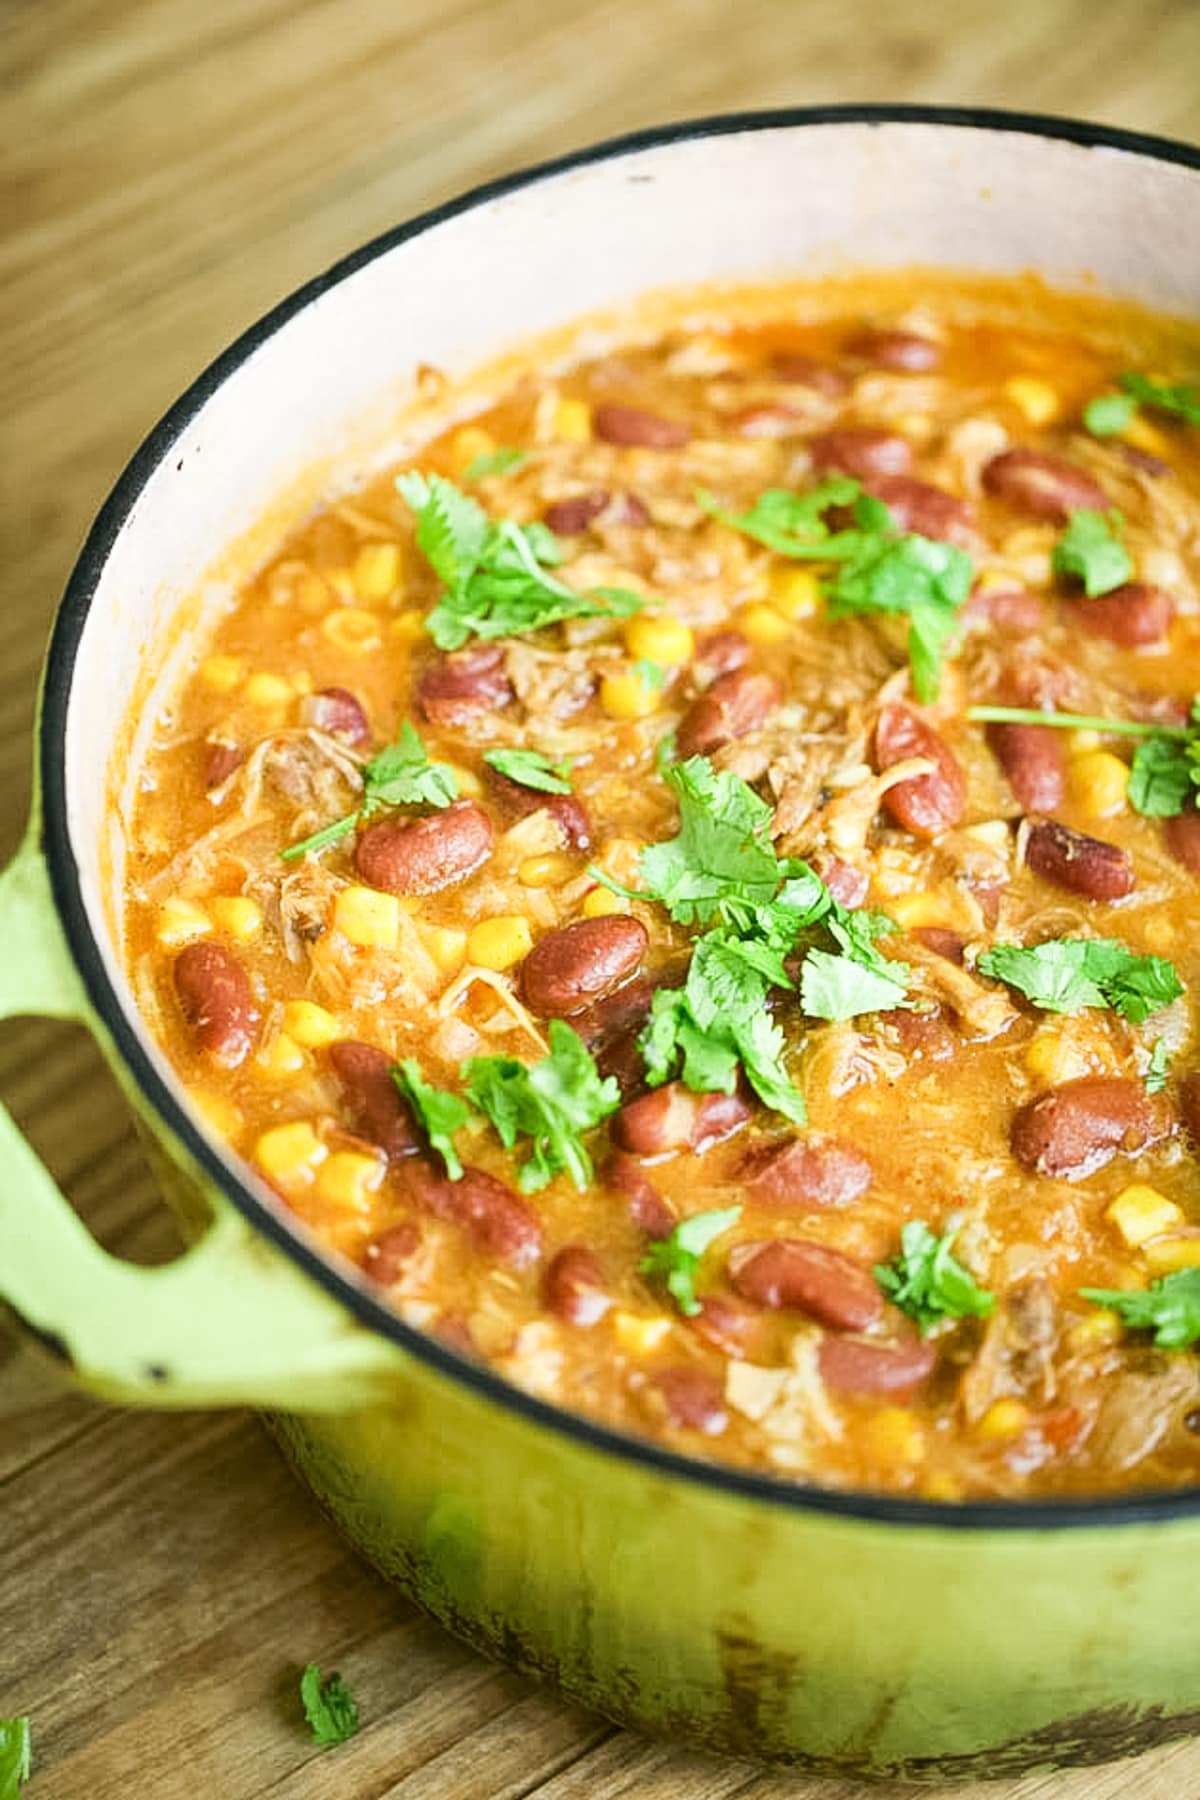
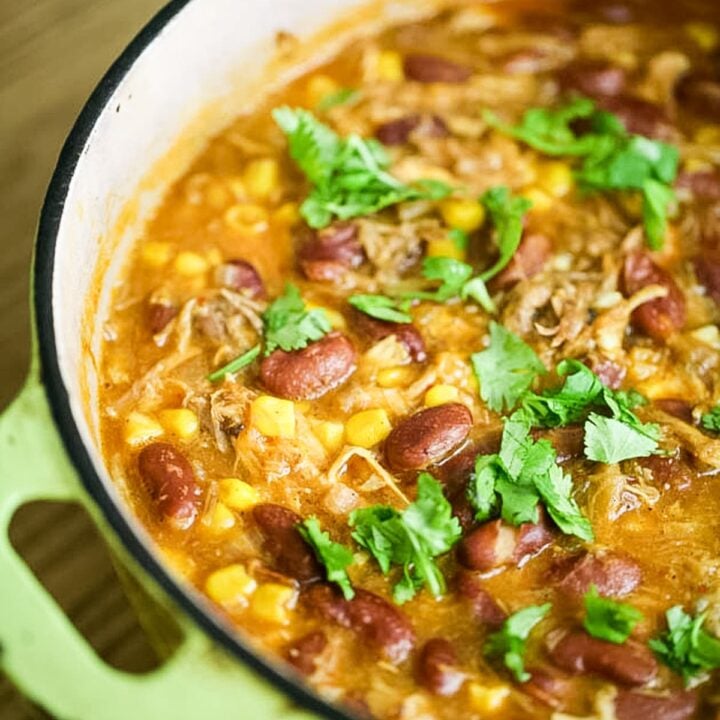
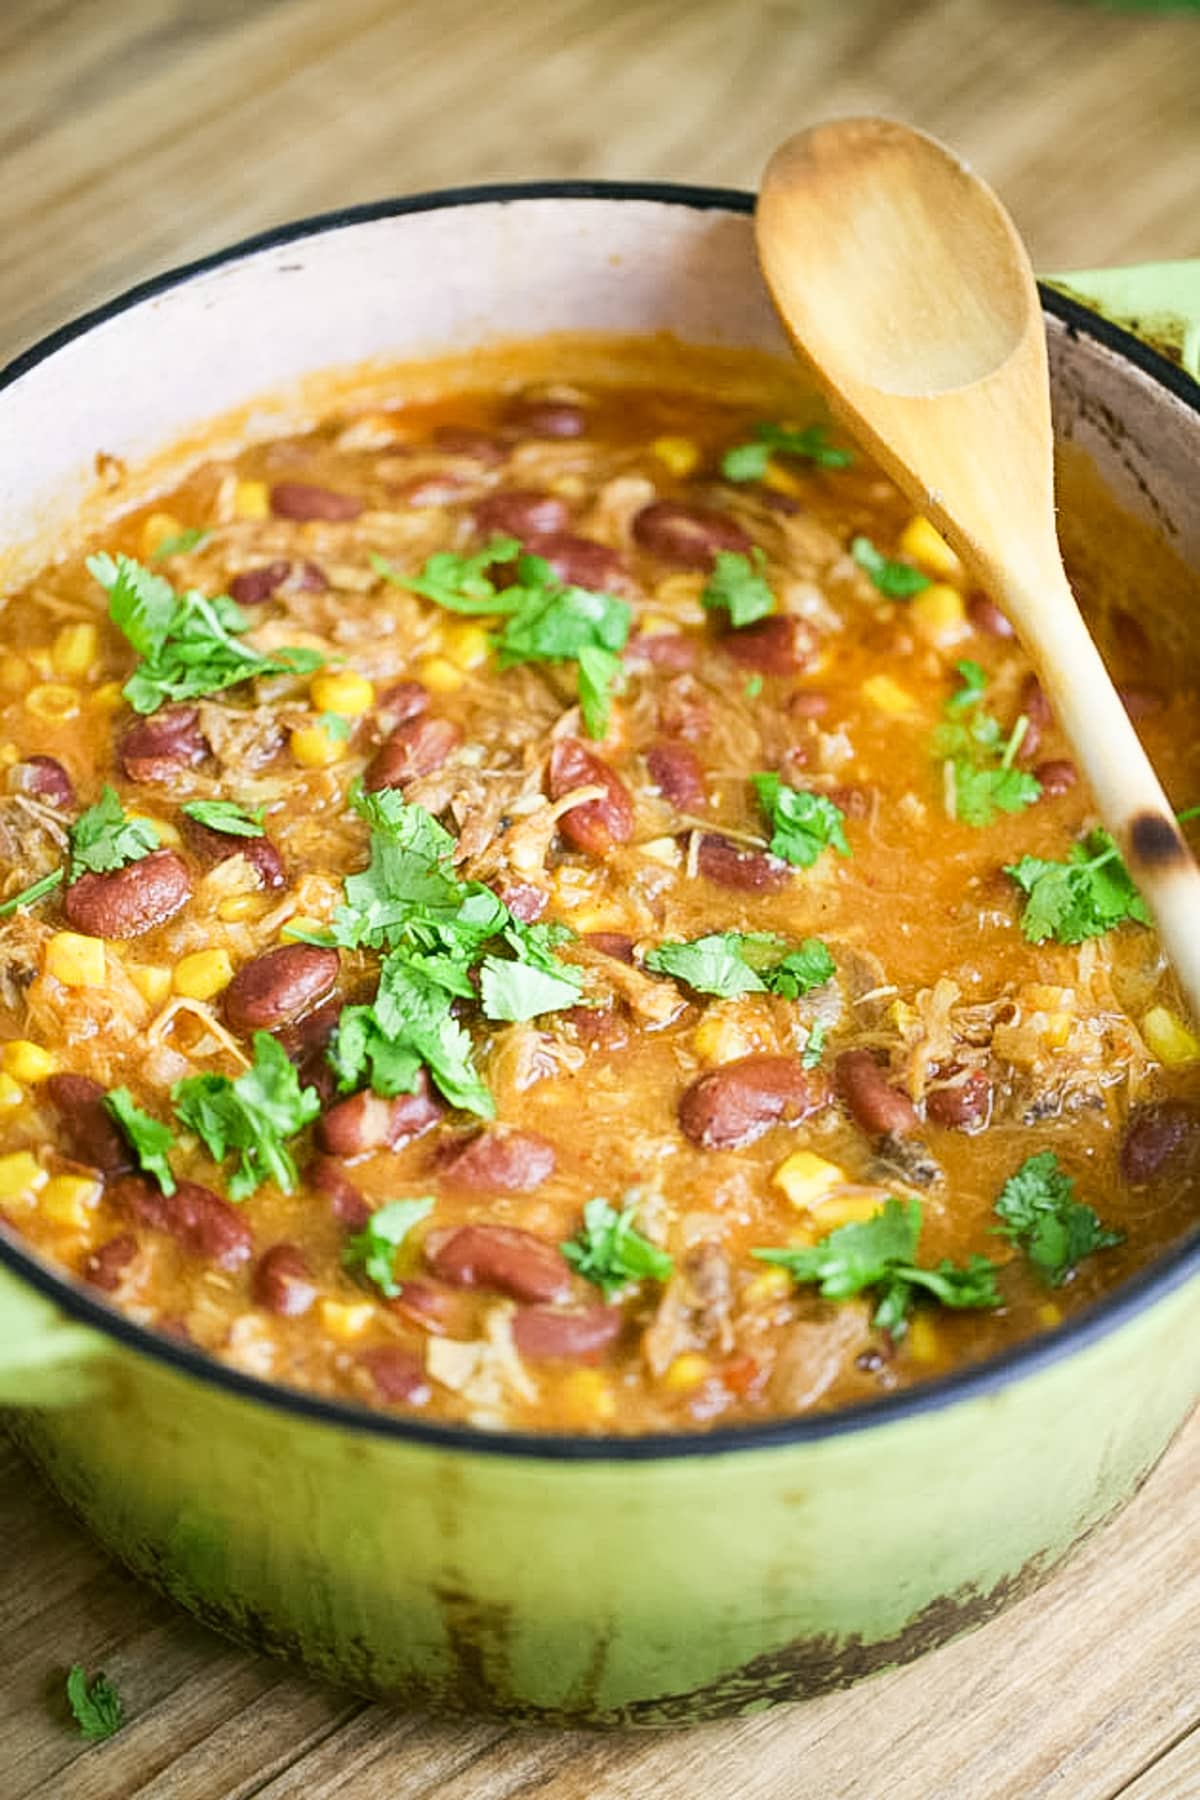
This Southwest chicken chili recipe is easy to put together. It’s healthy and filling. I make it with fresh tomatoes, corn, and beans that marry beautifully with the shredded chicken but you can get creative and use many different ingredients in this recipe.
Lady Lee’s Note…
This Southwest Chicken Chili is one of my favorite meals to make. First and foremost, I call it the smart-mommy-way-to-freedom dish and that’s because I make a huge pot of it that lasts several days. Second, because everyone loves it so much they will actually eat it for days without complaining!
I am a single mom of four who lives far away from family and has 50 animals in her backyard. Can you imagine what it means for me to not need to cook dinner for 3 or 4 days!? Freedom, that’s what it means… And more time to take care of the other 7 million chores around here. You didn’t think that I was just going to lay down on the sofa and watch the Kardashians, did you?
Anyway, there is another reason why I love this dish so much and that is the fact that it’s the perfect dish for a homesteader like me. If you are not growing your own food, don’t run away, please. All of the ingredients that I use are just common ingredients that you can easily find at the grocery store.
The Perfect Dish For a Homesteader…
However, if you’re a homesteader like me you can pretty much grow every ingredient in this dish which makes it even more attractive for those of us who live this lifestyle.
- You can raise chickens for meat…
- You can grow onions, garlic, corn, and beans in the garden…
- You’re most likely already growing tomatoes, and if you make this dish during the winter when there are no fresh tomatoes in the garden, you can use tomato sauce that I hope you canned from your garden during the season or frozen tomatoes that you threw in the freezer during the growing season.
- Even the cilantro that we are going to use for garnish can come from the garden!
It makes me so excited just writing it down. I’ve learned through the years that if you want to grow more of your food you might need to change your diet a bit and choose dishes that use ingredients that are possible for you to grow. This Southwest chicken chili is one of those dishes!
Ingredients…
Here, I’m going to list the ingredients that I used when I made this pot of Southwest chicken chili. Below, you can find ideas for substitutes…
- Canola oil
- Onion
- Garlic cloves
- Shredded chicken
- Chicken stock
- Tomato sauce for large fresh tomatoes
- Seasonings: cumin, salt, black pepper, paprika
- Beans
- Corn
- Masa harina flour
- Cilantro
- Tortilla chips
Kitchen Tools…
Here are the tools that you’ll see me using throughout this tutorial. You might not need all of them. I have to use some of them because I grow some of the ingredients on the homestead which means I am the one who needs to do the processing…
- Cutting board – when we mess with raw poultry, it’s always better to use a non-wooden cutting board. I got lazy and just placed one of those plastic cutting board mats over my wooden one that is always on the counter.
- Kitchen knife
- Pressure cooker – I use a pressure cooker to process my chicken. We are going to use 3 cups of shredded chicken in this recipe. I go over a few ways you can get shredded chicken below. For me, it means processing my chicken in a pressure cooker.
- Food processor – I am using fresh tomatoes from the garden, so I’m going to use the processor to make a quick tomato sauce.
- Dutch oven – everything tastes better in a dutch oven but it can be any pot.
- Wooden spoon
- Strainer
- Half-pint mason jar or a simple cup.
- Measuring spoons
Step-by-Step Instructions…
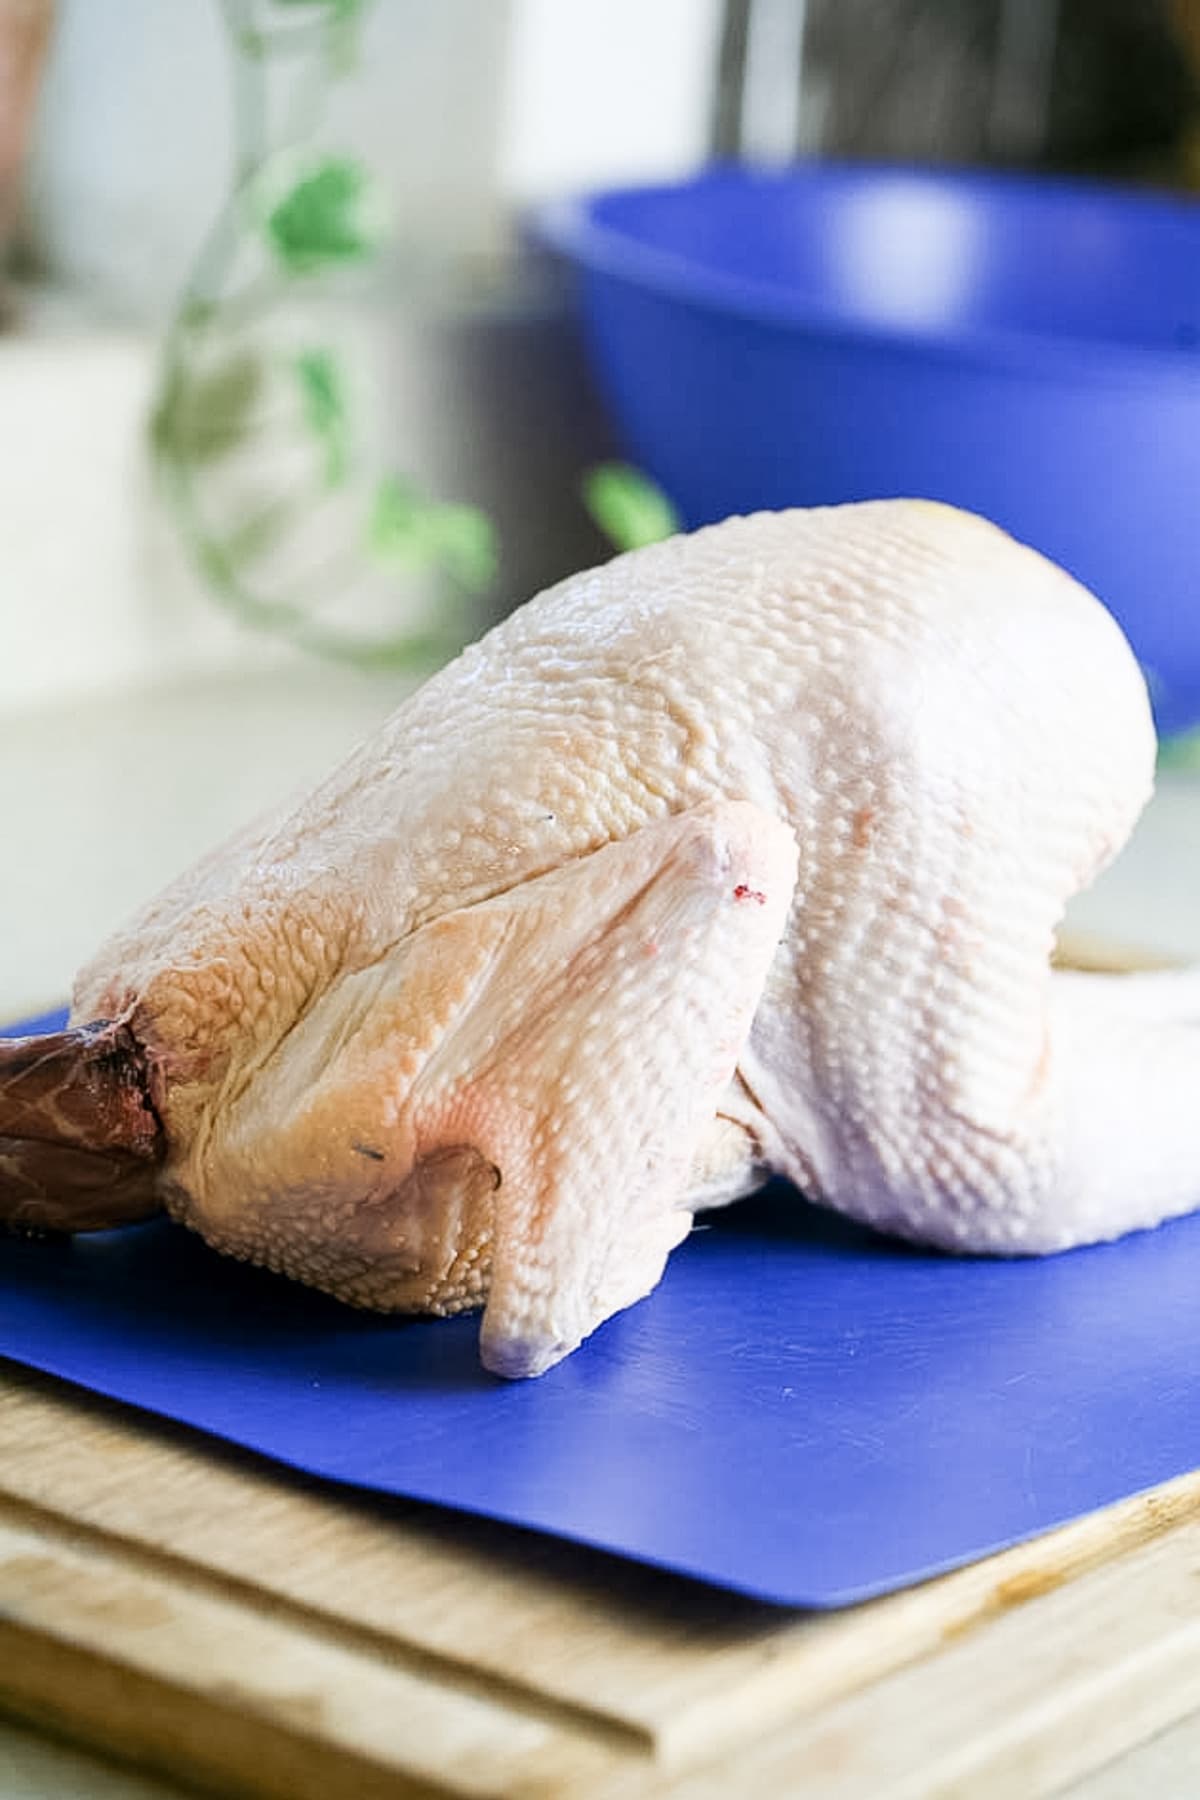

Step one – prep the chicken. If you don’t raise your own chicken, you can skip this step and just get yourself 3 big cups of shredded chicken. You can get a rotisserie chicken at the grocery store and shred the meat or you can buy raw chicken and boil it for 30-40 minutes in water before you take the meat off the bones. Or maybe you have some leftover chicken from a roasted chicken you made a few days prior. Another thing to keep in mind is that you can use leftover turkey from Thanksgiving. Along with pot pie, this Southwest Chicken Chili is my favorite way to use leftover chicken or turkey.
Here on the homestead, I raise Black Australorp chickens for both egg and meat production and I butcher my own chickens. I pack my whole chickens and store them in the freezer. So for me, this dish starts by thawing a whole chicken. Usually, I just throw the frozen chicken in the pressure cooker with water and cook it for 40 minutes but this guy was really big and didn’t fit in the pot so I had to wait until it thawed so I could divide it into pieces.
Then I was able to fit the whole chicken in the pressure cooker, add 4 cups of water, and cook the chicken in the pressure cooker for 40 minutes. If you are a homesteader, here are a couple of things to consider…
- First, I took the time to remove the skin, we really don’t have a use for it in this dish so I gave it to my dog (raw).
- Since I’ve started making this dish more often, I now skin most of my chickens instead of plucking them when I butcher them.
- The last note I have here is that if you raise ducks for meat and butcher them on the homestead you can definitely make this dish with duck meat as well. You can also use rabbit meat if you grow rabbits.
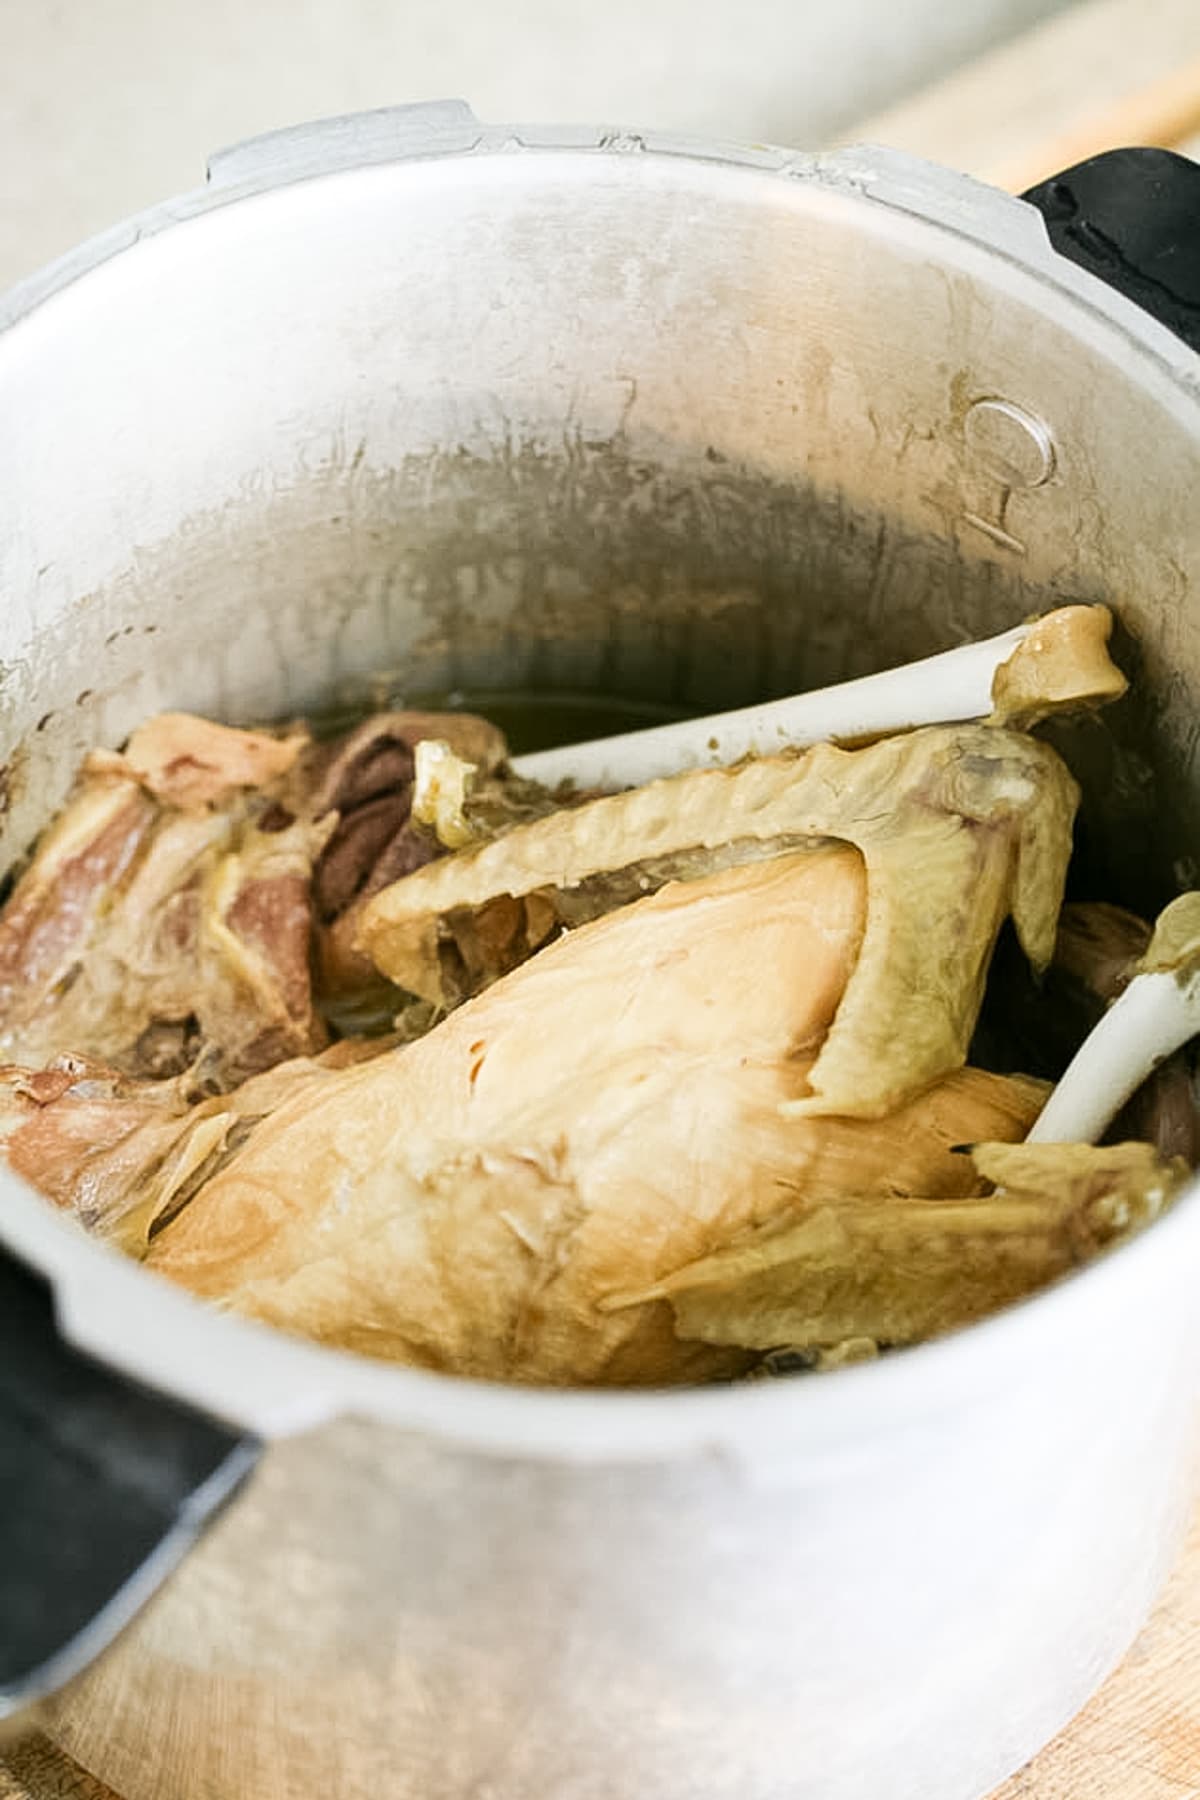
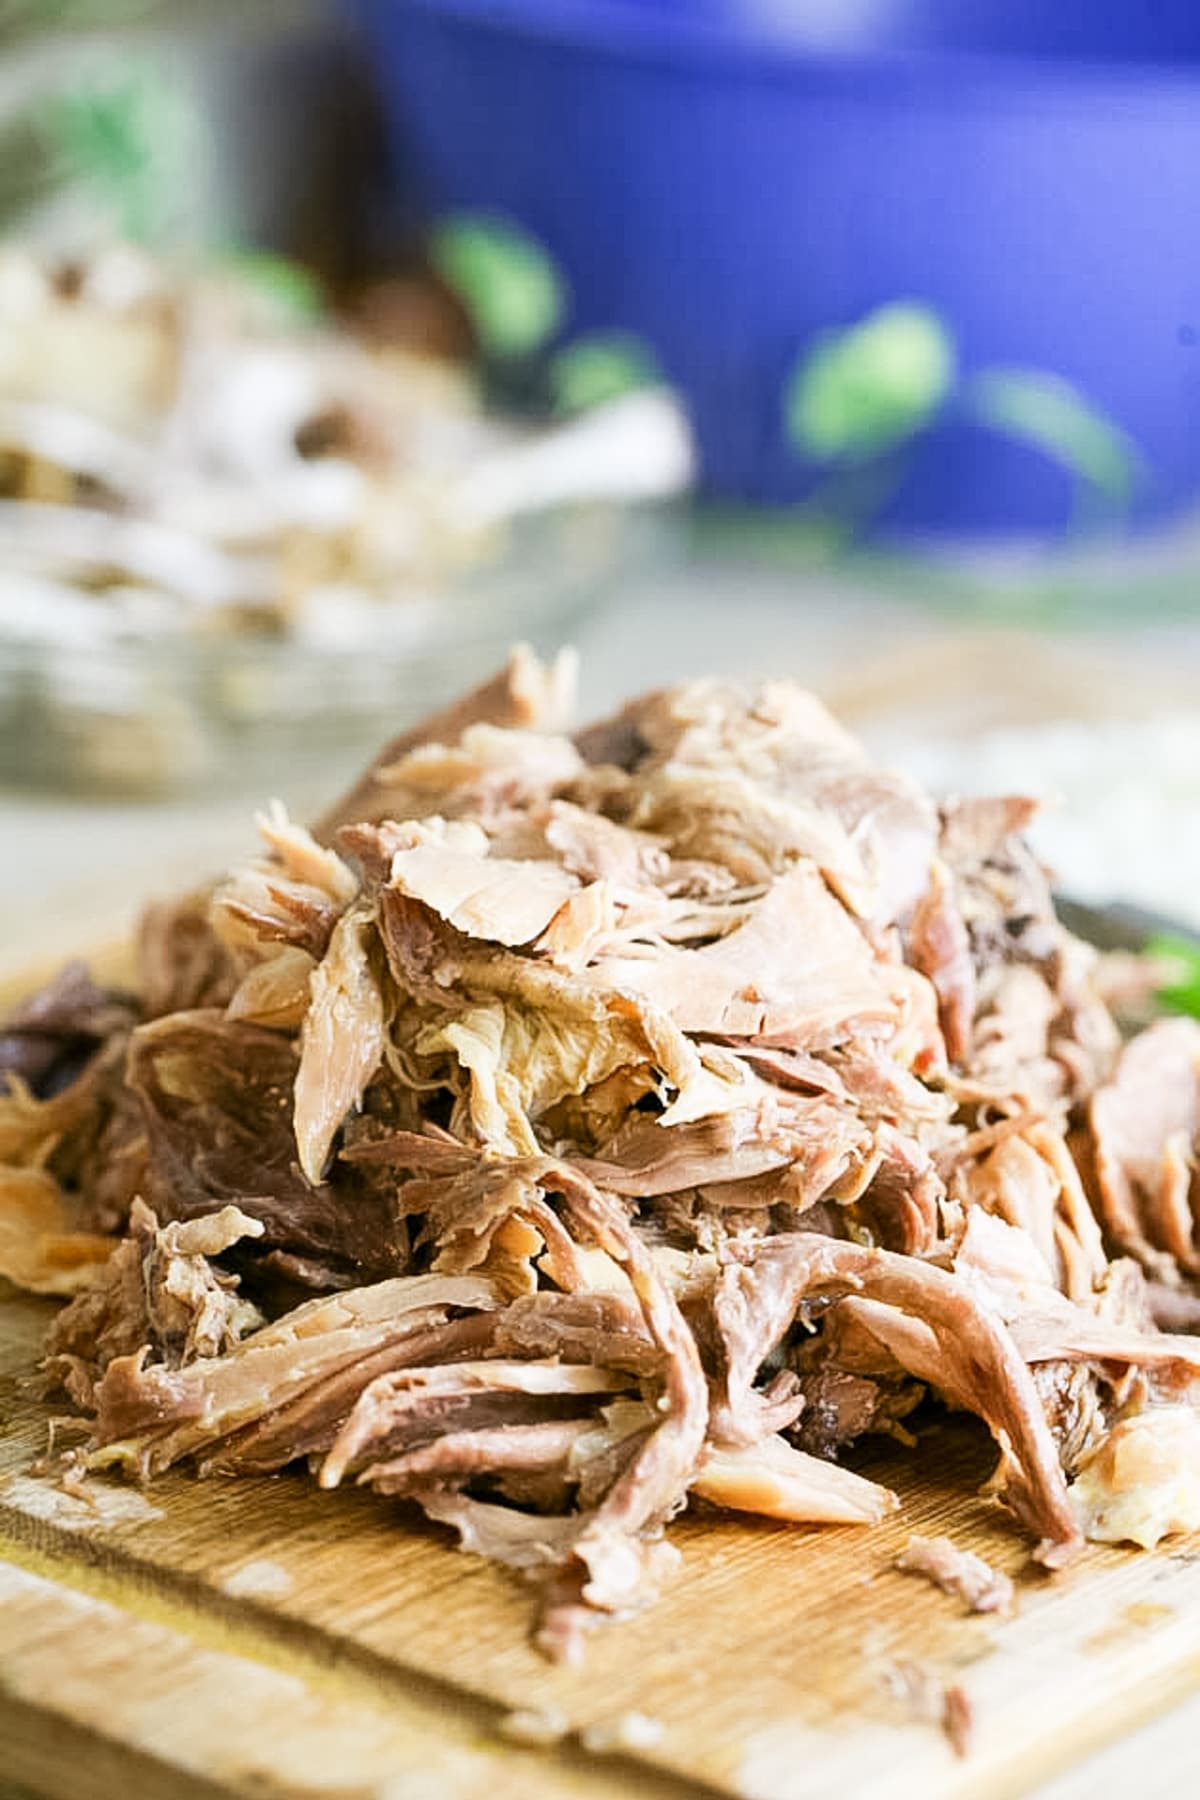
After 40 minutes, take the pressure cooker to the sink and let the cool water wash over it to cool it quickly. After it’s cooled, open the pot. The meat should be falling off the bone! Let the chicken cool for a few minutes and then just use your hands to pull and shred the meat. Reserve the liquid for later.
This rooster was really big. I was only going to use three cups of shredded chicken. The rest of the meat can be used in another dish (like a chicken salad for example), can be frozen for later, or you can can the extra chicken meat and store it at room temperature.

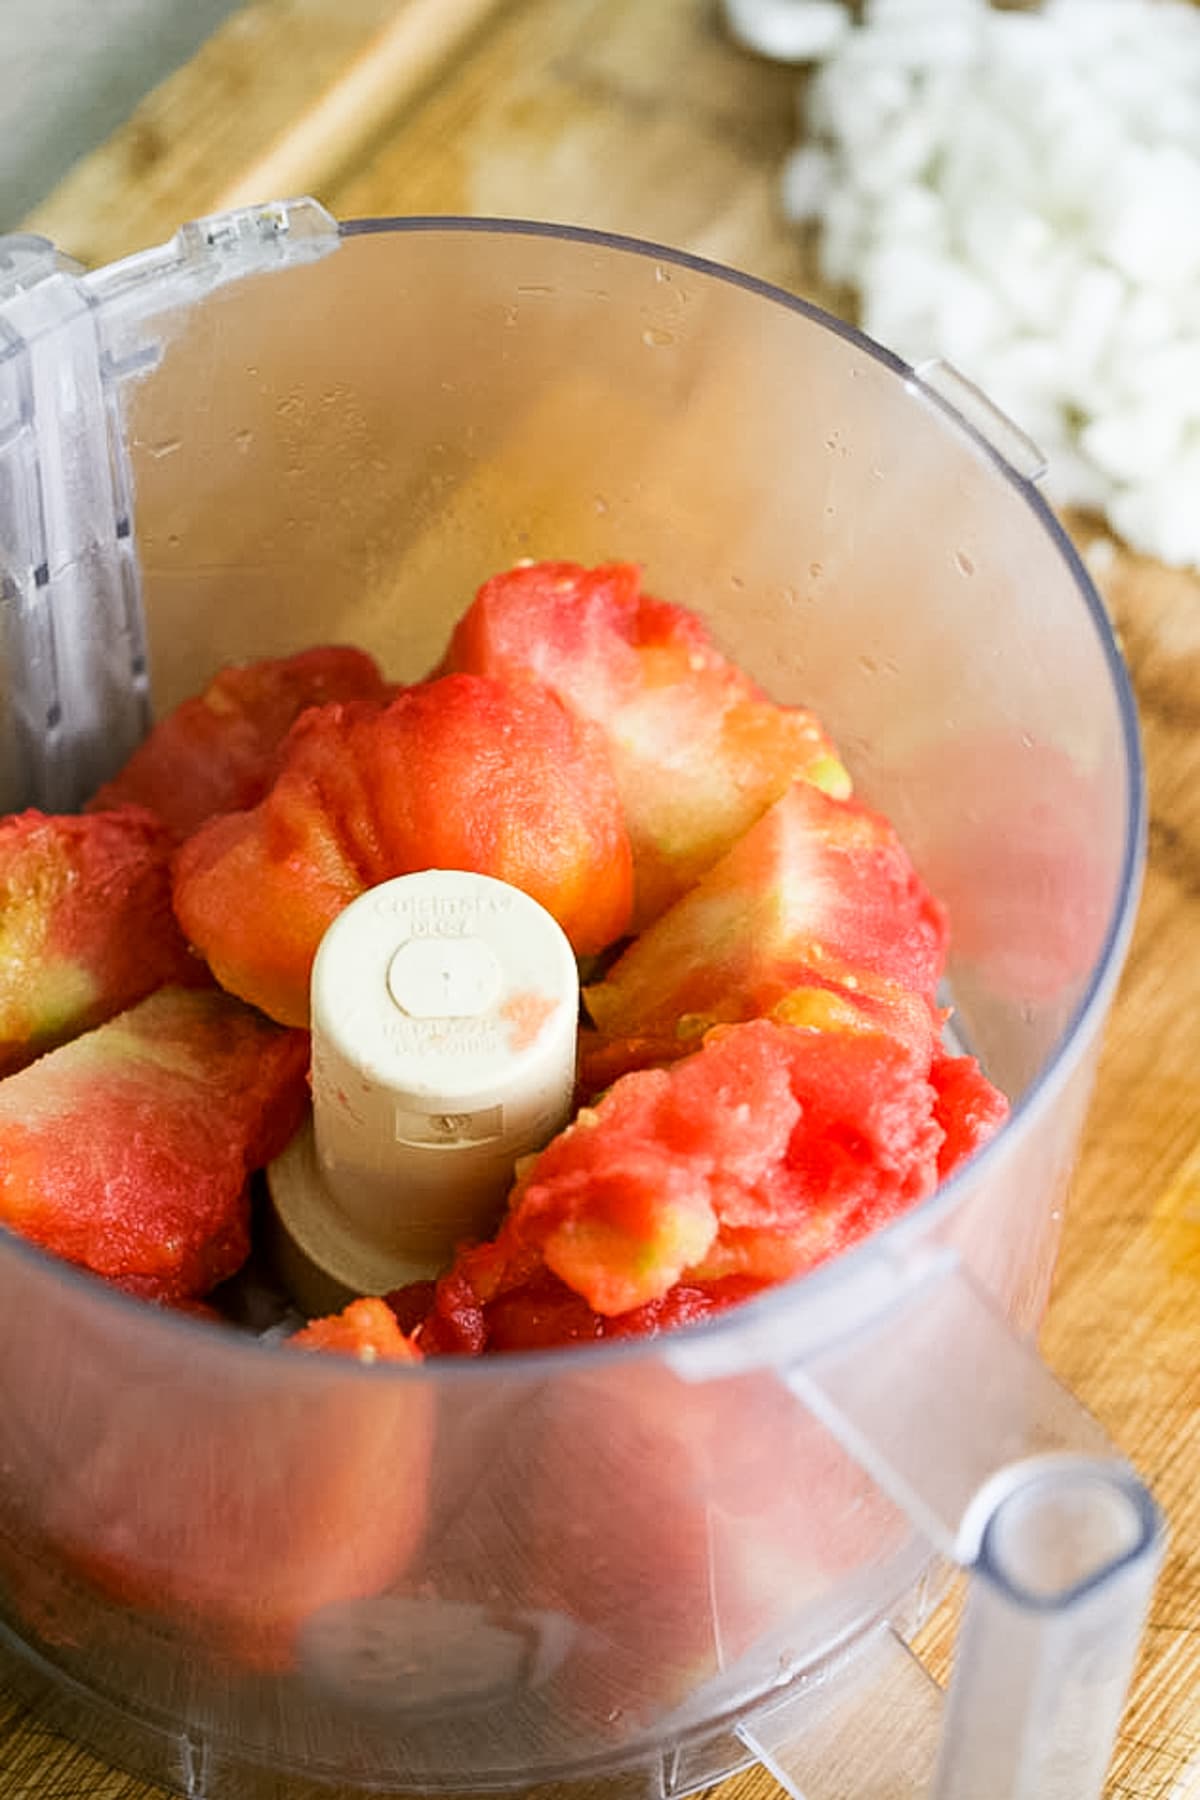
Step two – preparing the tomatoes. Set the chicken aside and get to work on the tomatoes if you are using fresh tomatoes. You might choose to peel the tomatoes but you don’t have to. If the skin doesn’t bother you, you can just process them in the food processor or dice them.
My tomatoes were frozen. During the growing season, I often don’t have time to process everything that I harvest. With tomatoes this is not a problem, all I do is place them in a plastic bag and send them to the freezer. When you thaw frozen tomatoes the skin comes right off. It’s a nice trick that saves you the process of blanching your tomatoes in order to remove the skin. So I peel my tomatoes, cut them roughly, and process them in the food processor.

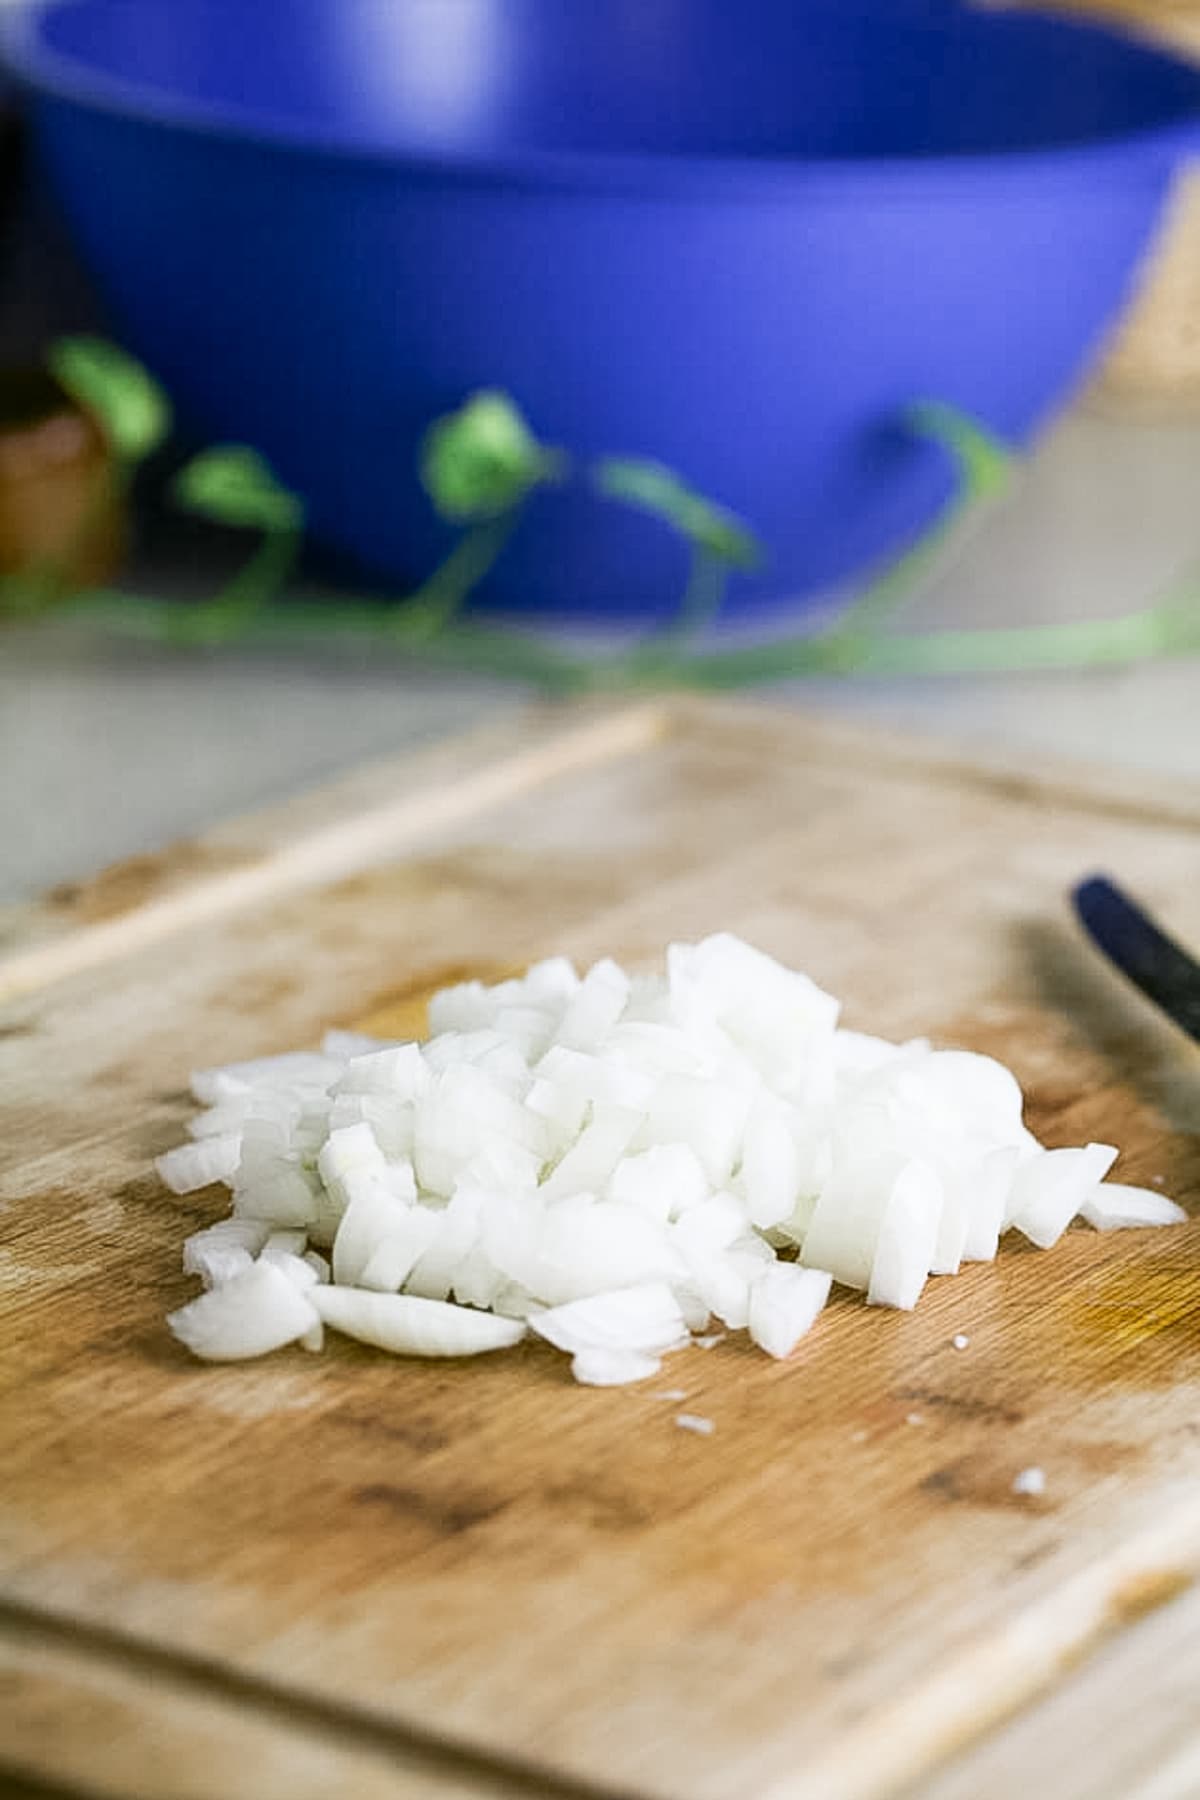
Step three – Prepare the onion and garlic. We are going to need one large onion but as you can see, I already used all of the large onions that I got from the garden this season and I’m left with all the little ones. So I just had to grab a few of them. Peel the onion and dice it. Also, in addition to the onion, peel and fine dice (or mince) 3 large garlic cloves. Now we are ready to put this Southwest chicken chili together…
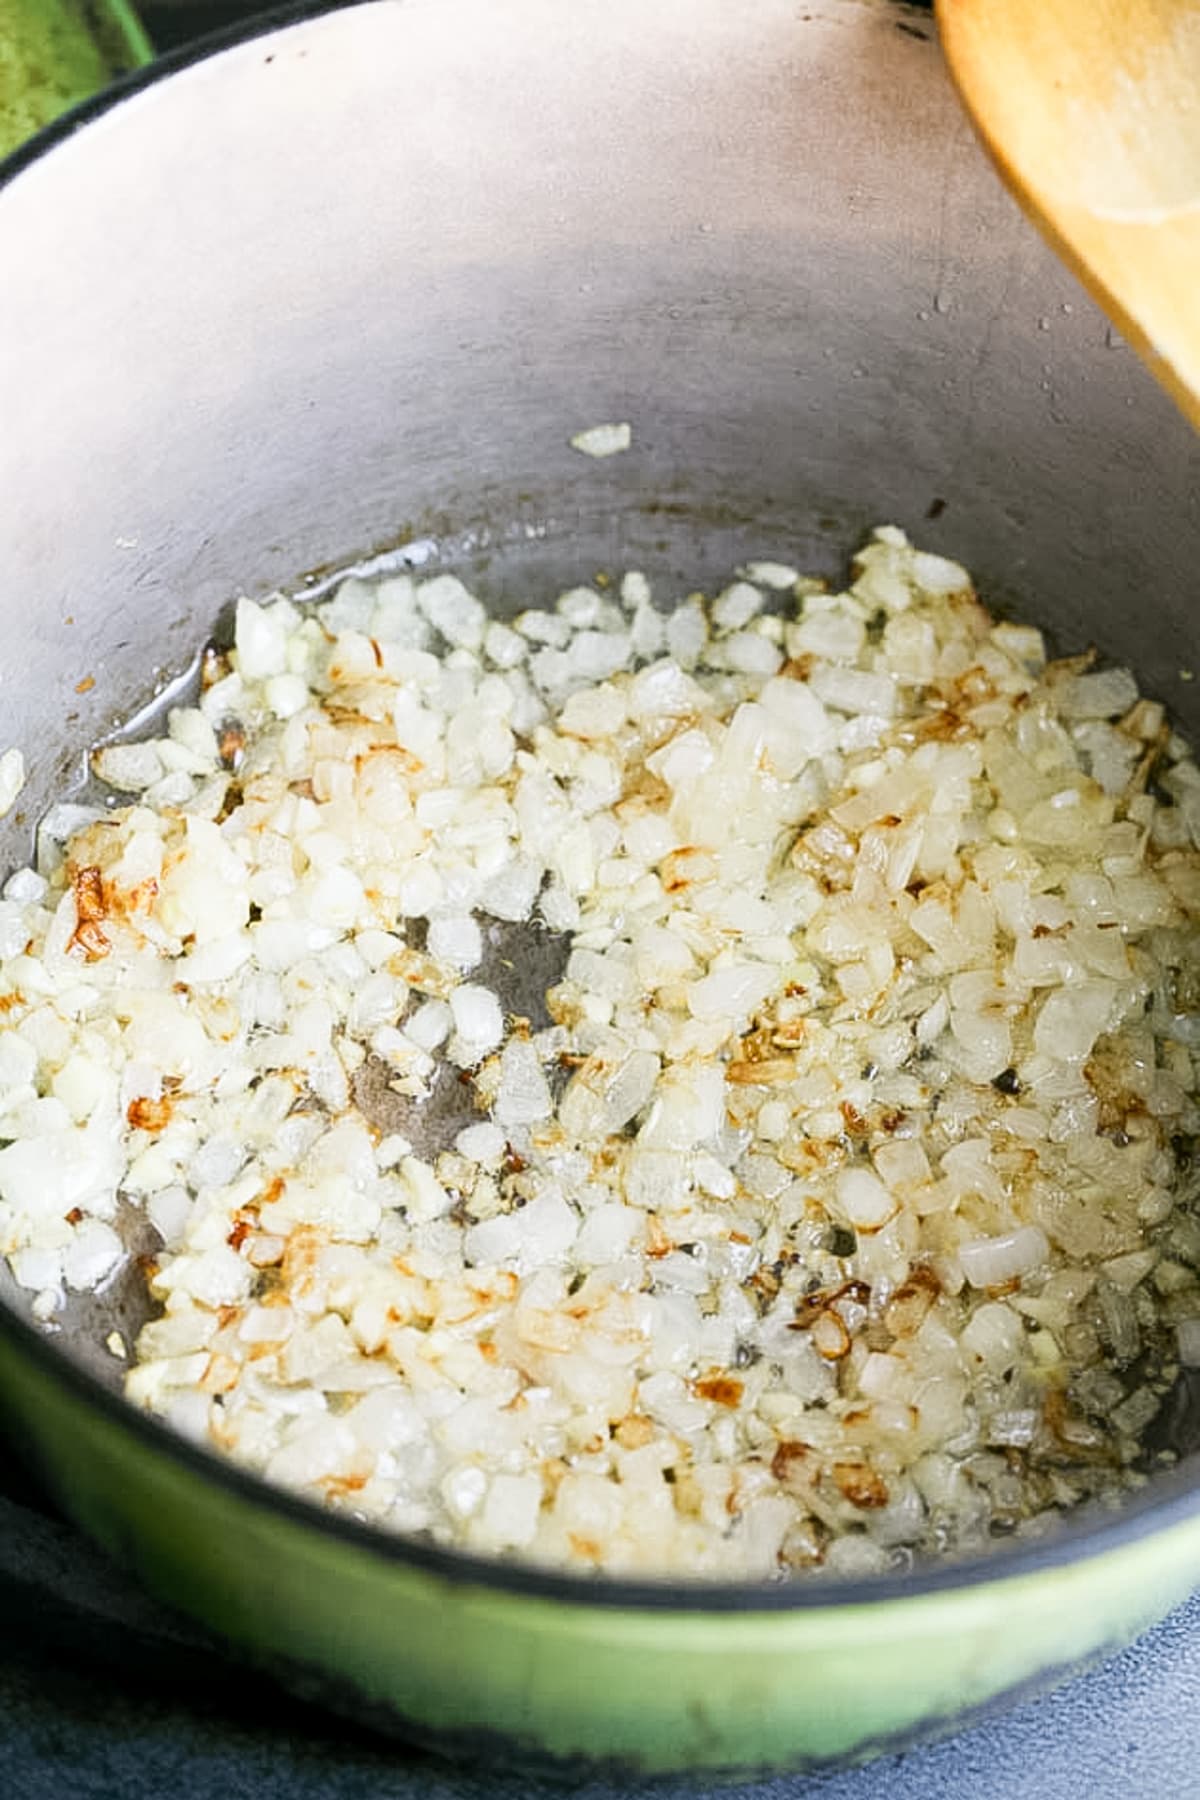
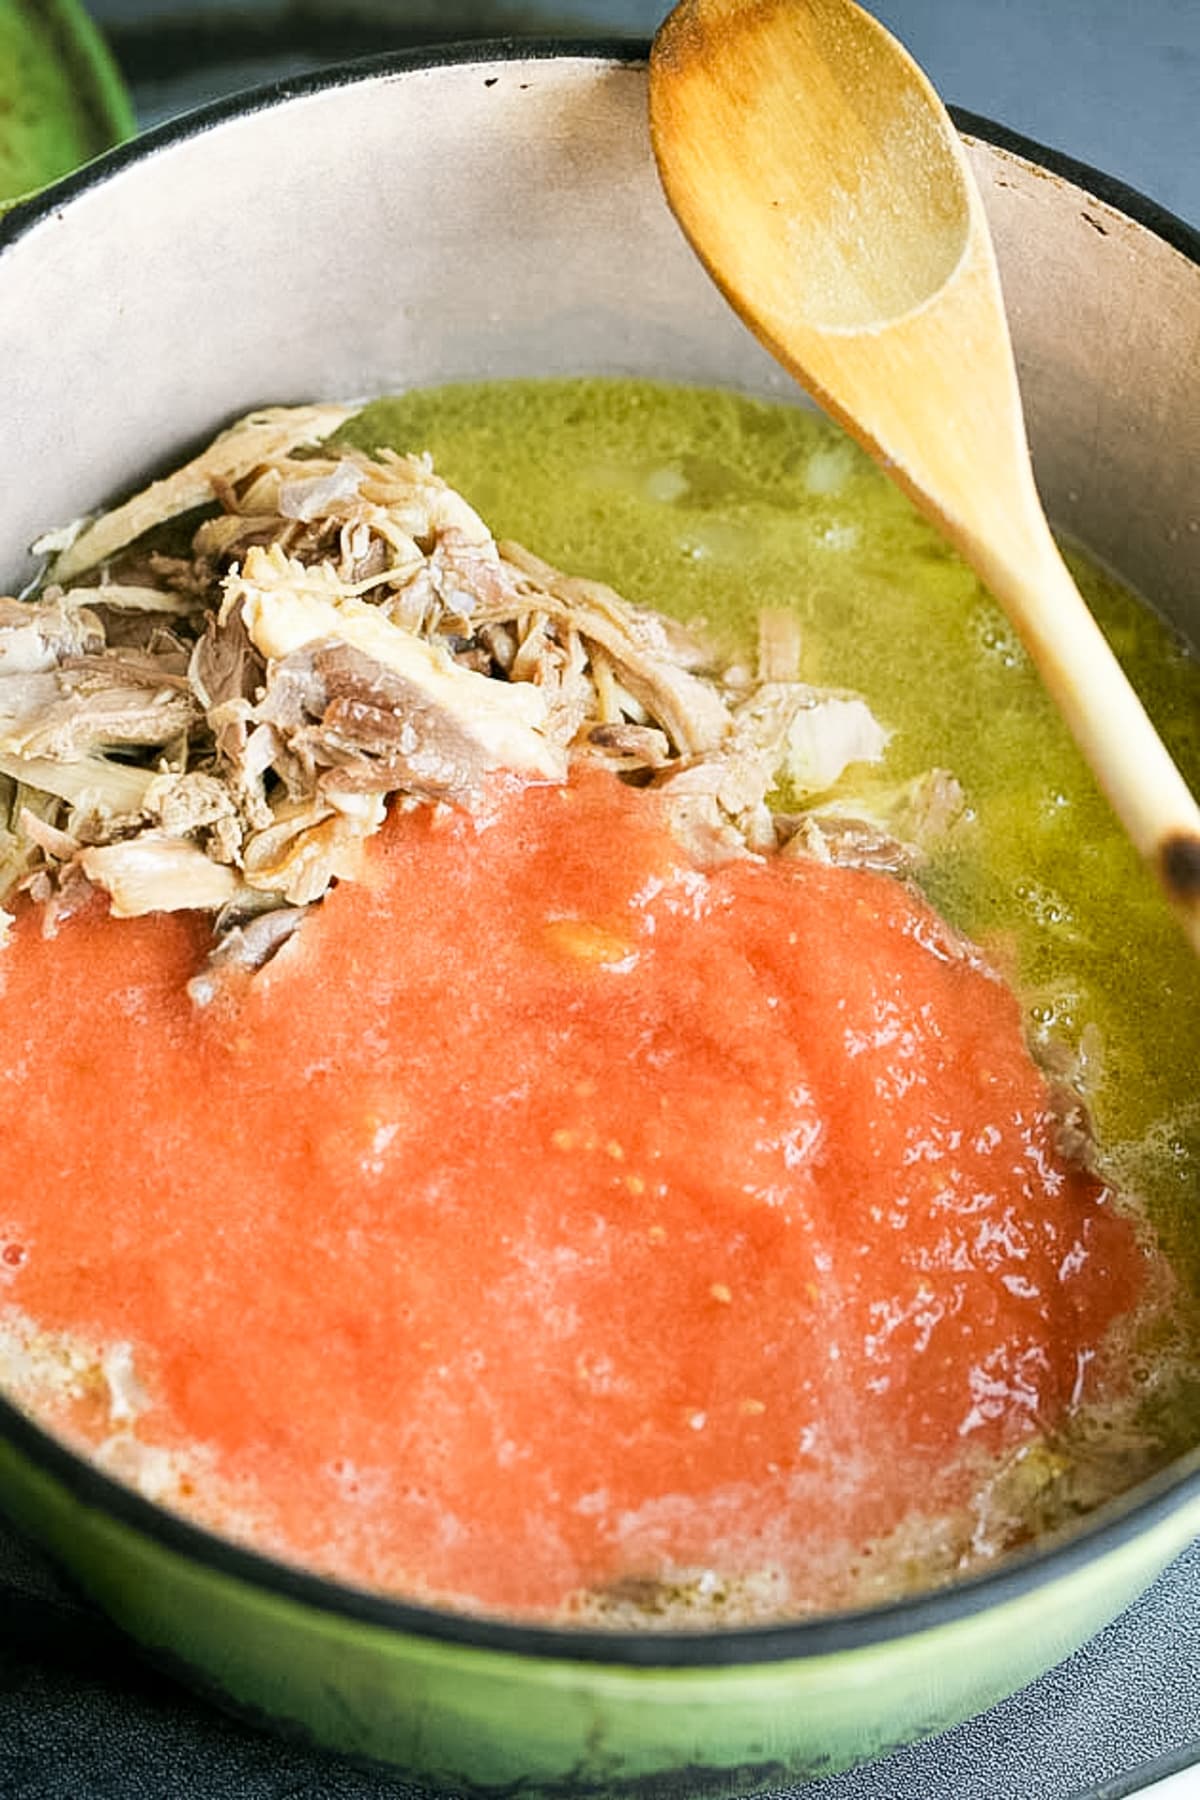
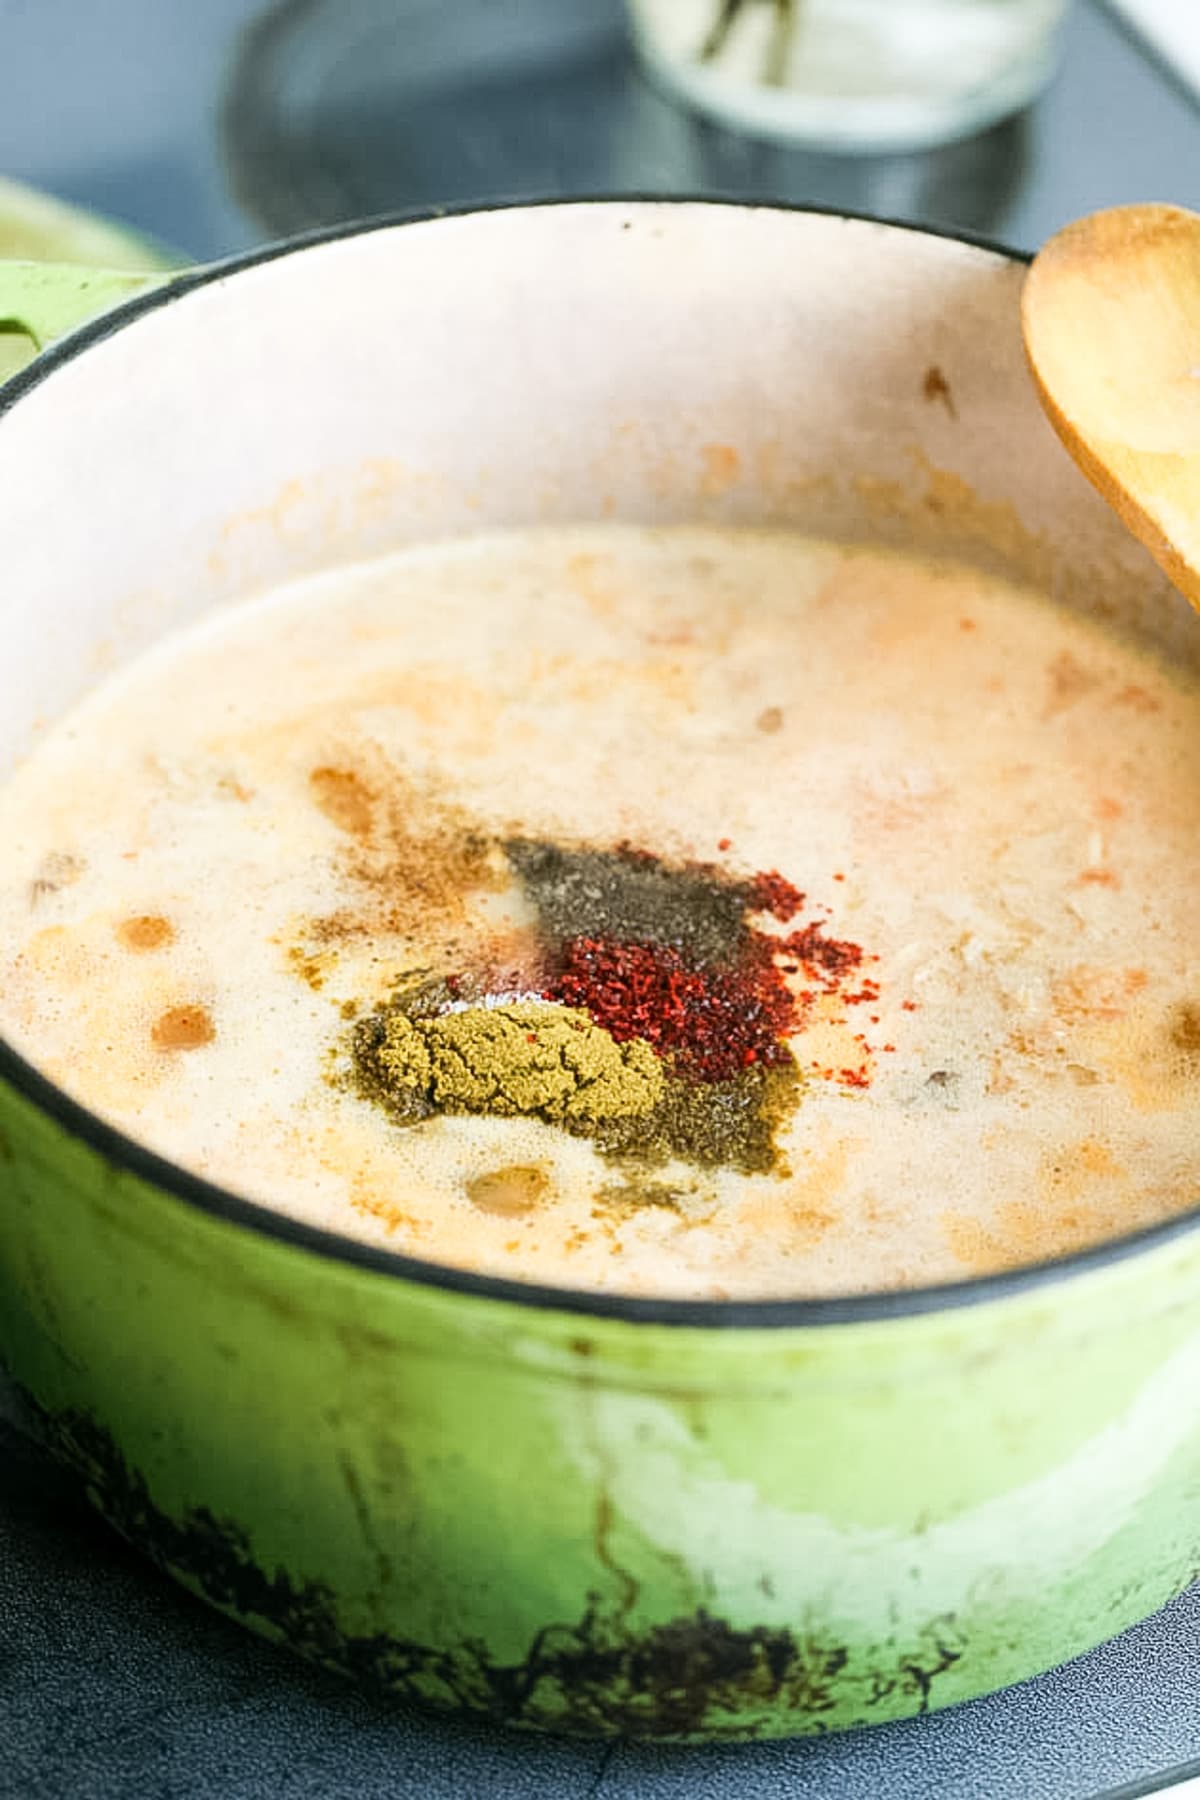
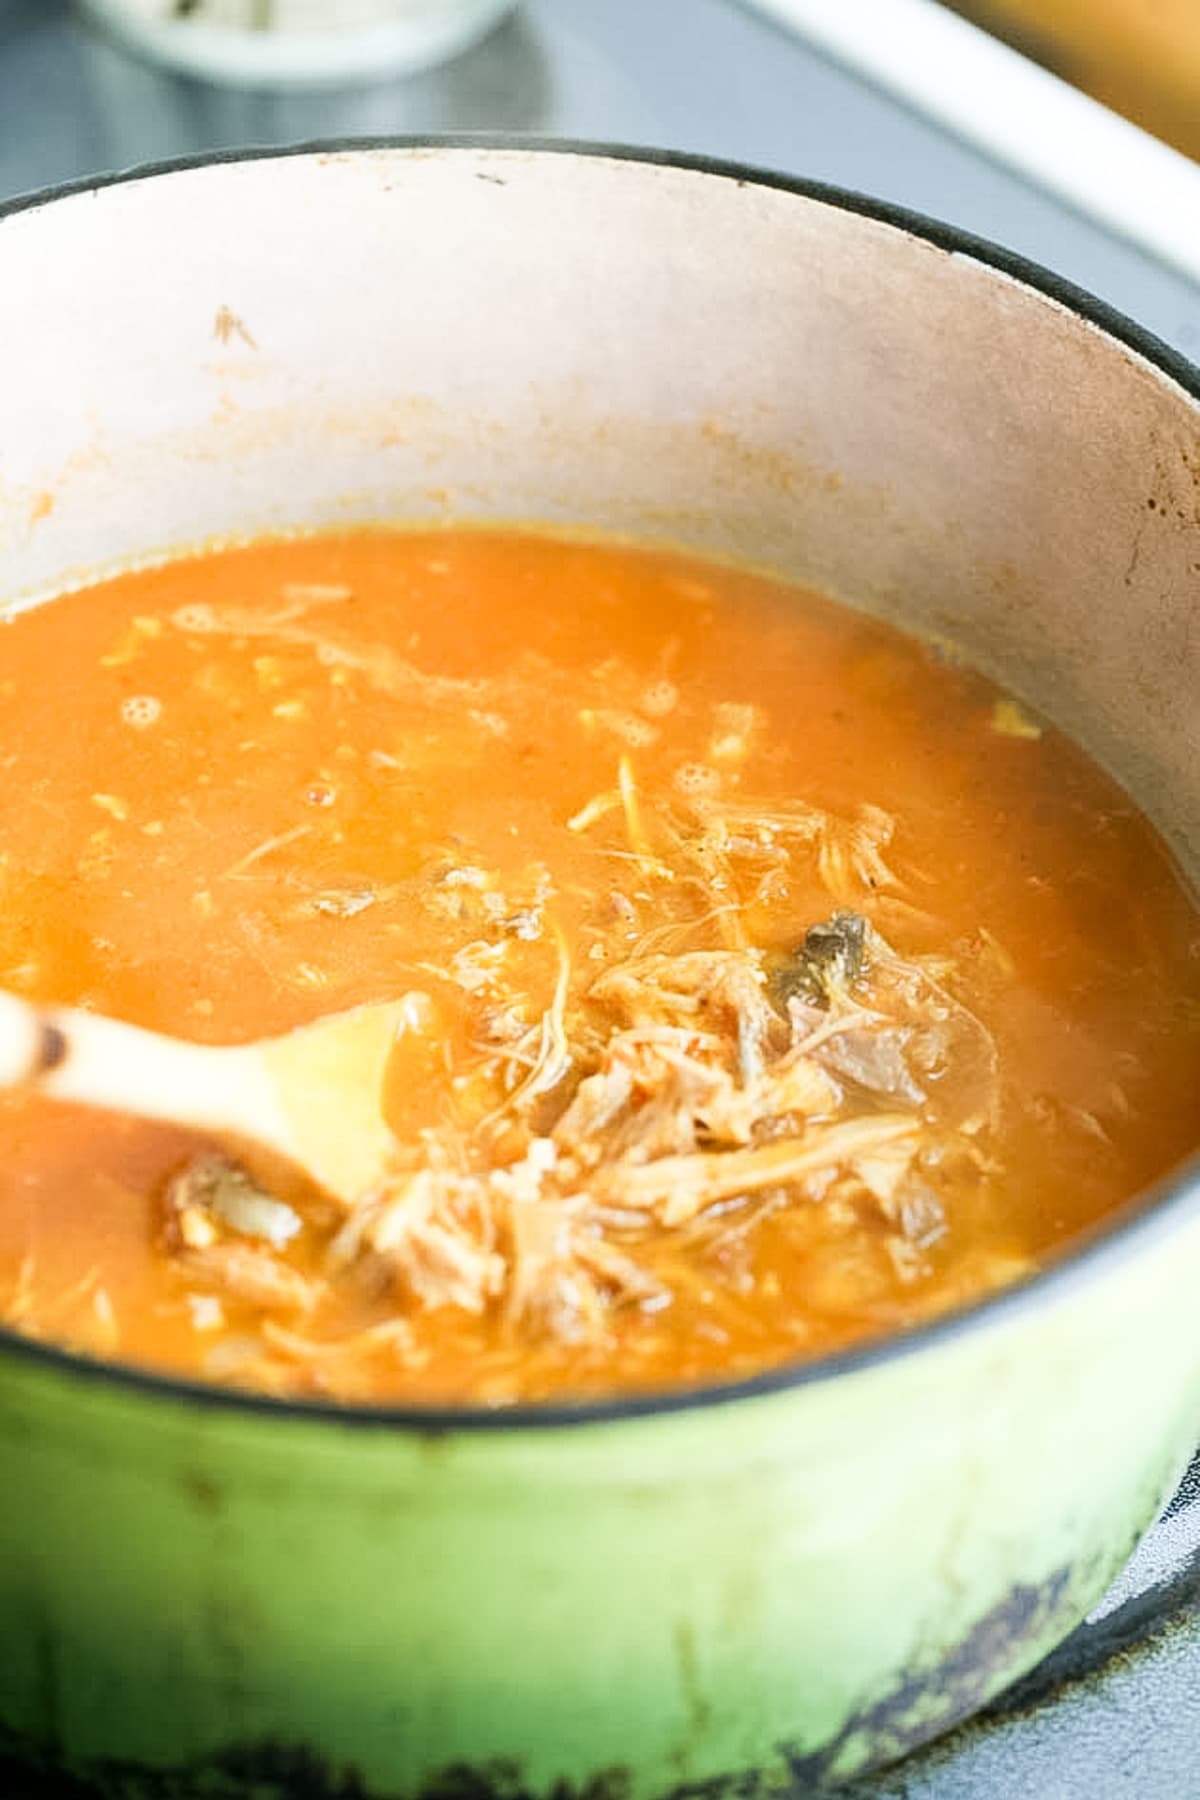
Step four – cook the chili. Set the dutch oven on the stovetop and turn the heat to medium-high. Add the oil and let it heat. Add the onions and fry them until browned, then add the garlic, stir, and cook for a couple more minutes. Next, add the shredded chicken, large pureed tomatoes, and chicken stock (for me, it’s the water I added to the pressure canner when I cooked the chicken). I stir all of this together, turn the heat to high and bring it to a gentle boil…
When the pot is boiling, lower the heat to medium to keep a gentle rolling boil and add the seasonings. Stir in the seasonings, cover the pot, and let it cook for 15 minutes, stirring frequently.
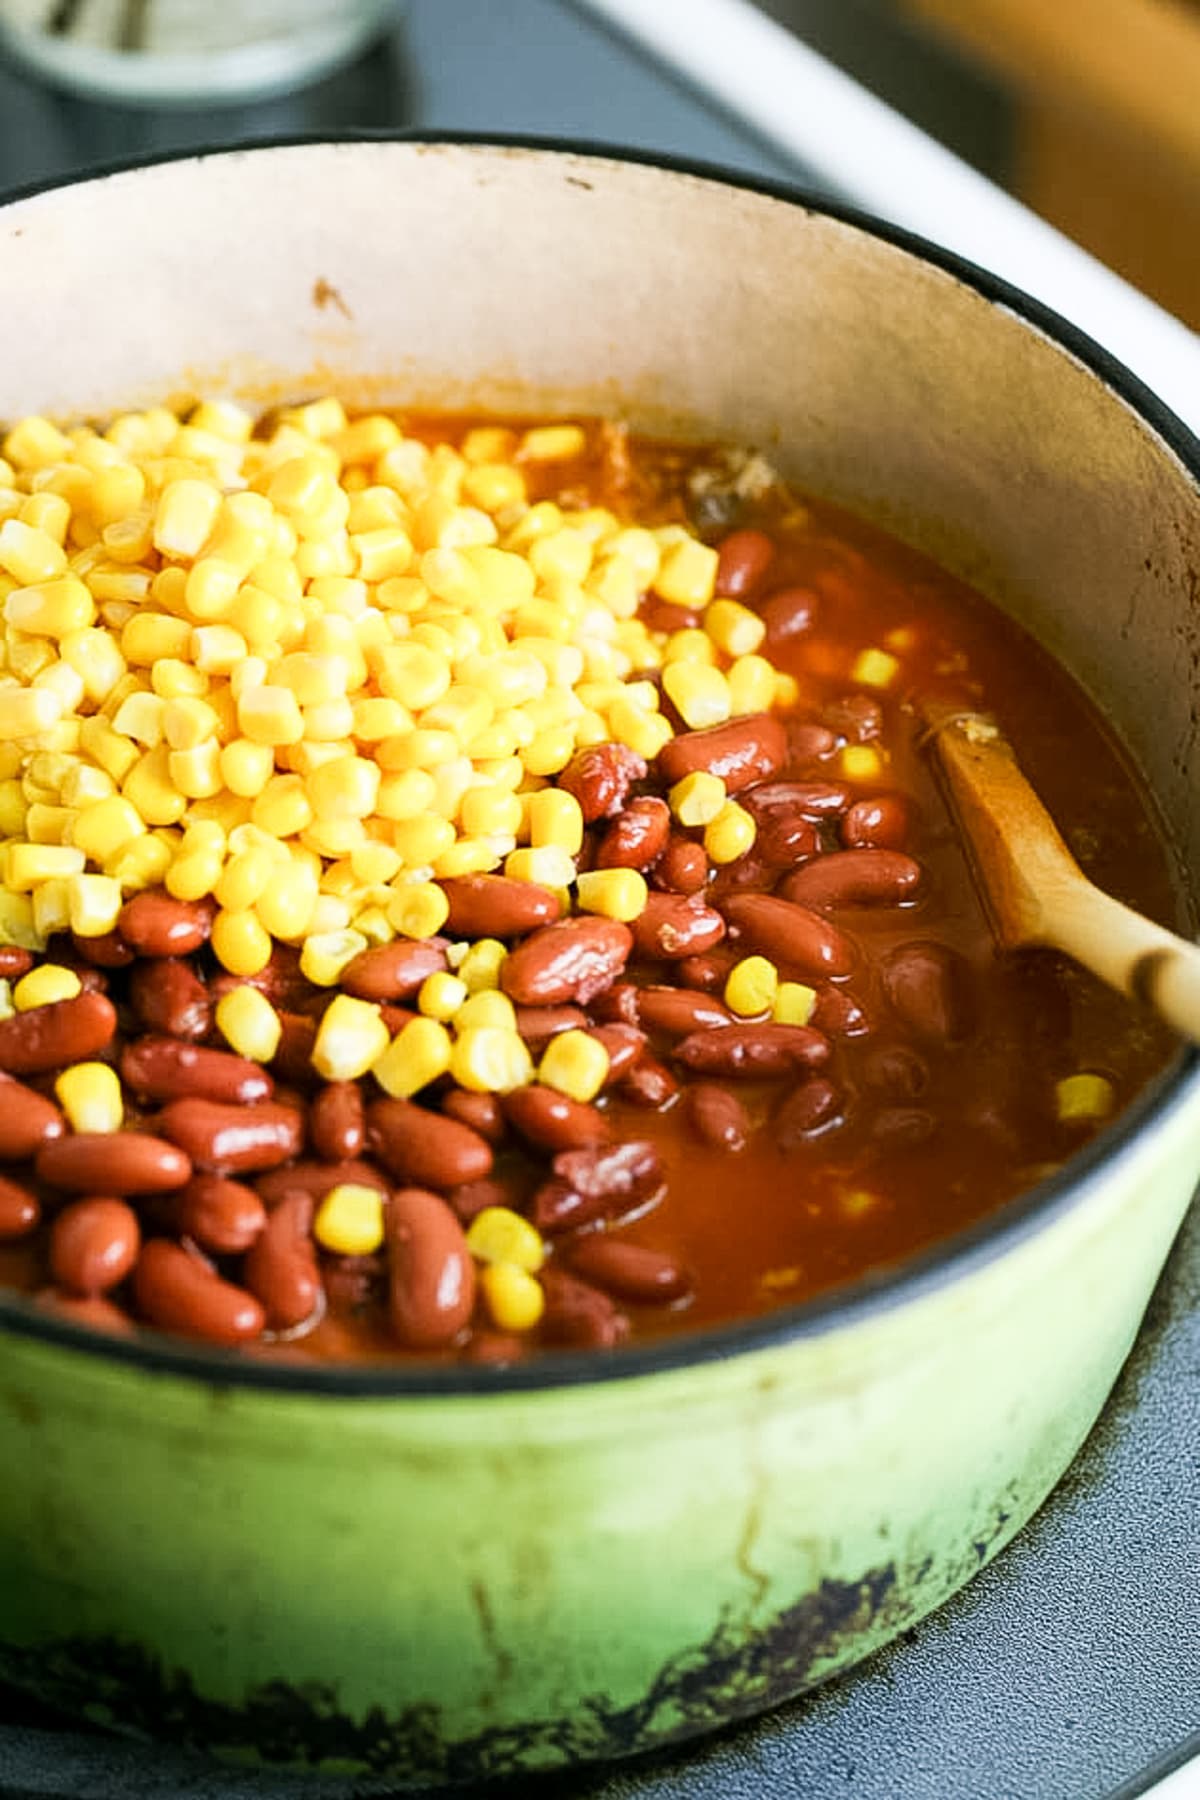
Step five – add beans and corn. While the pot is cooking on the stove, empty 3 cans of beans into a strainer and wash them with cold water. Then open one can of corn and drain it. Add the beans and the corn to the pot and stir them in.
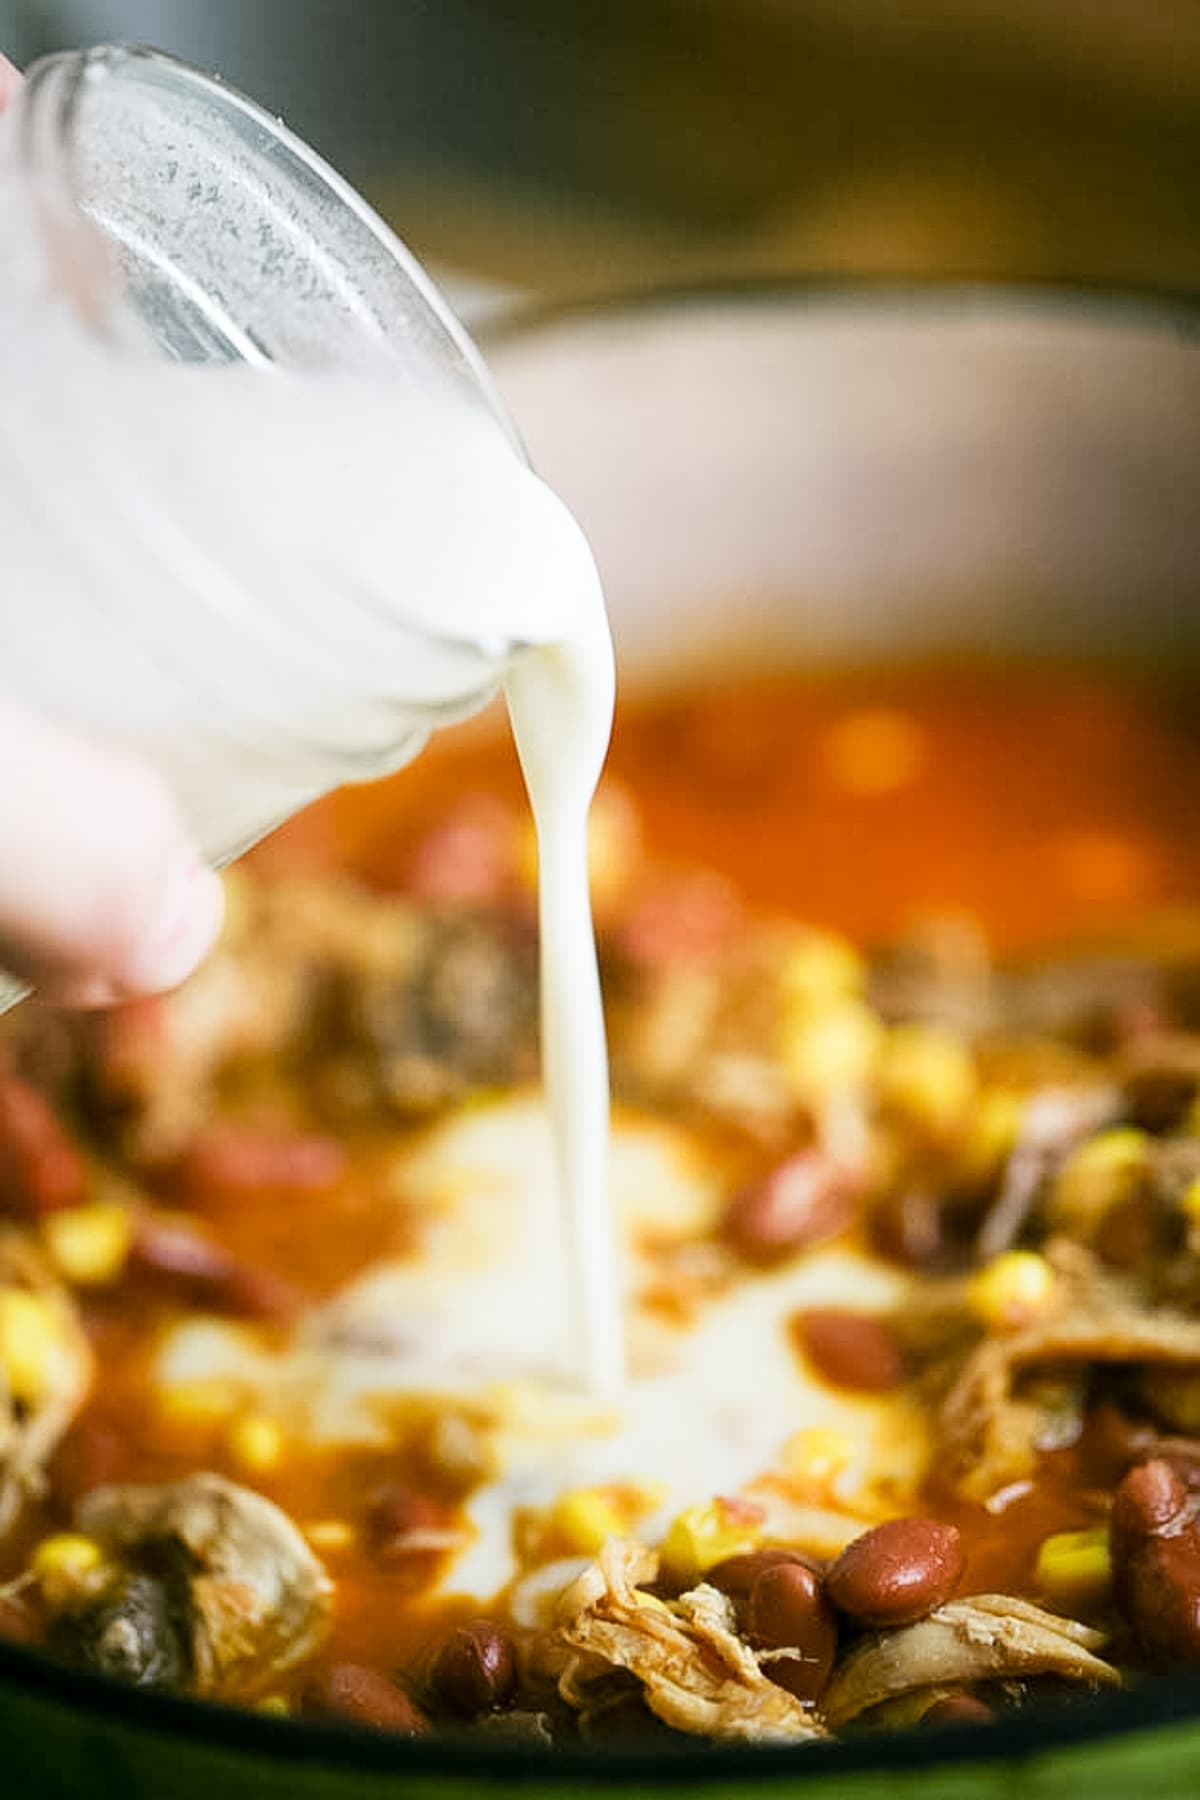
Next, make a slurry to thicken the chili using Masa harina flour (corn flour) which adds an amazing Southwest taste to this chili. in a mason jar or a large cup, mix 3/4 cup water with 4 tablespoons of Masa Harina flour, mix it or close the jar and shake it well, then add it to the chili, stir it in, and let the chili cook for ten more minutes before removing from the heat.
How to Serve Southwest Chicken Chili…
- Garnish with chopped cilantro – cilantro adds a lot of taste here! Remove the stems and give the leaves a rough chop then sprinkle them on top of the chili.
- Add avocado – peel, remove the pit and chop a ripe avocado. Add the diced avocado on top of the chili.
- Add cheese – sprinkle your cheese of choice on top.
- Tortilla chips – these can be served on the side or you can crumble them and sprinkle them on top of each bowl of chili before serving.
How to Store Leftovers…
- In the fridge – simply place the pot in the fridge. When you want to serve leftovers, set the pot on the stovetop and turn the heat to medium to reheat it. You might need to add some water to thicken the chili and since you added water, you might need to correct the seasonings. You can also scoop as much chicken chili into a bowl and heat it in the microwave.
- In the freezer – this dish is a great one to freeze for a quick meal later! You can freeze it in mason jars with a freezer lid or in a freezer container. When you want to serve it, remove from the freezer and either let it thaw slowly at room temperature and then reheat it in the microwave or on the stovetop or place the frozen chili in a pot and reheat it on the stovetop. Here too, you might need to add some water and correct seasonings.
Ingredient Variations…
- To fry the onion and garlic, feel free to use butter, lard, or tallow for a healthier oil option.
- Instead of fresh tomatoes, use tomato sauce from the store or tomato sauce that you canned at home.
- Make it spicy by adding cayenne pepper or a few spicy dry peppers.
- Use rabbit meat, duck meat, or turkey meat instead of chicken.
- Use black beans or any other kind of beans that you like.
Frequently Asked Questions…
Yes, you can. Simply leave the meat out.
I grow a heritage breed of chicken and not the common meat chickens. This means that my chickens actually move around during their life and aren’t designed to sit by the feeder and just eat all day. This also means that the meat is a bit tougher so to tenderize it I process my birds in the pressure cooker before I use their meat. It’s one more step but I don’t mind it.
This recipe will serve 8 adults.
Definitely! It’s an amazing dish to make ahead and take to a party. Just make sure that you reheat it when you are still at home in case you have to add water and correct seasonings.
This Southwest chicken chili is a very filling meal! It’s healthy and so many of the ingredients we can grow on the homestead which makes it an even more special dish. I hope that you’ll give it a try!
More Delicious Recipes…
- Middle Eastern Chicken and Rice
- Israeli Bean Soup Recipe
- Chicken Liver and Onions Recipe
- Grilled Whole Tilapia Recipe
- Lentil Patties Recipe
- Chicken Gizzard Recipe
Southwest Chicken Chili
Delicious, filling, and healthy Southwest chicken chili recipe.
Ingredients
- 3 tablespoons of canola oil
- 1 large onion, diced
- 3 garlic cloves, diced or minced
- 3 cups shredded chicken (you can also use duck, rabbit, or turkey)
- 3 cups chicken stock
- 2 15 oz cans of tomato sauce or 4 large tomatoes, peeled and pureed in the food processor
- 1 tablespoon cumin
- 1 teaspoon salt
- 1 teaspoon black pepper
- 1 teaspoon paprika (or ground chili pepper if you want the dish a bit spicy)
- 3 15.5 oz cans of beans, washed (I used kidney beans but you can use any kind)
- 1 15.25 oz can of corn, drained
- 3/4 cup cool water + 4 tablespoons of Masa harina flour
- Cilantro for garnish
- Tortilla chips for serving
Instructions
- Set a large dutch oven on the stovetop and turn the heat to medium-high. Add the oil and let it heat. Add the diced onions and fry them until browned, then add the garlic, stir, and cook for a couple more minutes.
- Add the shredded chicken, tomatoes, and chicken stock. Stir all of this together, turn the heat to high and bring it to a gentle boil. When the pot is boiling, lower the heat to medium to keep a gentle rolling boil and add the seasonings. Stir in the seasonings, cover the pot, and let it cook for 15 minutes, stirring frequently.
- Add the beans and the corn to the pot and stir them in.
- Make a slurry to thicken the chili using Masa harina flour. In a mason jar or a large cup, mix 3/4 cup water with 4 tablespoons of Masa Harina flour, mix it or close the jar and shake it well, then add it to the chili, stir it in, and let the chili cook for ten more minutes before removing from the heat.
Notes
How to Serve this Southwest Chicken Chili...
- Garnish with chopped cilantro – cilantro adds a lot of taste here! Remove the stems and give the leaves a rough chop then sprinkle them on top of the chili.
- Add avocado – peel, remove the pit and chop a ripe avocado. Add the diced avocado on top of the chili.
- Add cheese – sprinkle your cheese of choice on top.
- Tortilla chips – these can be served on the side or you can crumble them and sprinkle them on top of each bowl of chili before serving.
Frequently Asked Questions...
- Can I make this dish vegetarian?
Yes, you can. Simply leave the meat out. - Why did you process the chicken in the pressure cooker?
I grow a heritage breed of chicken and not the common meat chickens. This means that my chickens actually move around during their life and aren’t designed to sit by the feeder and just eat all day. This also means that the meat is a bit tougher so to tenderize it I process my birds in the pressure cooker before I use their meat. It’s one more step but I don’t mind it. - How many people does this dish serve?
This recipe will serve 8 adults. - Can I make this Southwest chicken chili ahead?
Definitely! It’s an amazing dish to make ahead and take to a party. Just make sure that you reheat it when you are still at home in case you have to add water and correct seasonings.

Nutrition Information:
Yield: 8 Serving Size: 1 cupAmount Per Serving: Calories: 408Total Fat: 12gSaturated Fat: 2gTrans Fat: 0gUnsaturated Fat: 9gCholesterol: 41mgSodium: 121mgCarbohydrates: 56gFiber: 8gSugar: 17gProtein: 25g


Wonderful post
Thanks for the recipe. I’m always looking for new soup recipes to can, that we’ll actually eat. I am excited about this one because nearly everything in it is already sitting on my shelves. I’ll just put them altogether and have soup ready and waiting for those tough evenings when I’ve got no energy left. Thanks again.
You are going to love it. It’s a regular here! And it is a great recipe to can too!