This post may contain affiliate links, view our disclosure policy for details.

This simple pickled carrots recipe for canning will guide you step-by-step through the process of pickling carrots for long-term storage.
Lady Lee’s Note…
Growing up, carrots were always part of the meal, but usually fresh, roasted, or added to soups—not pickled. We love carrots, and so, growing carrots in our home garden was a must! They aren’t the easiest to grow, but after a few years, I managed to master the art of growing carrots.
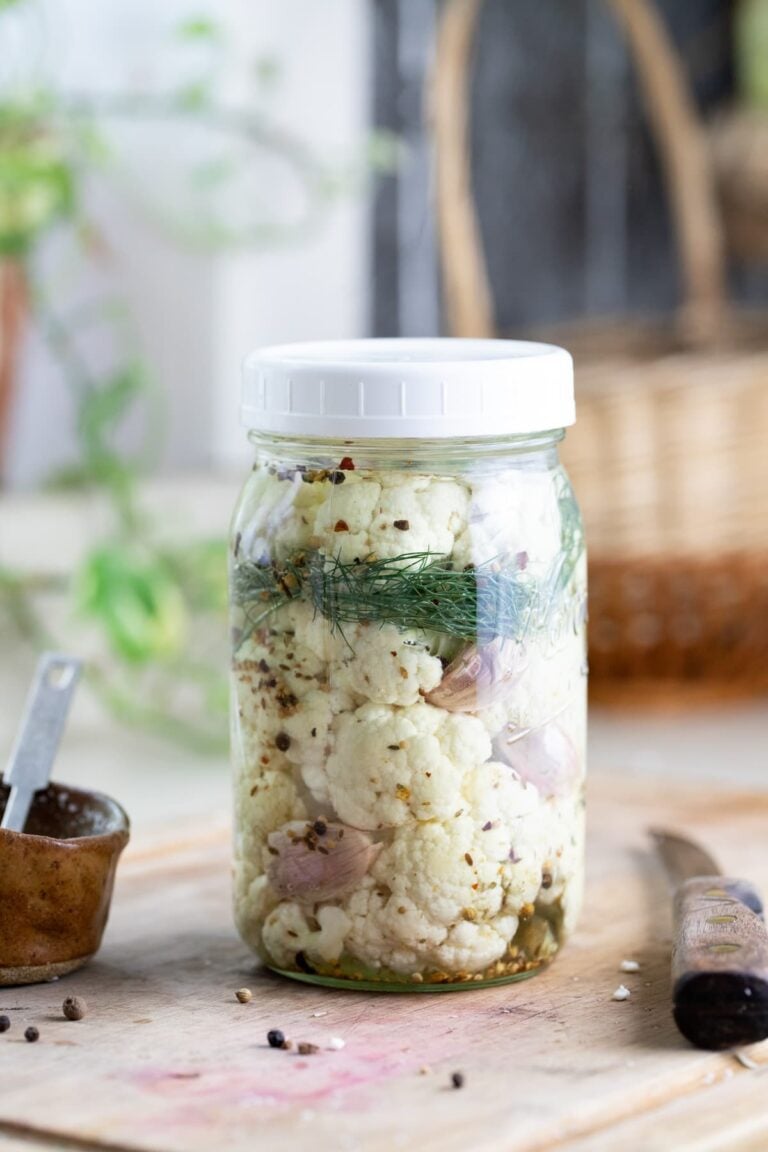
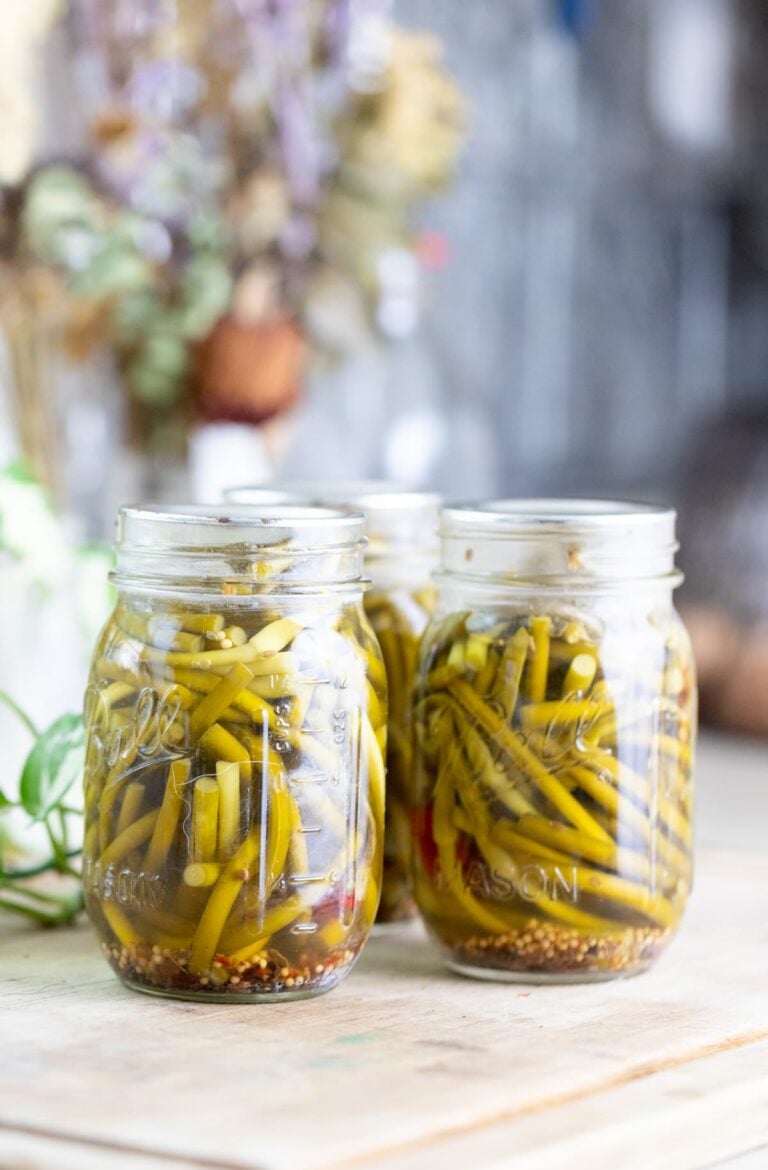
Before long, I had more carrots coming out of the garden than we could eat fresh, and it had gotten hard to ignore the powers of vinegar when it comes to preserving the harvest! Just like pickling beets, pickling garlic scapes, or pickling green tomatoes, pickling carrots is a great way to preserve them for long-term storage. And honestly… they are so good straight from the jar.
Ingredients…
- Fresh carrots
- Garlic cloves
- Dill seed or fresh dill
- Black peppercorns
- Red pepper flakes
For the Pickling Brine…
- White vinegar (5% acidity)
- Water
- Pickling salt
- Sugar
Should I Blanch the Carrots Before Pickling?
You can leave the carrots raw for maximum crunch, or blanch them for 2–3 minutes if you prefer them slightly softer. Blanching is not required, but optional.
Step-By-Step Instructions…
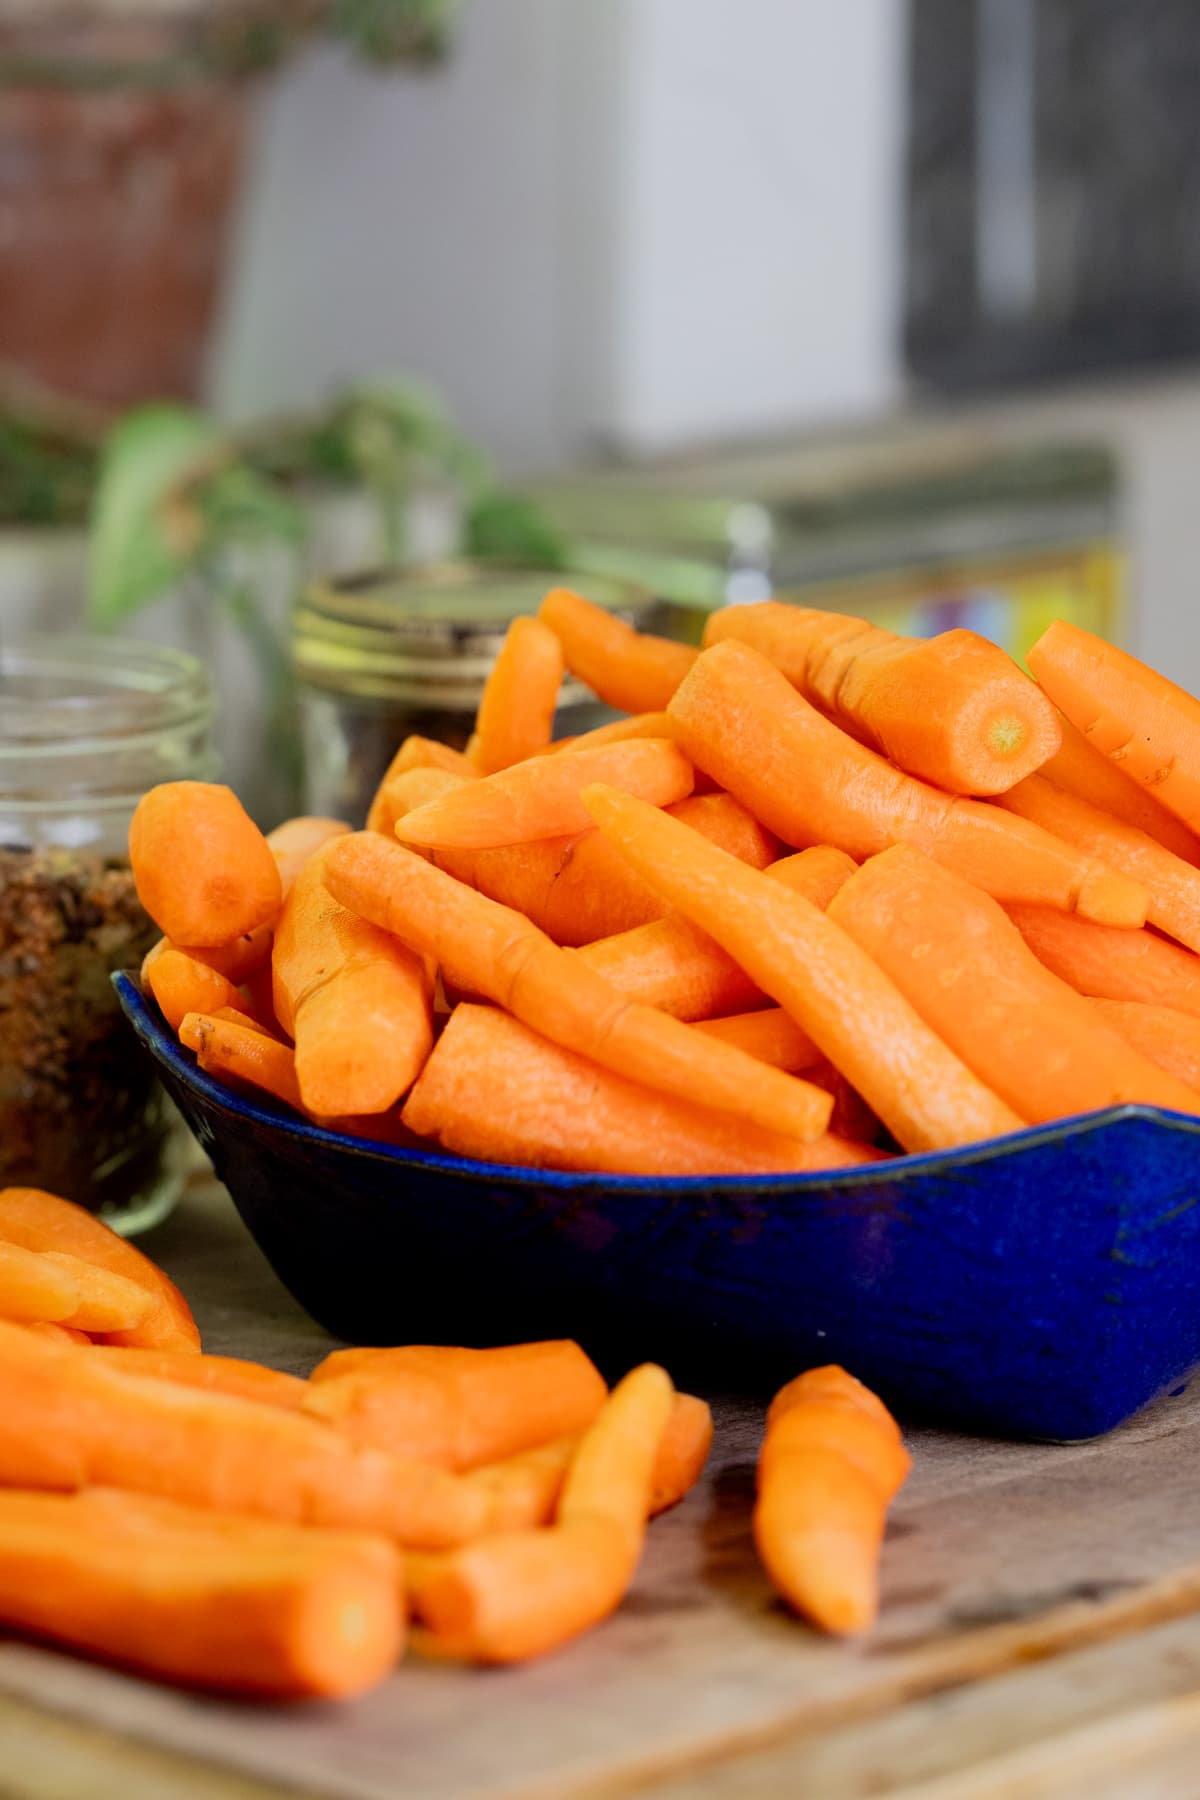
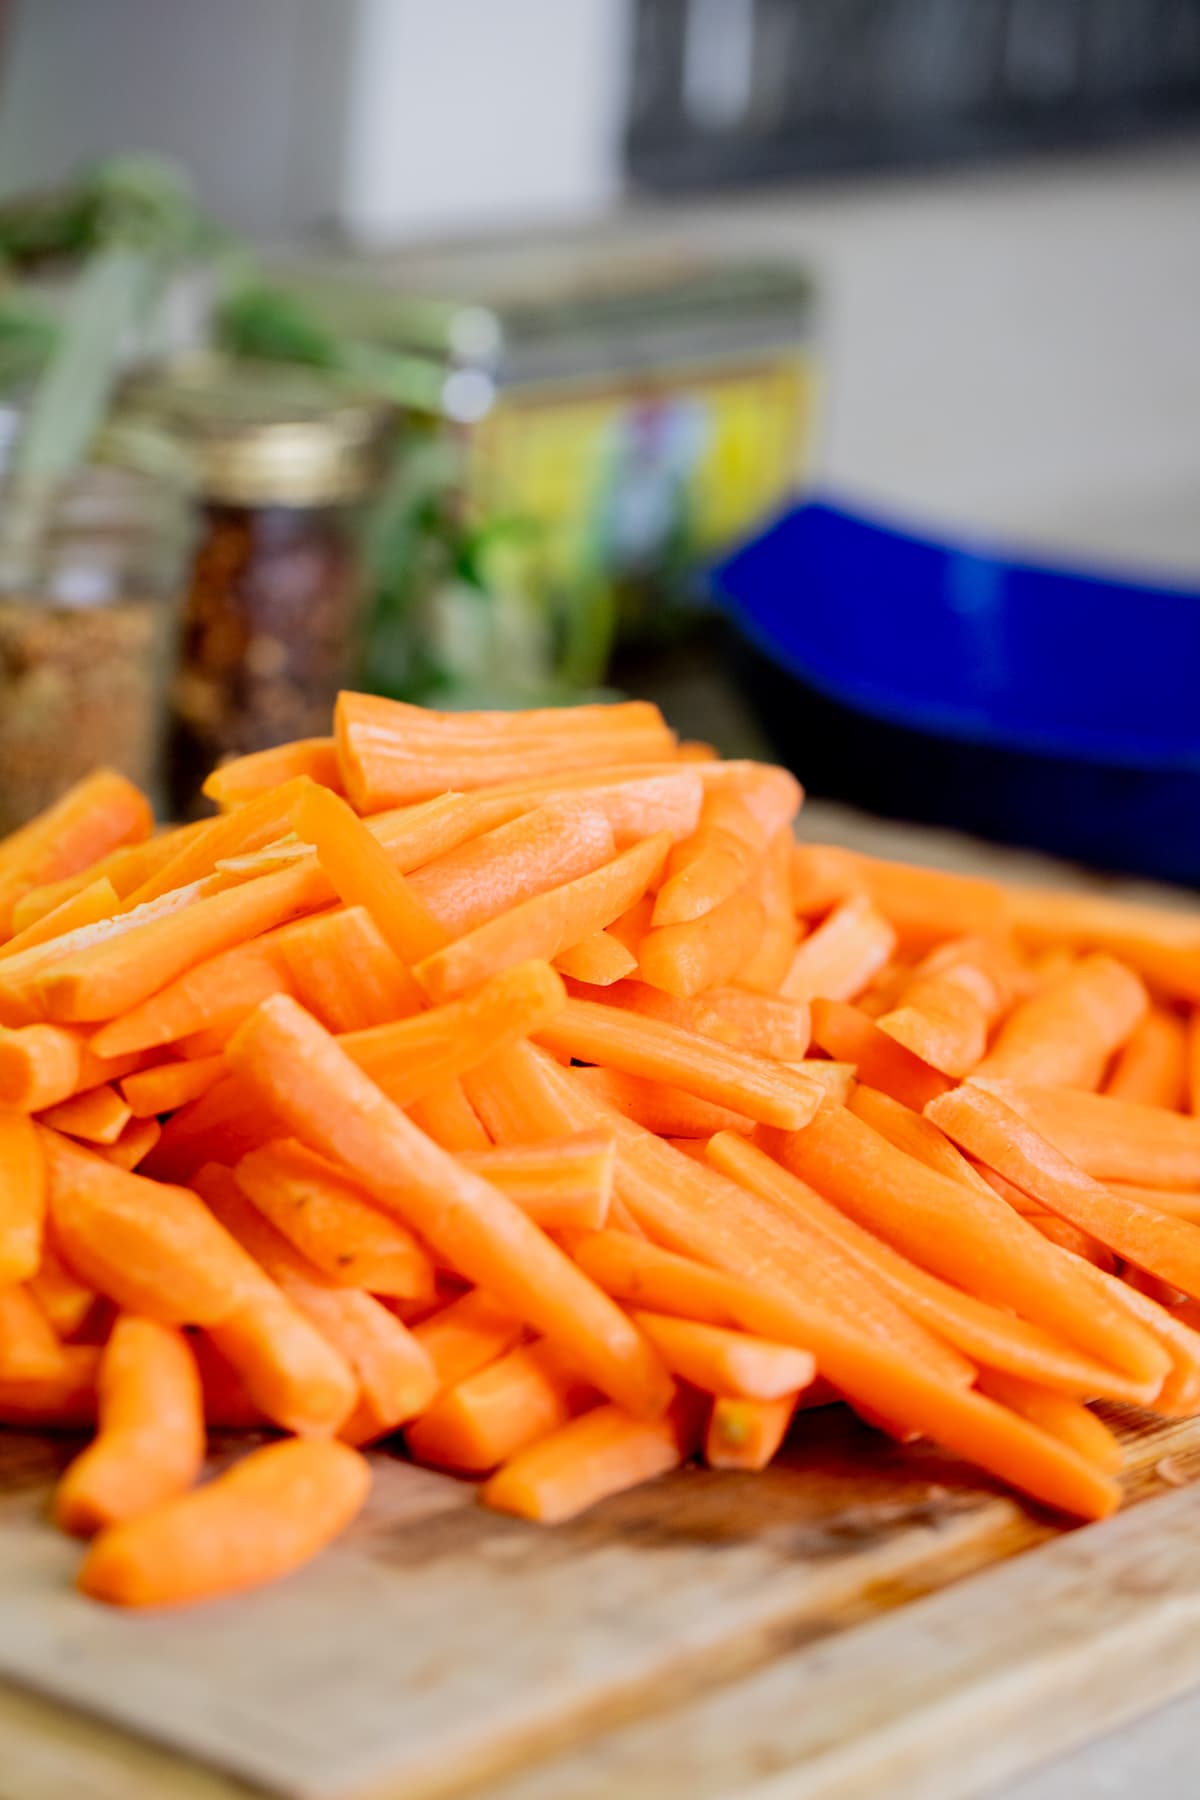
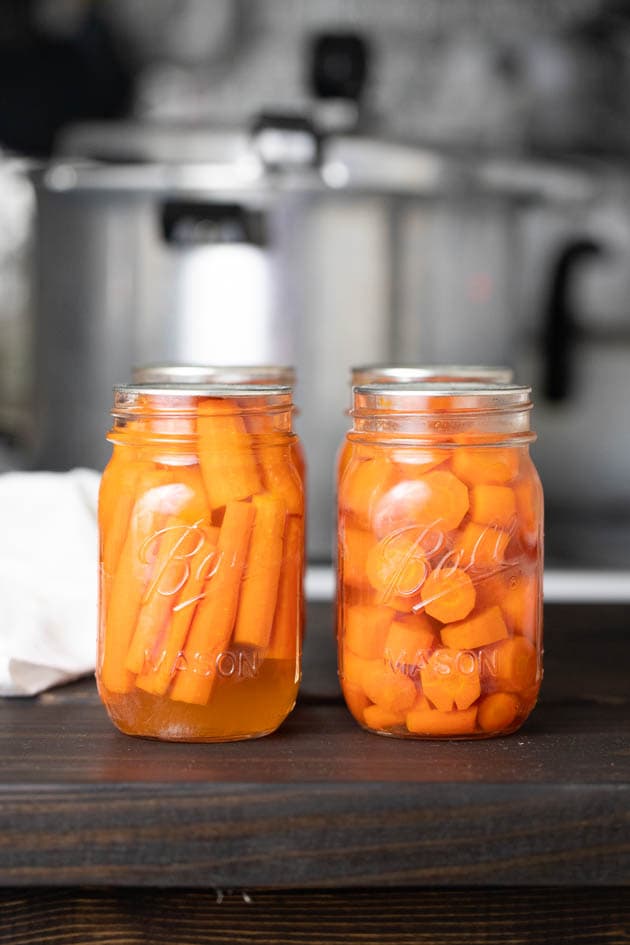
Step one – prep the carrots. Start by washing and peeling (optional, see below) the carrots. Cut them into sticks or discs—whatever fits best in your jars. Try to keep them uniform so they pickle evenly.
Note: you do not have to peel the carrots. Mine were a bit old, so I peeled them, but you don’t have to do that. And a pro tip here… It takes time for the water in the water bath canner to come to a boil, so go ahead and set the canner on the stove top before you start working on the carrots.
Step two – prepare the jars. Wash the jars, lids, and bands with hot water and dish soap.
Step three – make the brine. In a pot, combine the vinegar, water, salt, and sugar. Bring everything to a boil and stir until the salt and sugar dissolve.
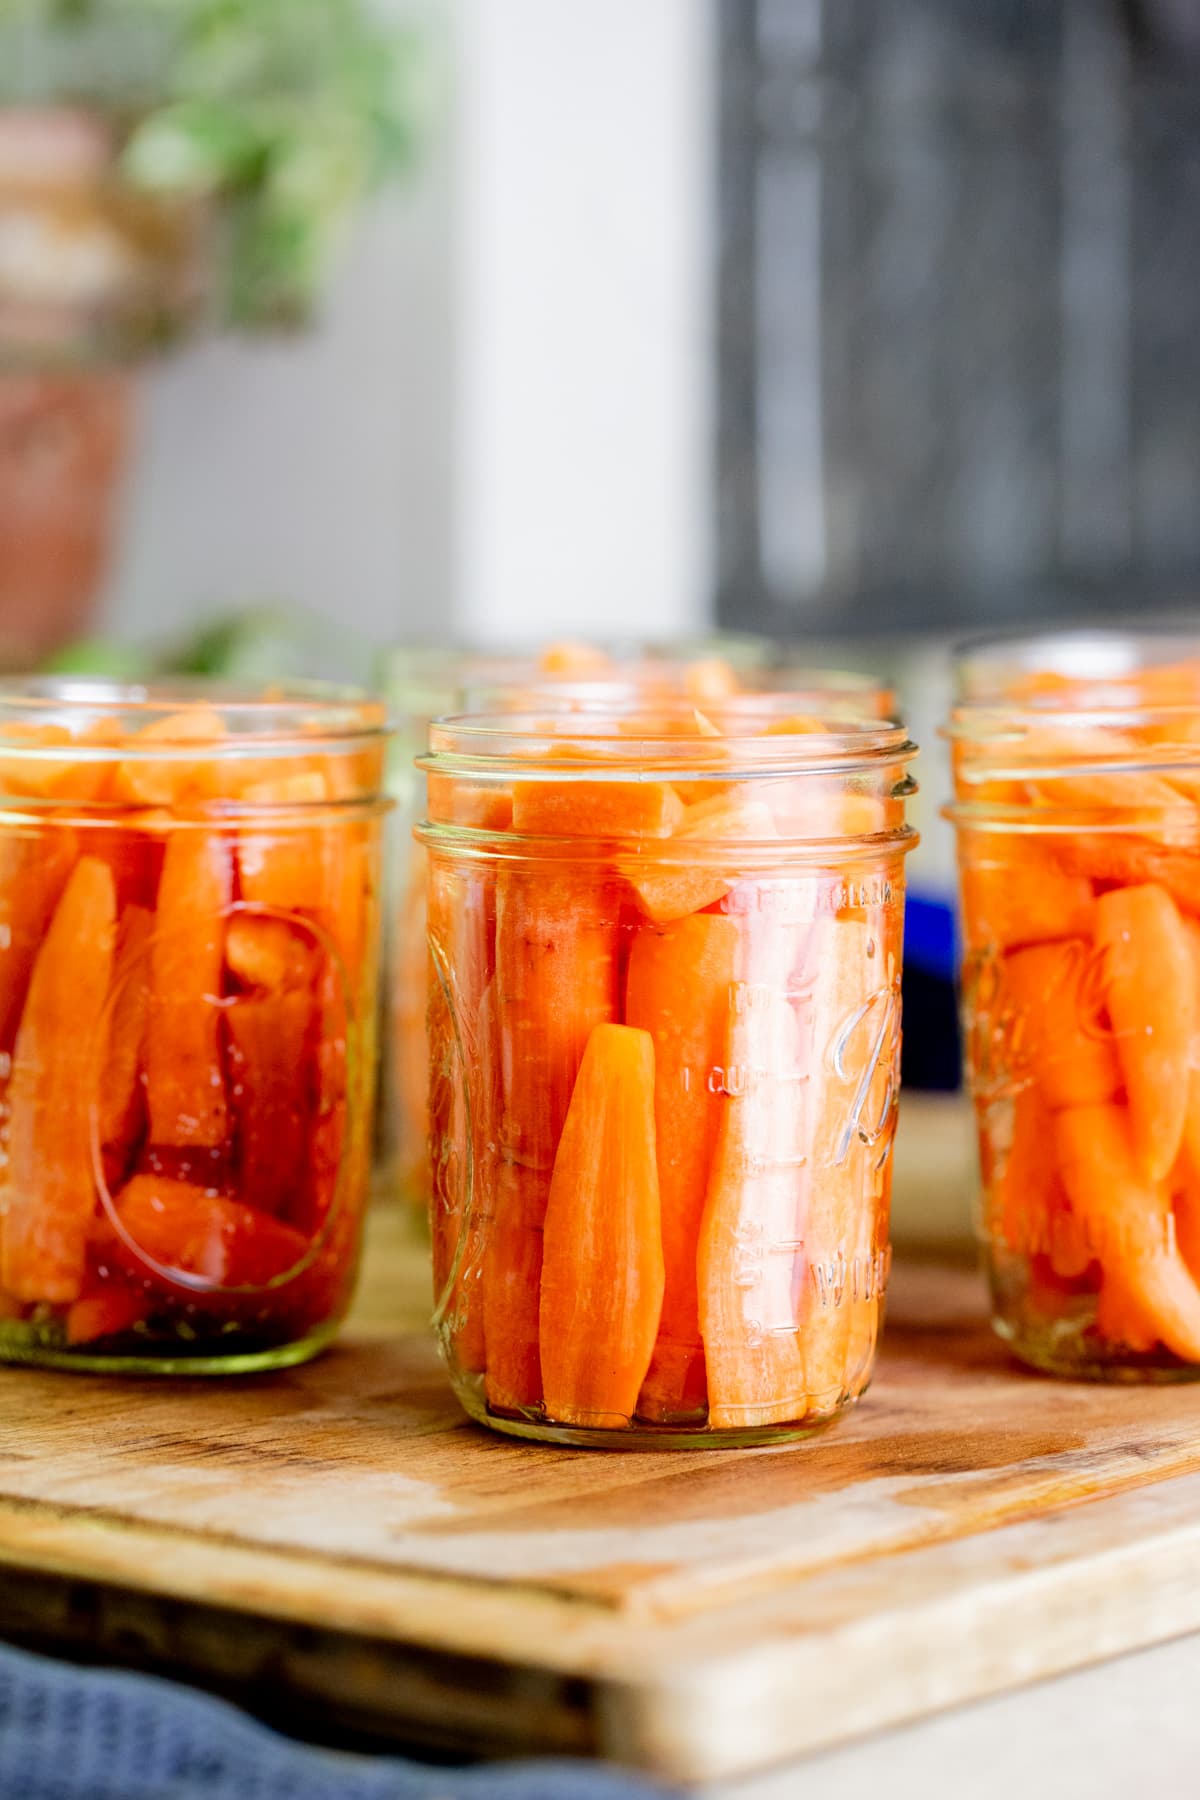
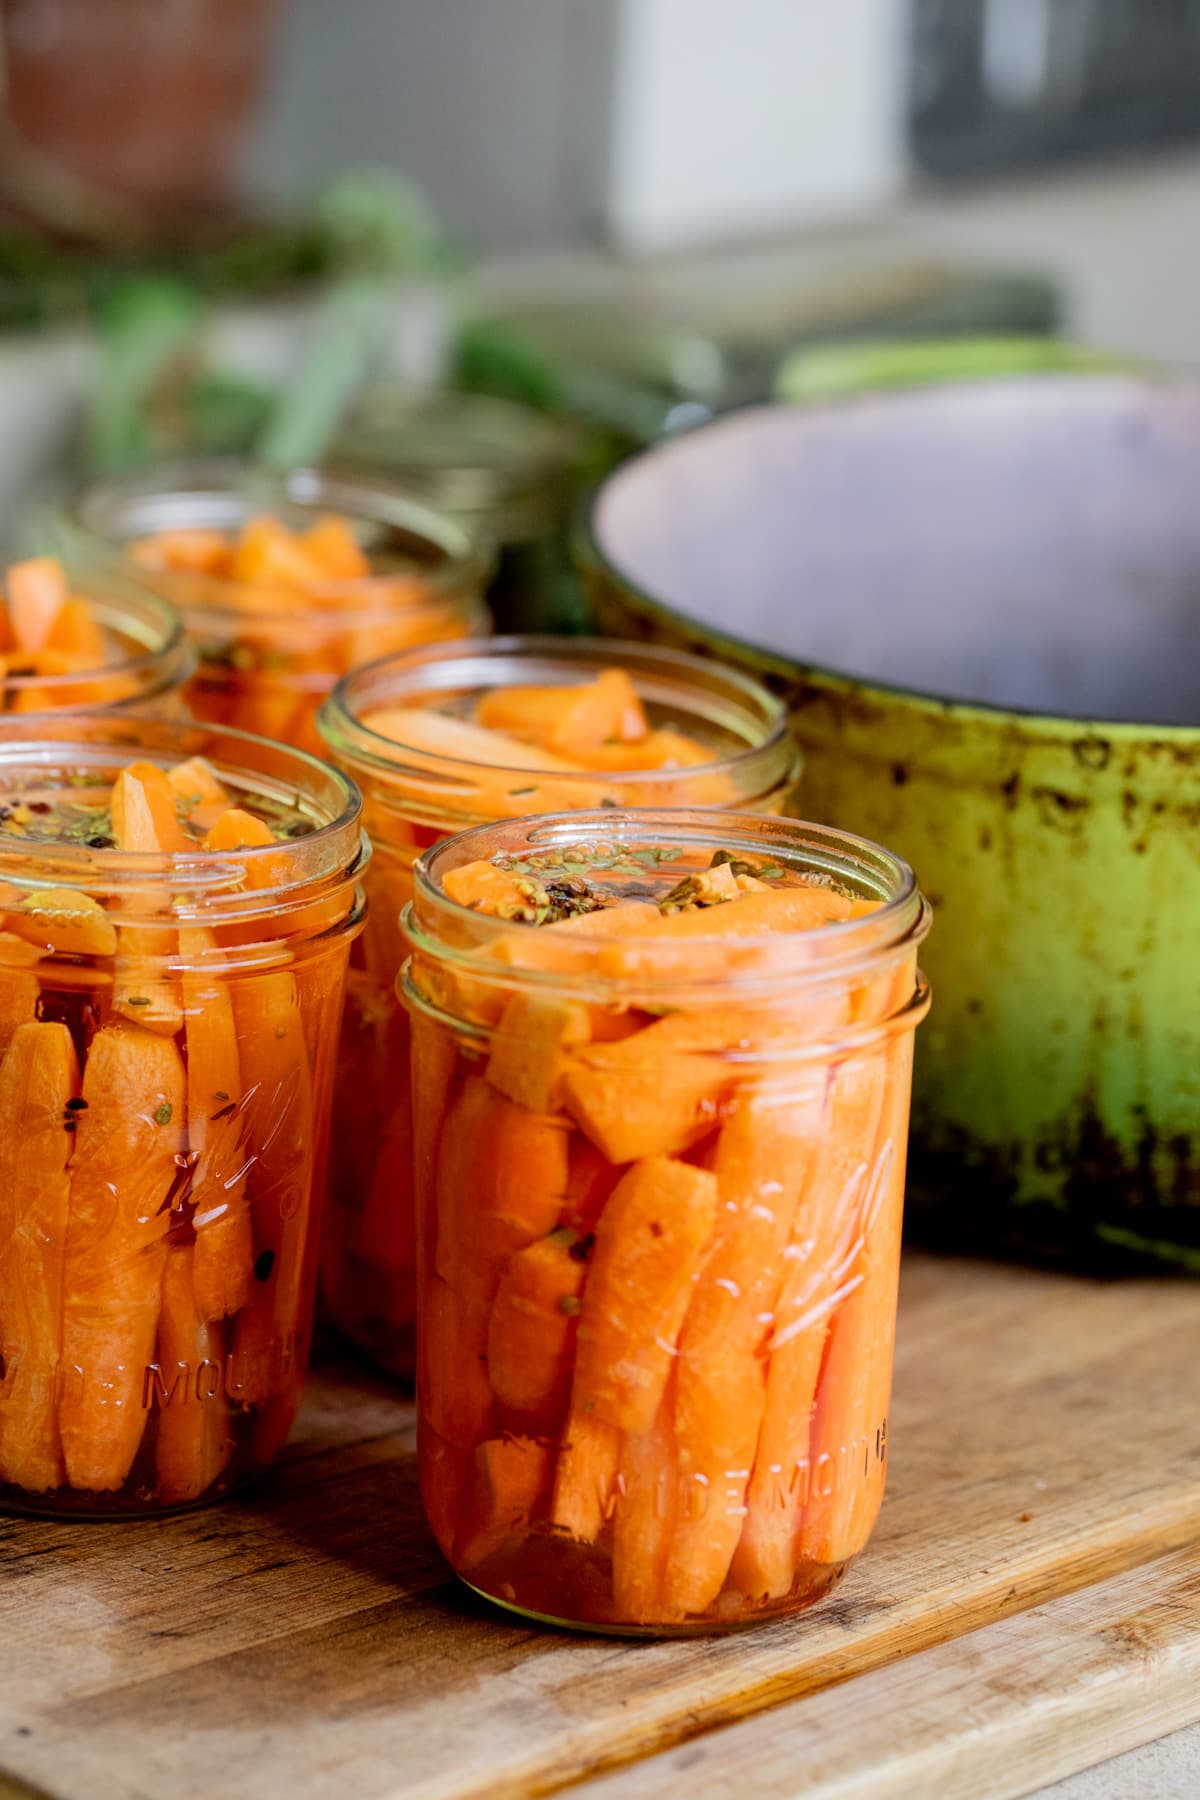
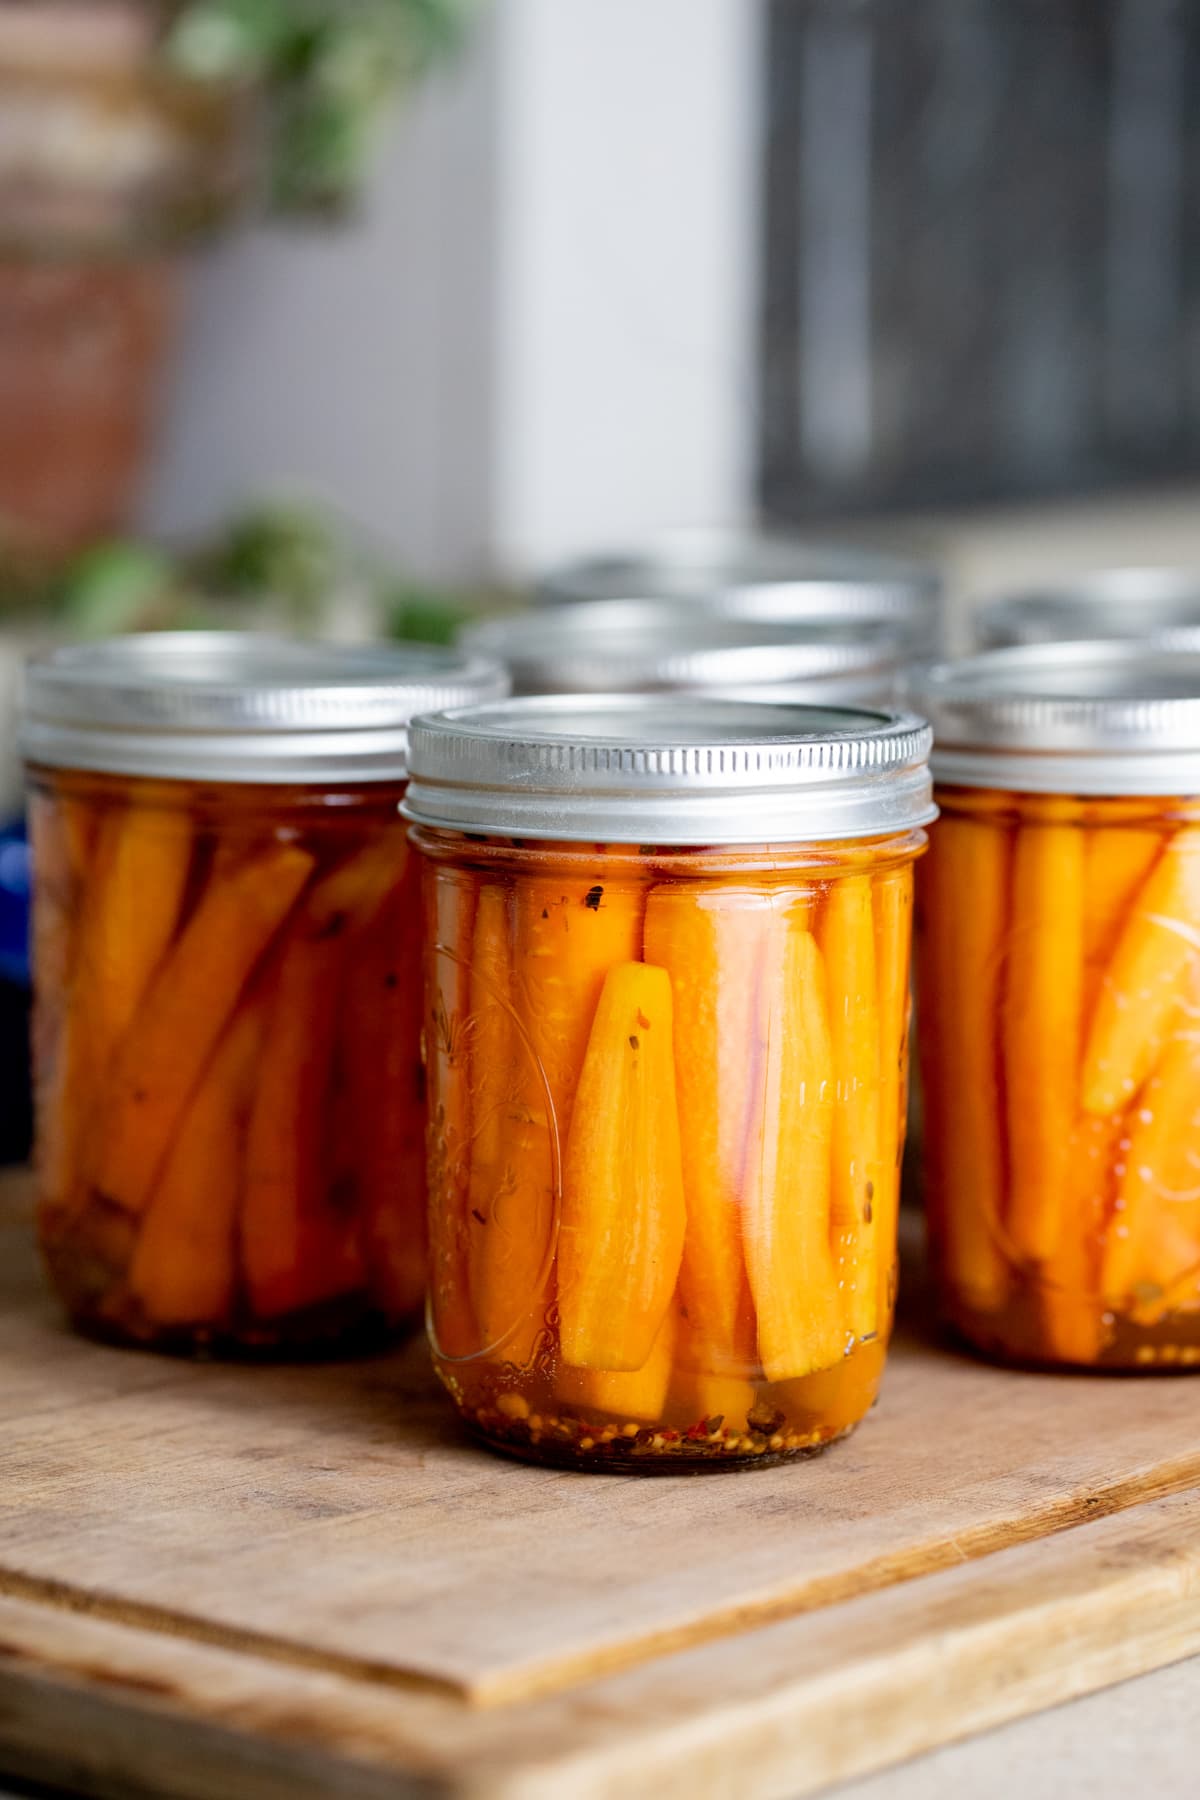
Step four – pack the jars. Pack the carrots tightly into the jars, leaving about 1/2 inch of headspace. Add pickling spice (or any other spices you want to use). Pour the hot brine over the carrots, making sure to leave 1/2 inch headspace. Use a bubble remover to remove air bubbles. Wipe the rims, center the lids, and close the jars fingertight.
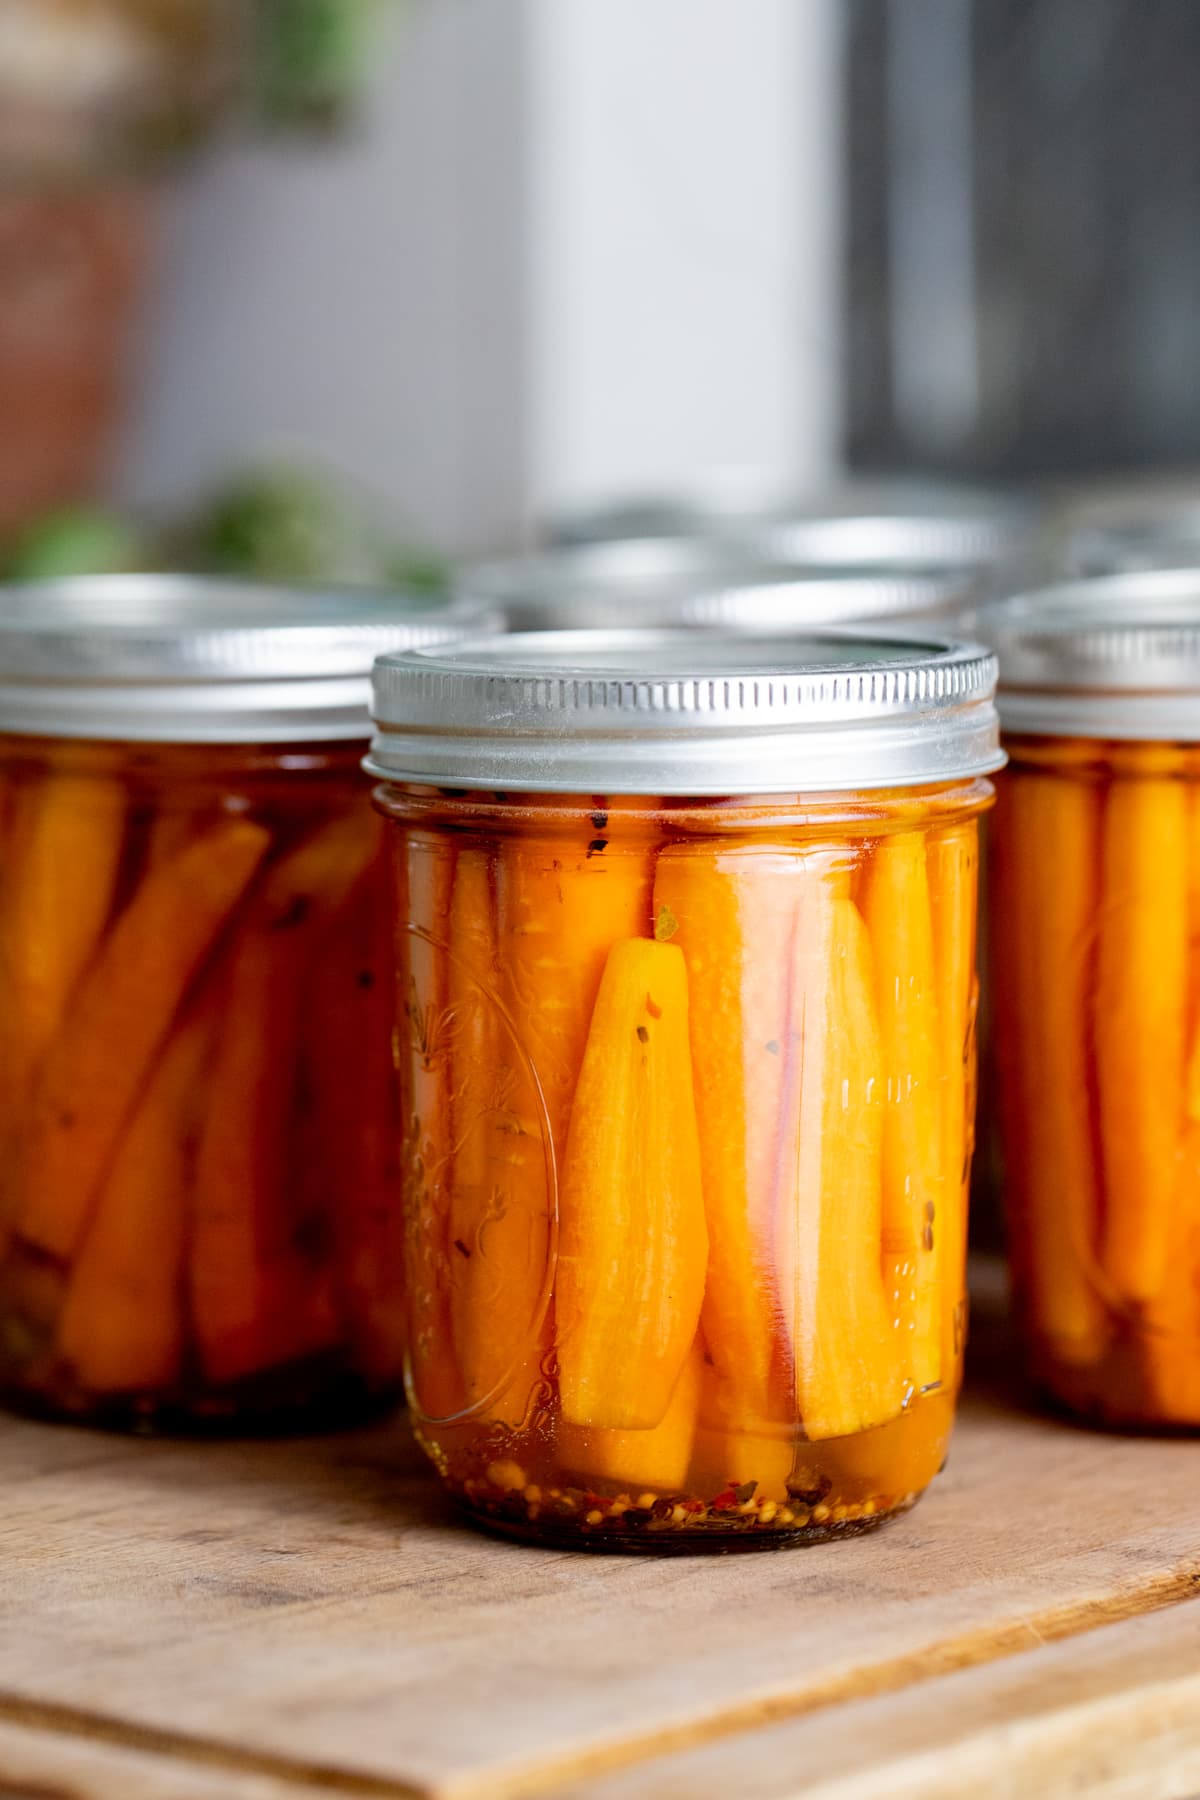
Pro Tip: if you sliced your carrots into sticks as I did here, lay the jar on the cutting board and then pack the carrots in there. It makes it much easier to pack them upright this way.
Options: feel free to change the seasonings. Try mustard seeds, coriander, garlic cloves (peeled and crushed), chili flakes, jalapeños, black peppercorns, and fresh or dried dill. Dry seasonings should be kept to 1/2 teaspoon per pint jar or no more than 1 tablespoon per quart jar. Add as much fresh garlic, dill, or jalapenos as you’d like.
Do I have to Can Pickled Carrots?
No! If you don’t want to can your carrots, you can simply store them in the refrigerator. They will last a few months in the fridge. Just make sure to always use a clean utensil when removing carrots from the jar.
Canning Pickled Carrots…
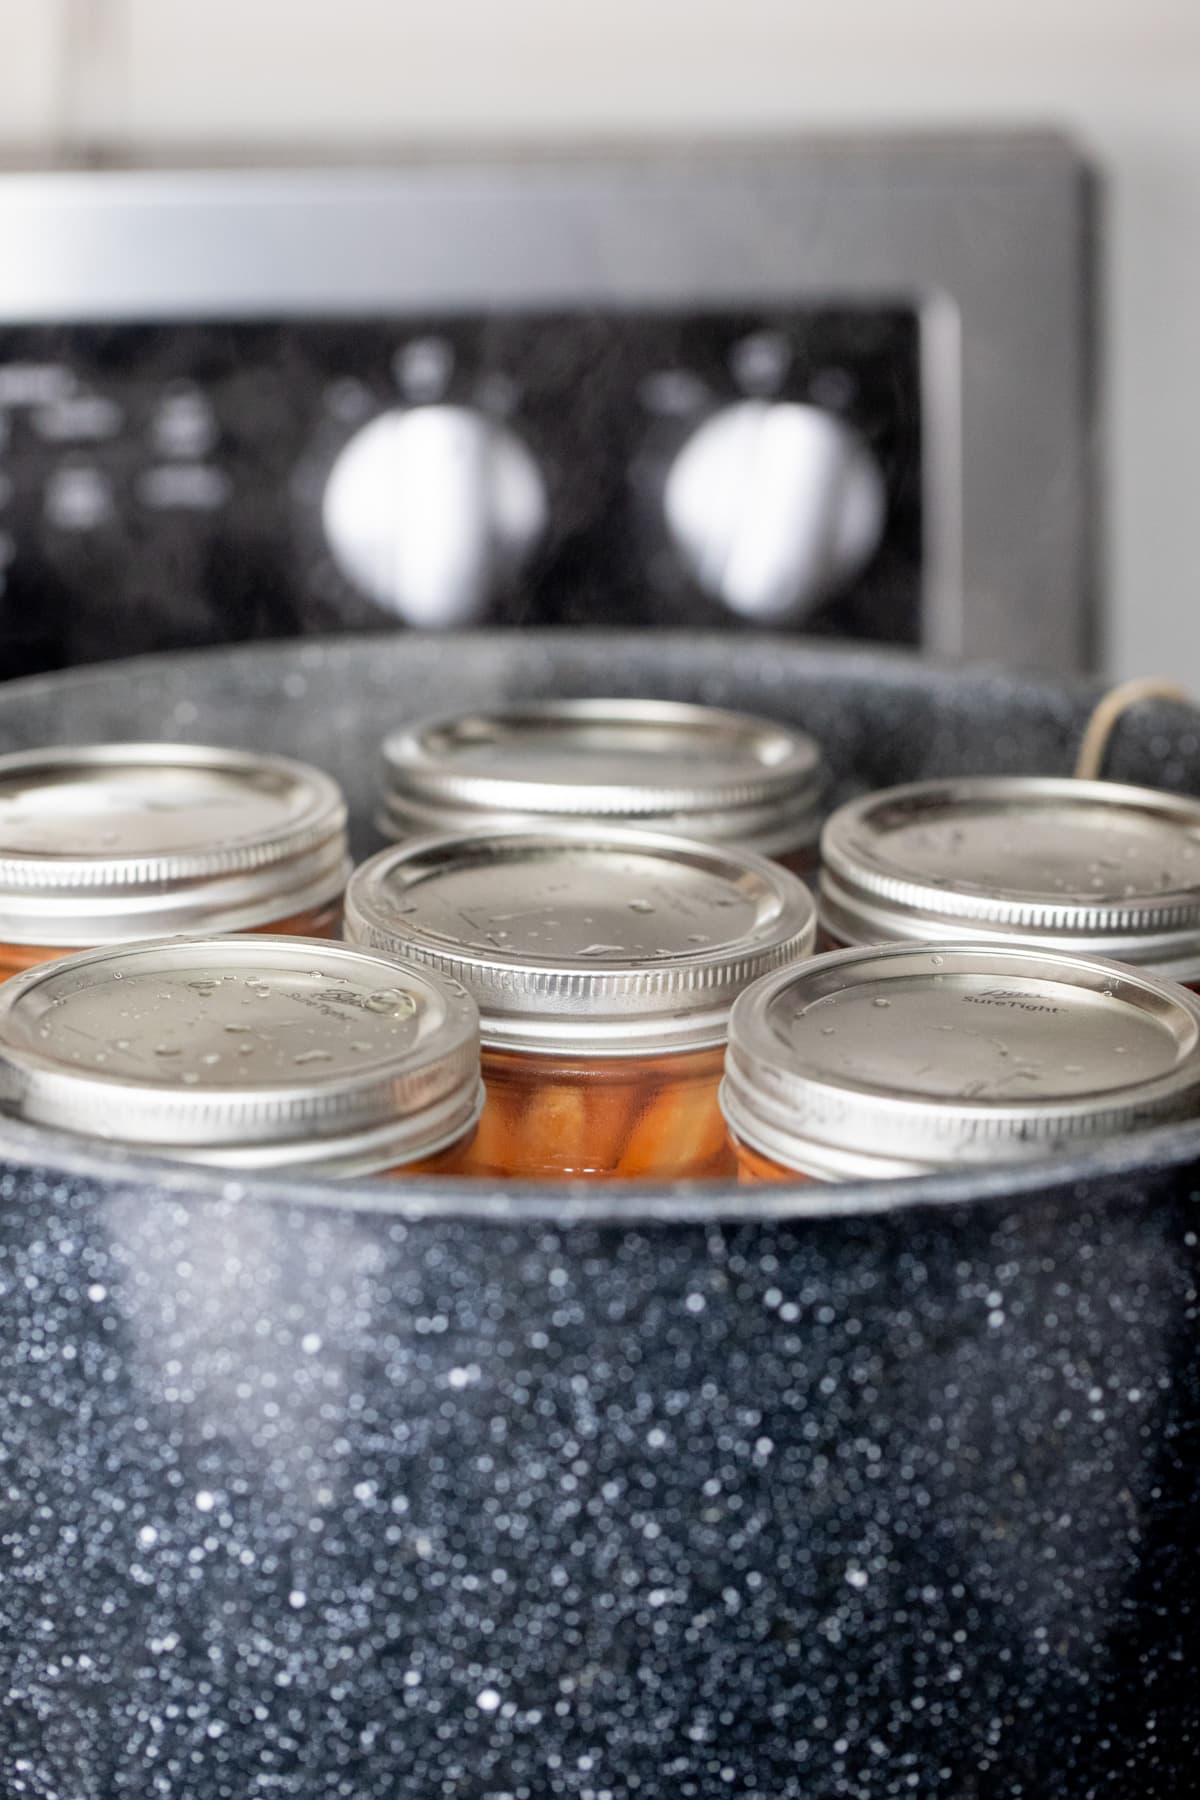
Step five – processing the jars. Place your jars in a boiling water bath canner, making sure the water covers the jars by at least an inch. Bring the water back to a boil, cover the pot, and process pint jars for 10 minutes and quart jars for 15 minutes (adjust for altitude if needed according to the table below).

Once processing time is done, turn off the heat, uncover the pot, and let the jars sit in the hot water for 5 minutes. Use the jar lifters to remove the jars from the canner and place them on a kitchen towel or a cutting board on the counter. Let the jars cool undisturbed for 12–24 hours. You should hear the “pop” as they seal.
How to Store…
After the jars have cooled, check the seals by pressing the center of each lid, if there is no movement there, the jar has sealed and is ready for storage. If a jar didn’t seal, store it in the fridge and use it first. Remove the bands, wipe the jars, and store them in a cool, dark place like a pantry or cabinet. Properly sealed jars can last up to 12–18 months.
How to Serve…
- As a snack – crunchy, tangy, and so satisfying straight from the jar.
- As a side – perfect with sandwiches, burgers, or wraps.
- On a charcuterie board – adds color and brightness.
- In salads – slice them up for extra flavor and crunch.
- With eggs or grain bowls – they add a great acidic balance.
Kitchen Notes…
- Always use vinegar with 5% acidity for safe canning.
- Don’t reduce the vinegar-to-water ratio (this is important for safety).
- If you don’t have pickling salt, use kosher salt or sea salt (any non-iodized salt).
- Sugar is optional, but it helps balance the acidity.
- Let the jars sit for at least 1–2 weeks before eating for best flavor.
- Feel free to double or triple the recipe depending on your harvest.
- Use this recipe with any variety of carrots you grow or that you can find at the market.
- Removing the bands before storage helps us monitor the food inside the jars better as it sits on the shelf. Also, they sometimes stick, making it hard to open the jars after a few months of storage. And, you can reuse them to can something else!
Carrots are one of the easiest vegetables to pickle. They stay nice and crunchy, soak up flavor beautifully, and are easy to customize depending on what you like. I hope that you’d give this recipe a try!
More Carrot Tutorials…
- Dehydrating Carrots
- How to Can Carrots
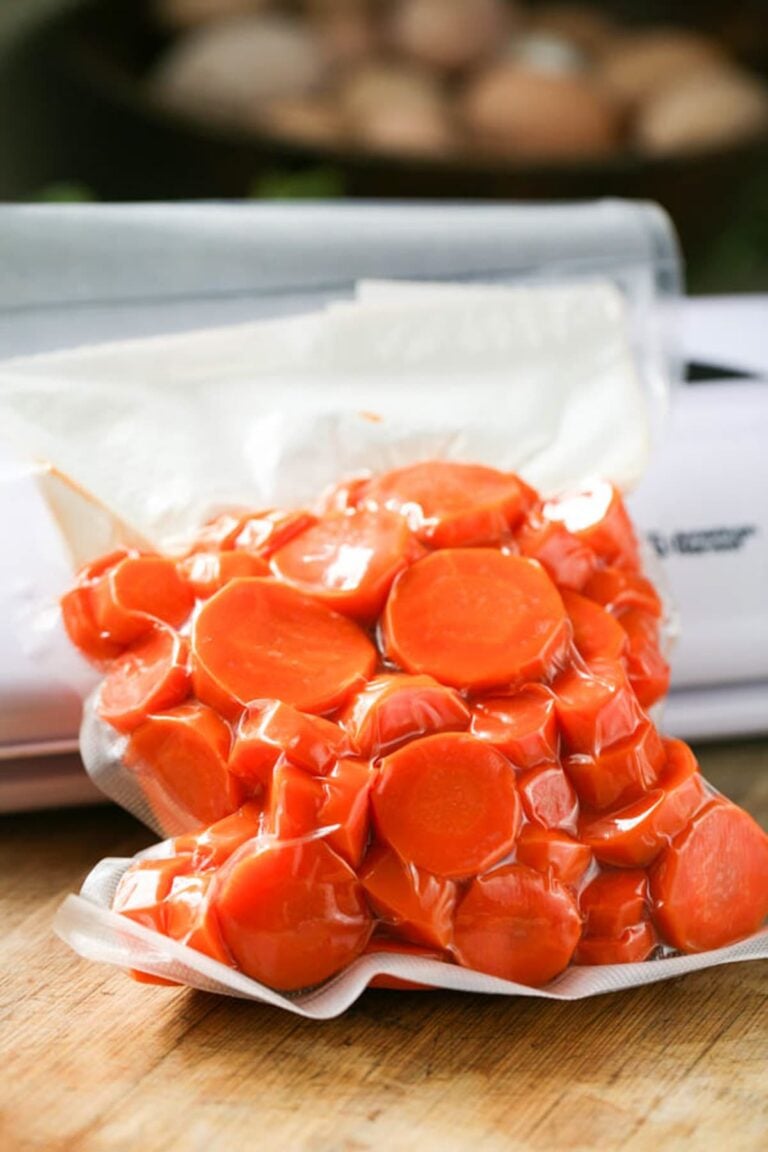
- How to Freeze Carrots
- How to Freeze Shredded Carrots
- Carrot Top Pesto Recipe

Pickled Carrots Recipe For Canning
Pickled carrots stay nice and crunchy, soak up flavor beautifully, and are easy to customize depending on what you like.
Ingredients
- 3-4 pounds carrots
- 1/2 teaspoon of pickling spice per jar (other spice options are in the notes below)
For the brine...
- 3 cups white vinegar (5% acidity)
- 3 cups water
- 3 tablespoons pickling salt
- 3 tablespoons sugar (optional)
Instructions
- Wash, peel (optional), and cut the carrots into sticks or disks.
- Wash jars, lids, and bands with hot soapy water.
- In a pot, combine vinegar, water, salt, and sugar. Bring to a boil.
- Pack carrots into jars, leaving 1/2 inch headspace.
- Add 1/2 teaspoon of pickling spice per jar or any other spices you are using.
- Pour hot brine over carrots, maintaining headspace.
- Remove air bubbles, wipe rims, apply lids, and tighten bands fingertight.
- Process in a boiling water bath. 10 minutes for pints and 15 minutes for quarts (adjust for altitude. Altitude adjustment table is in the post body above).
- Let jars cool undisturbed for 12–24 hours. Check seals before storing.
Notes
Options: feel free to change the seasonings. Try mustard seeds, coriander, garlic cloves (peeled and crushed), chili flakes, jalapeños, black pepper corns, and fresh or dry dill. Dry seasonings should be kept to 1/2 teaspoon per pint jar or no more than 1 tablespoon per quart jar. Add as much fresh garlic, dill, or jalapenos as you’d like.
Nutrition Information:
Yield: 6 Serving Size: 1 pint jarAmount Per Serving: Calories: 130Total Fat: 0gSaturated Fat: 0gUnsaturated Fat: 0gSodium: 2858mgCarbohydrates: 26gFiber: 7gSugar: 15gProtein: 2g