This post may contain affiliate links, view our disclosure policy for details.
In this tutorial, we’ll learn how to can meat safely at home. Canning meat is a great way to store it at room temperature. It frees space in the freezer and the meat is ready for serving or using in any recipe.

Lady Lee’s Note…
If you raise your animals for meat production, if you come by a great meat sale, at the grocery store, or if you hunt, you might find yourself with a lot of meat that needs to be preserved for months.
The easiest thing is to wrap it and throw it in the freezer, however, sometimes freezer space is limited. Canning meat is a great solution. It’s easy! And the best thing about it is that the meat is kept at room temperature so you never have to remember to thaw it.
Reasons to Can Meat…
- Free up freezer space – if you have other things that need to go in the freezer (like potatoes, carrots, or leeks), or other meat you raise on the homestead (like chickens and ducks) you might want to can some of your meat to free up some freezer space.
- Don’t depend on electricity – if you live off the grid you’ll want to learn how to can meat. Or maybe you live out in the country and electricity goes out often and doesn’t come back quickly, then it might be smart to can at least some of your meat.
If you’re a preparer and want to make sure you have a supply of food that will last awhile, canning meat can be a great solution and addition to your stash of food. - The meat is softened in the process – if you raise animals for meat or if you hunt, you know that most of those animals actually moved before they were butchered. I find it especially true with deer and other animals that come straight from nature.
For example, on a deer (here is how to butcher a deer on the homestead), there is almost no fat (and the fat that is there doesn’t taste good so the dog gets it…) and the meat can be a little tough sometimes.
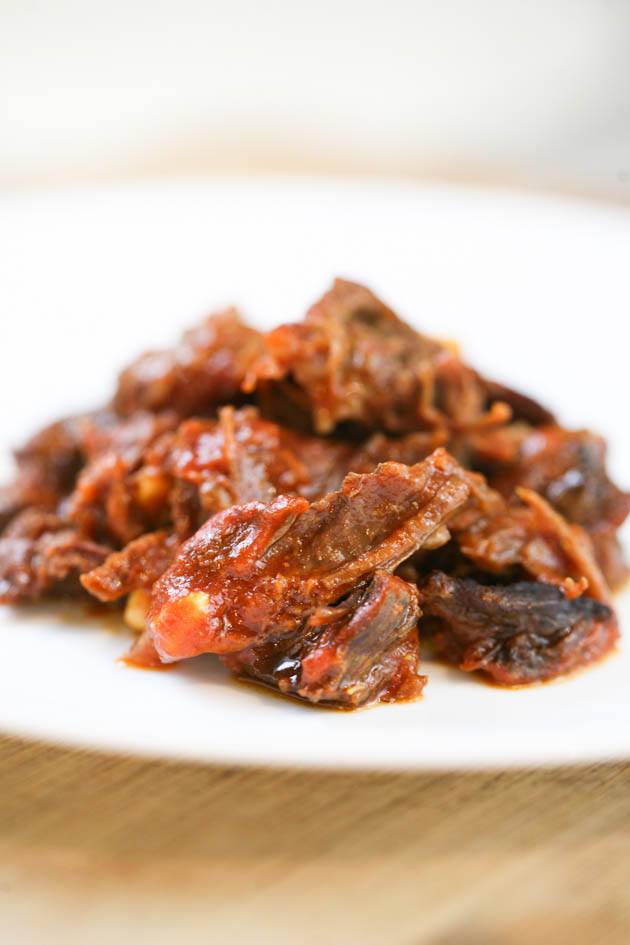
In most cases, it just tastes better if you cook it longer or pressure cook it before using it to prepare dinner (you can see the process that I follow in my recipe pulled venison wrap or my BBQ venison neck recipe).
Well, when you can your meat you have to use a pressure canner, so the meat is already softened and ready to use in any recipe. - No need to thaw – man, I am so bad at remembering to take things out of the freezer the night before! I don’t know if there is a cure for this or not, but really, I’ve tried many things and I am still bad at this. I love that the meat is right there on the shelf ready for me to use. I can just grab a jar and use the soft meat in any recipe. It’s convenient!
- It’s simple – I always thought that preserving meat would be a difficult job. I was surprised to learn that it’s actually very simple.
What Kind of Meat Can We Can?
Follow this tutorial, if you want to can…
- Venison
- Beef
- Caribou
- Elk
- Moose
- Bear
- Or Pork
You can learn how to can chicken and other poultry and also rabbit in my canning chicken tutorial.
Raw Pack vs. Hot Pack…
There are two ways to can meat…
- Hot pack method
- Raw pack method
Hot pack means that the meat is packed in jars after it’s cooked. We don’t have to cook the meat all the way… You can add some oil to a pan, let it heat, and once the pan is hot add the meat cubes and brown them. Then pack your jars with the browned meat before you follow the rest of the tutorial.
When we cook the meat before canning it the cubes of meat shrink and we are able to fit more meat into each jar. Some also say that it improves the shelf life of the meat.
In the raw pack method, we simply pack the meat in the jars while it’s still raw. I find that it’s much easier and saves you the step of cooking the meat (and some dishes to clean). After butchering a large animal like deer, being able to skip even just one step is as divine to a homesteader as a picnic is to an ant.
I’ll also admit that I personally don’t feel that much of a difference in the amount of meat I can fit in each jar, the shelf life, and the quality. So raw pack it is around here!
Ingredients…
- Meat – elk, pork, venison, beef, bear, moose, or caribou
- Salt and other seasonings (optional)
- Water or bone broth
Tools…
- Cutting board
- Knife (I usually use a butchering knife)
- Mixing bowl
- Jars, lids, and bands
- Canning utensils
- Wooden spoon
- Paper towel
- Pressure canner
Step-by-step Instructions (Raw Pack Method)…
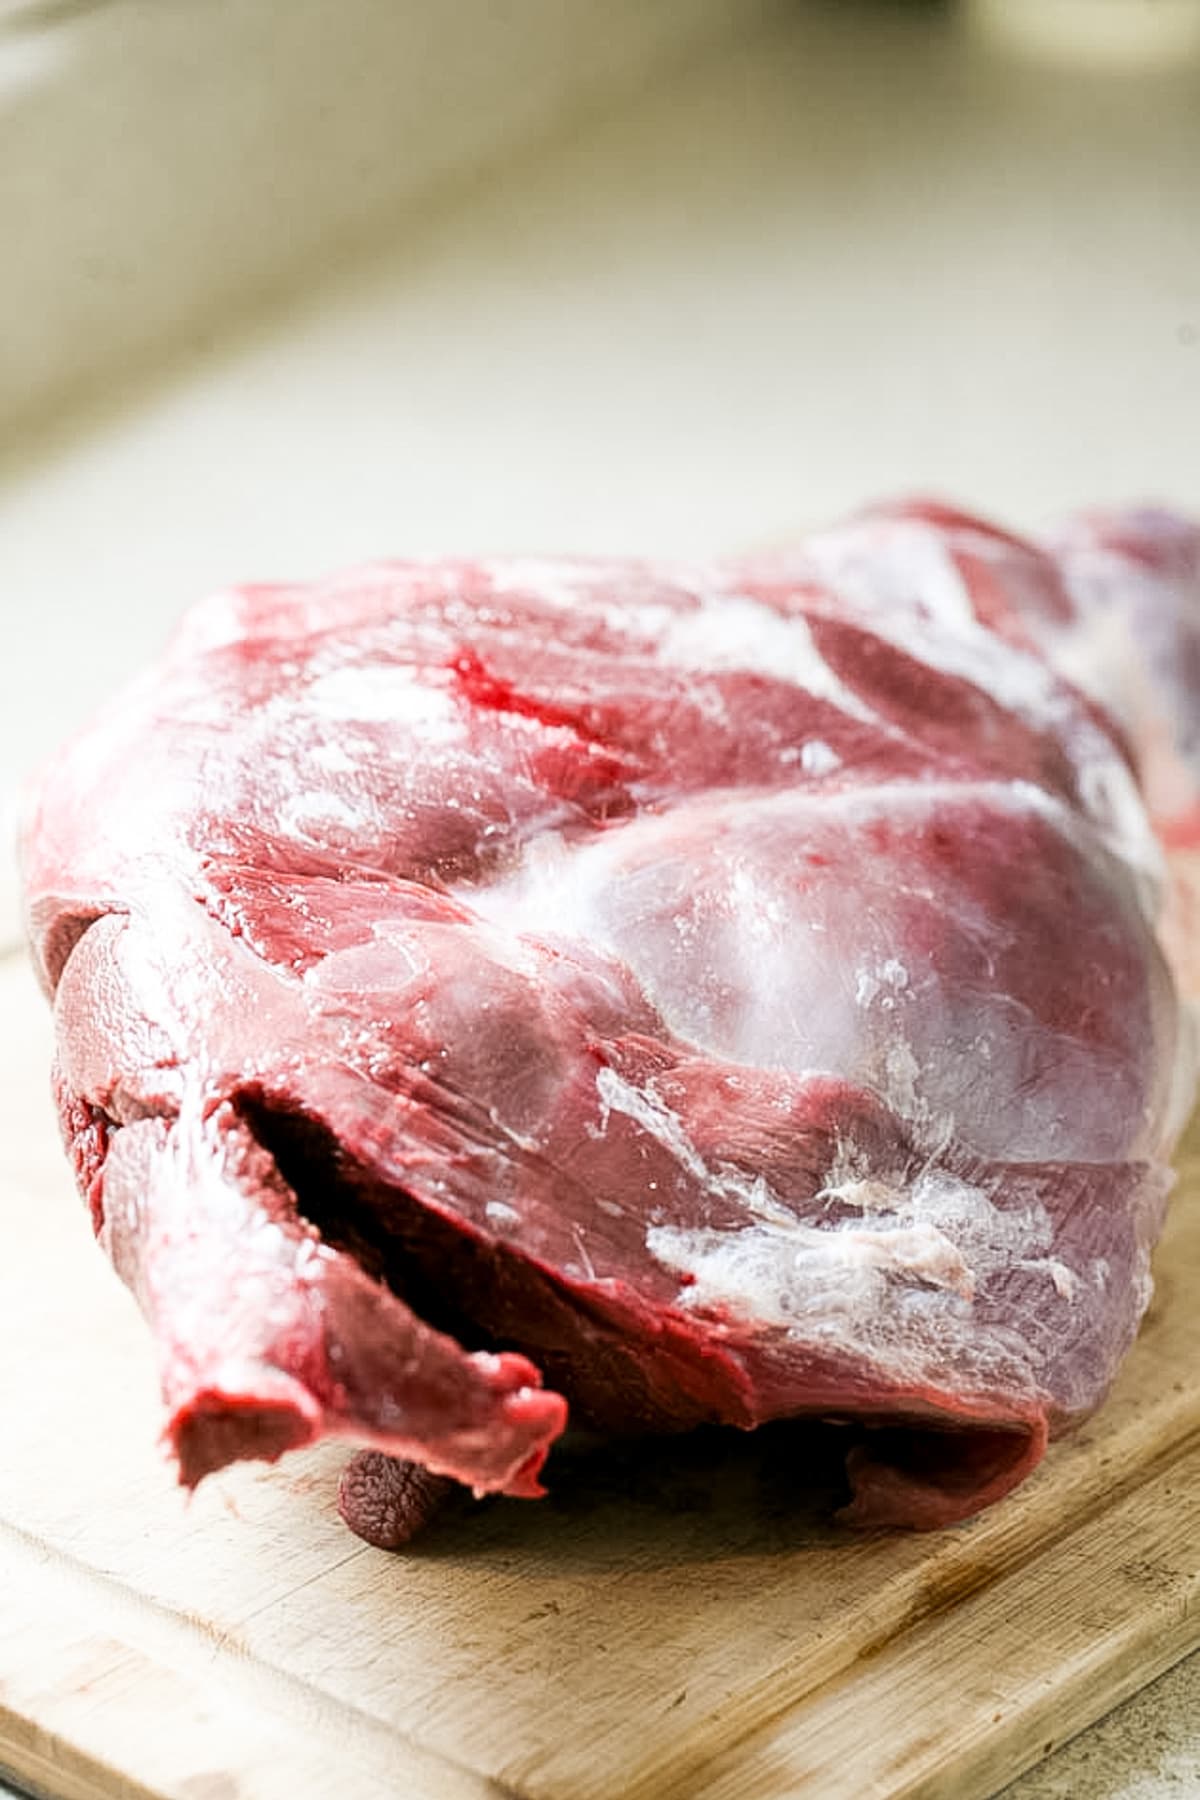
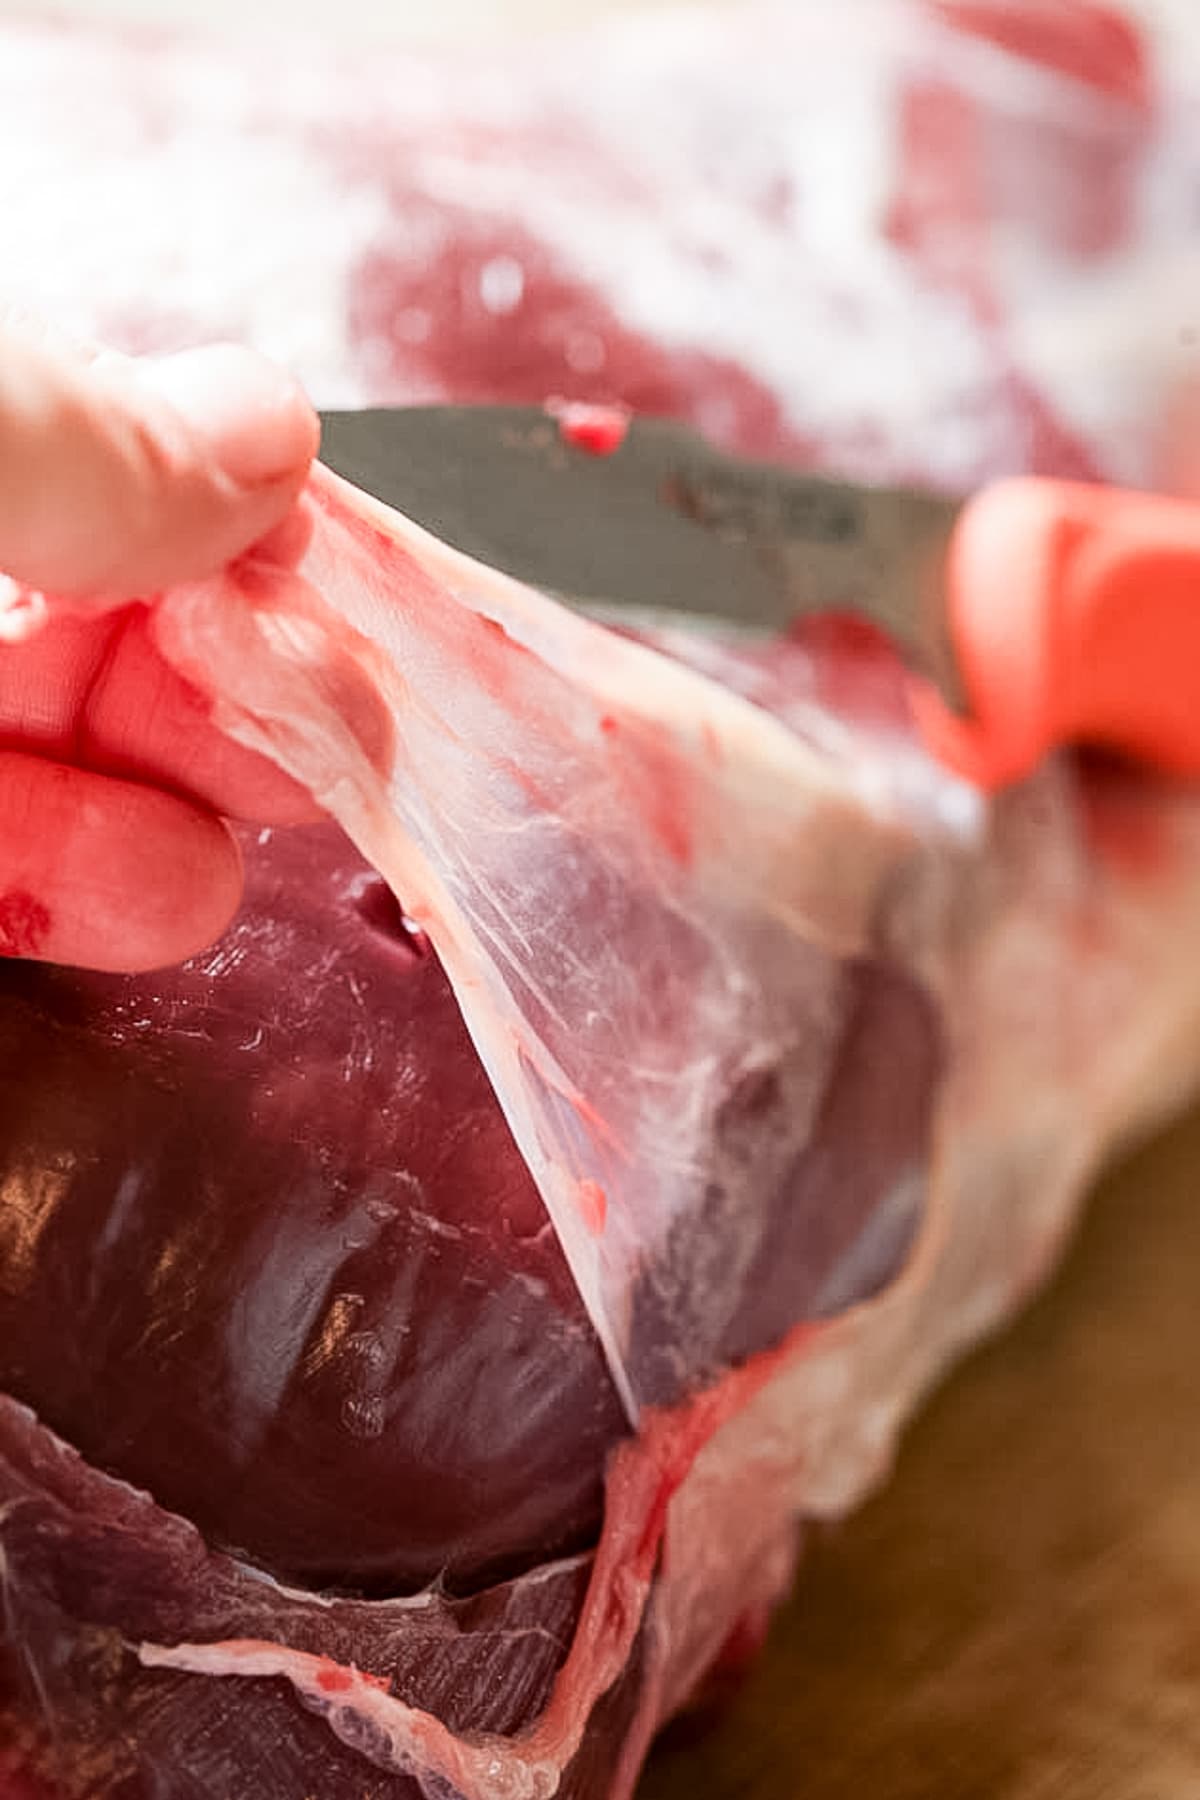
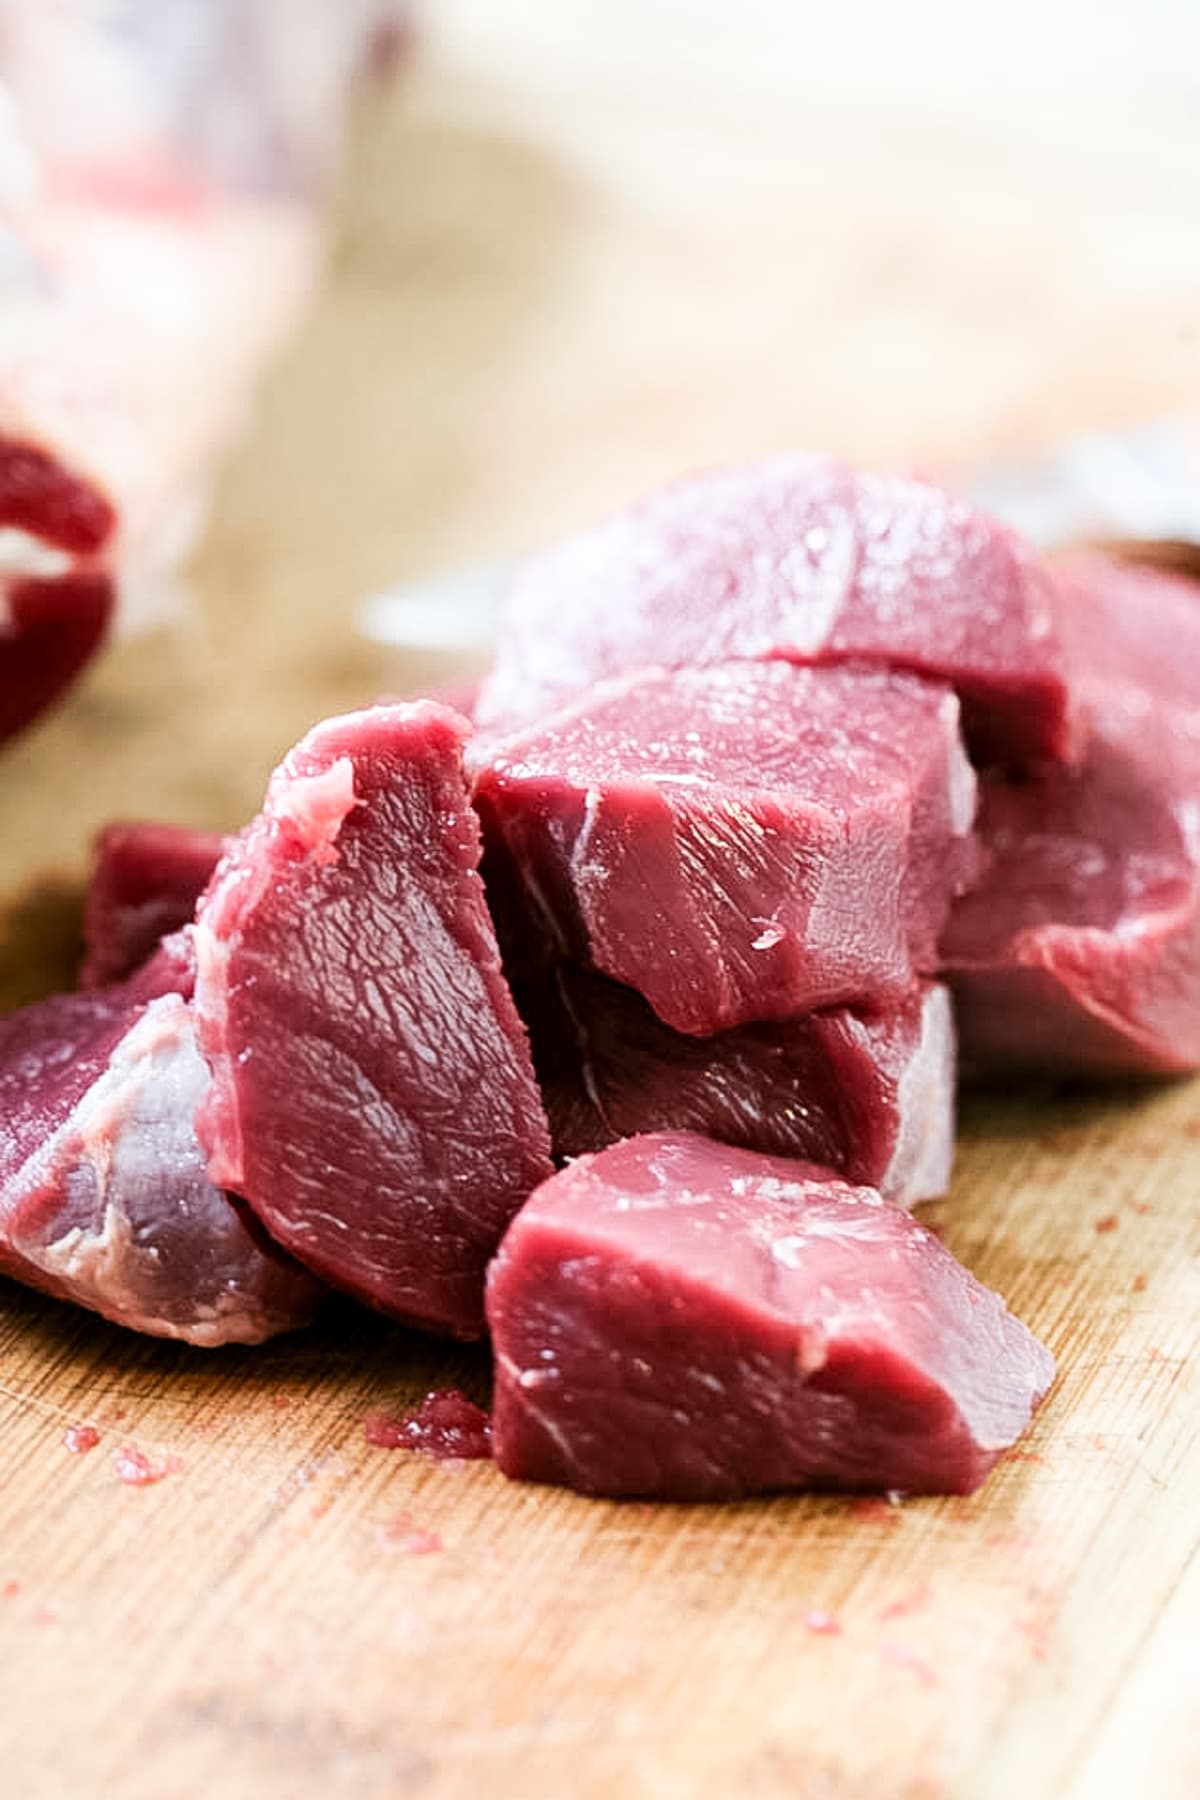
Step one – prep the meat. If you’re processing deer meat, start by removing the fat and the white tissue/film (probably the same with caribou or moose). It takes a bit of time, however, it’s worth the effort since these parts don’t taste very good. If you’re processing beef or pork, you can leave the fat if you want to, or you can remove it and make lard or tallow, or freeze it.
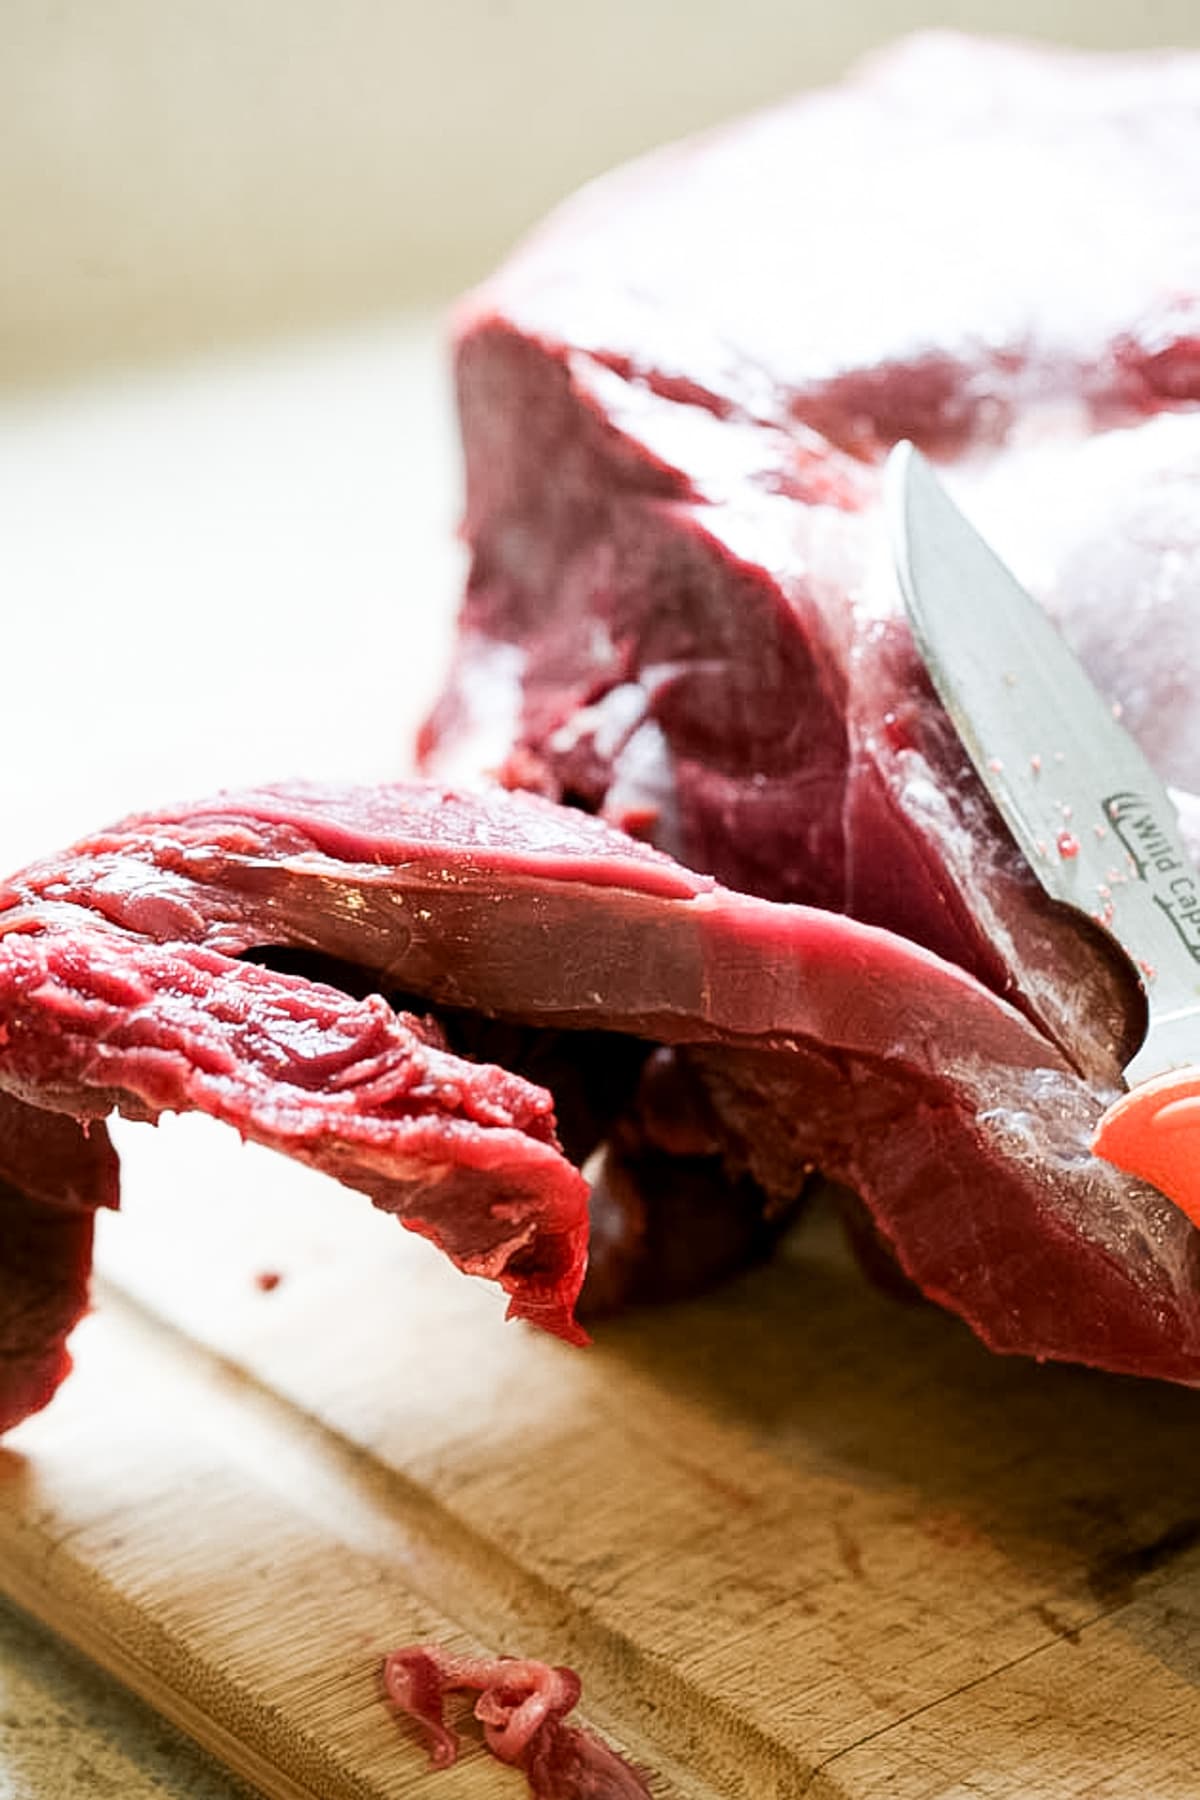
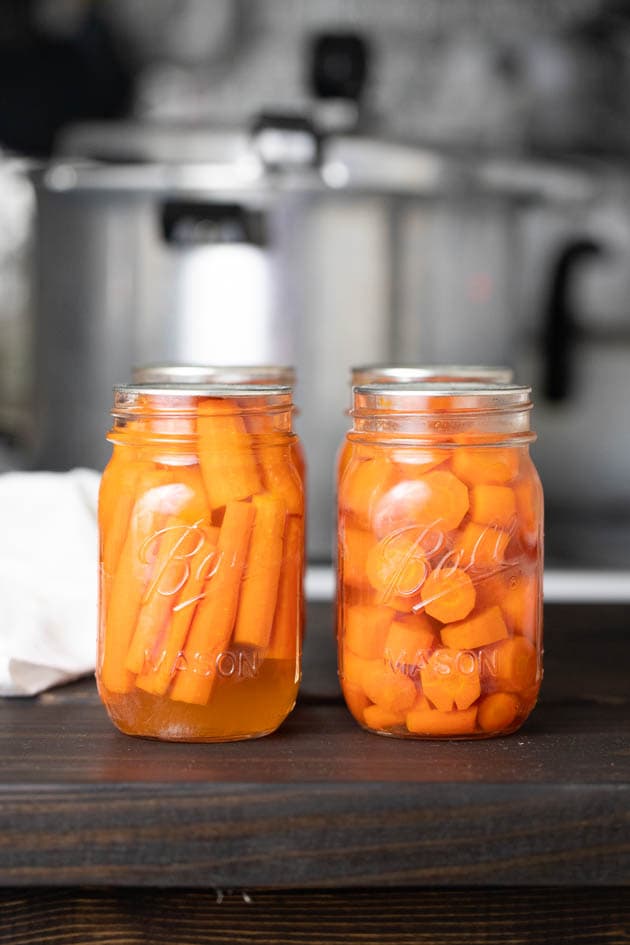
Next, cut the meat off the bone. I have to admit that I don’t have any special method here… Our goal is to end up with cubes that are about an inch or an inch and a half in size.
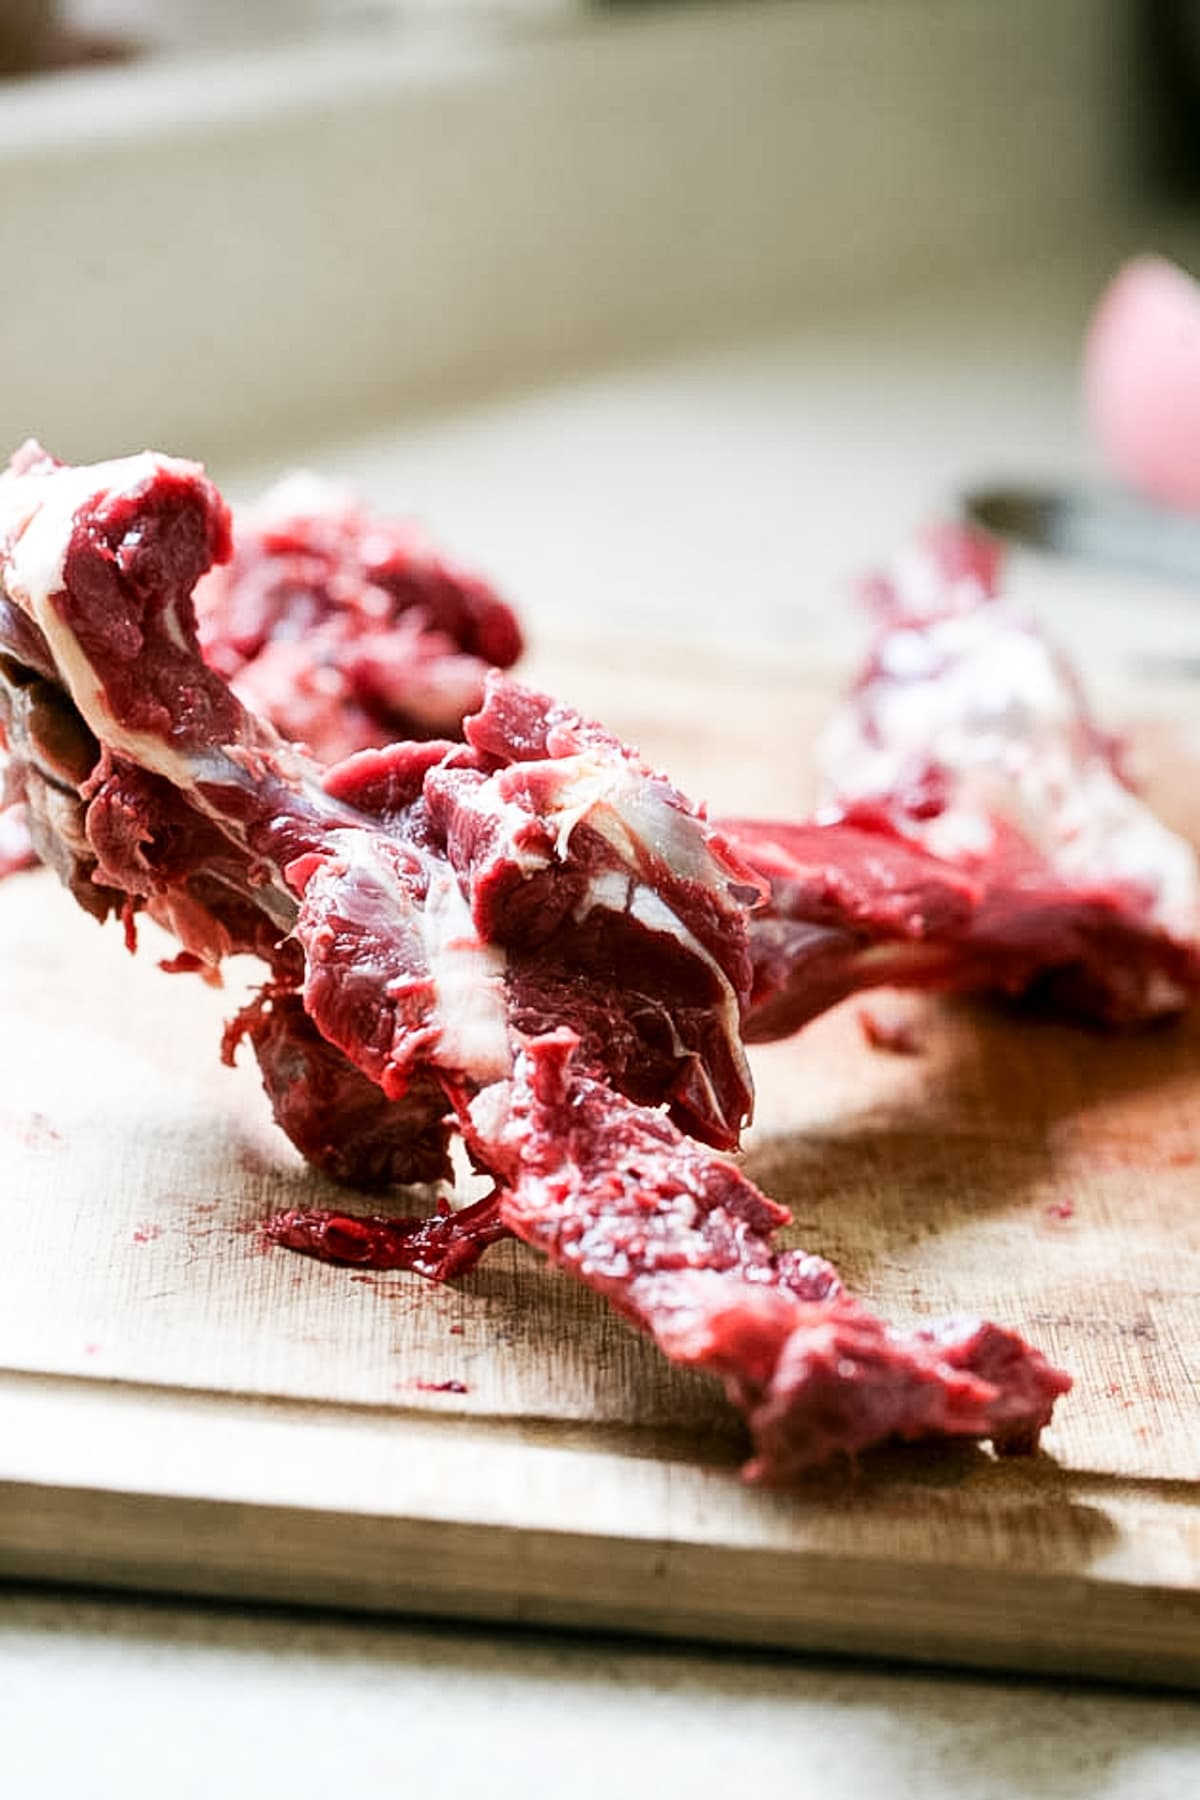
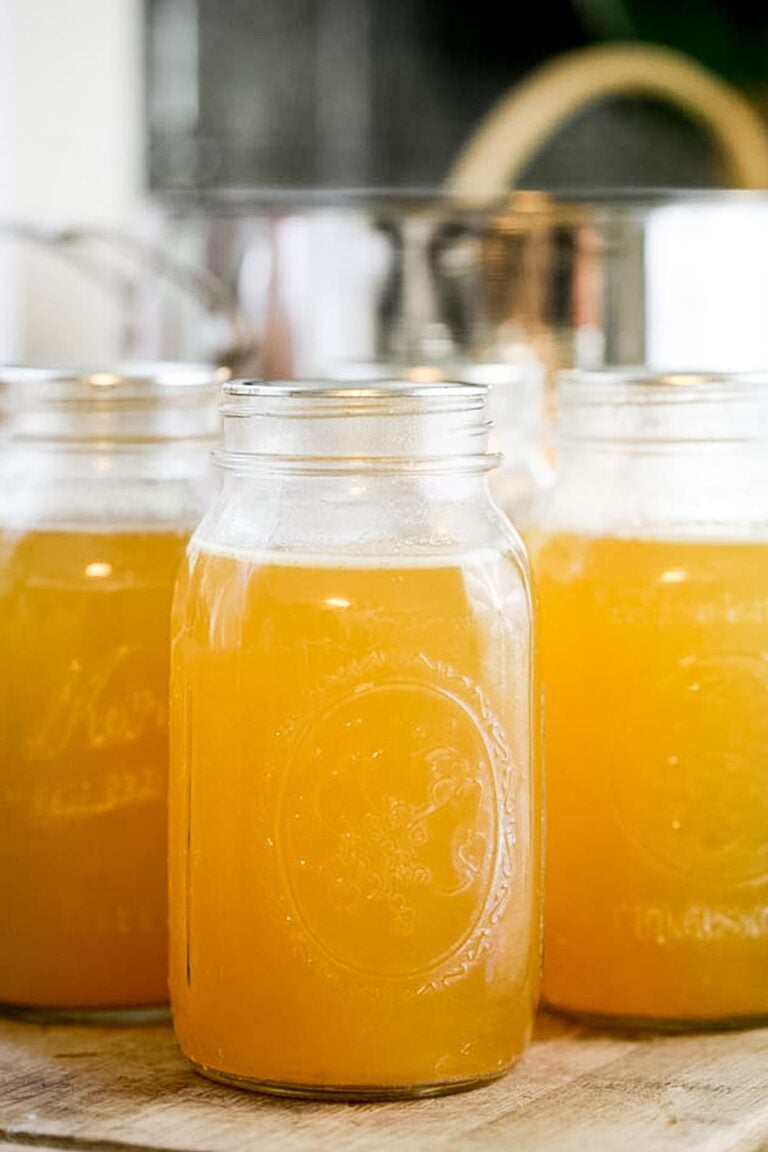
I usually steal a little bit of the meat to make these perfect venison hamburgers, the rest we’ll can. The connective tissue, any pieces of fat, and dirty meat (if there is any) go to the dog, the bone is going into a large pot of water to make bone broth which I will use in the canning process instead of water and seasonings. The extra bone broth I usually can.
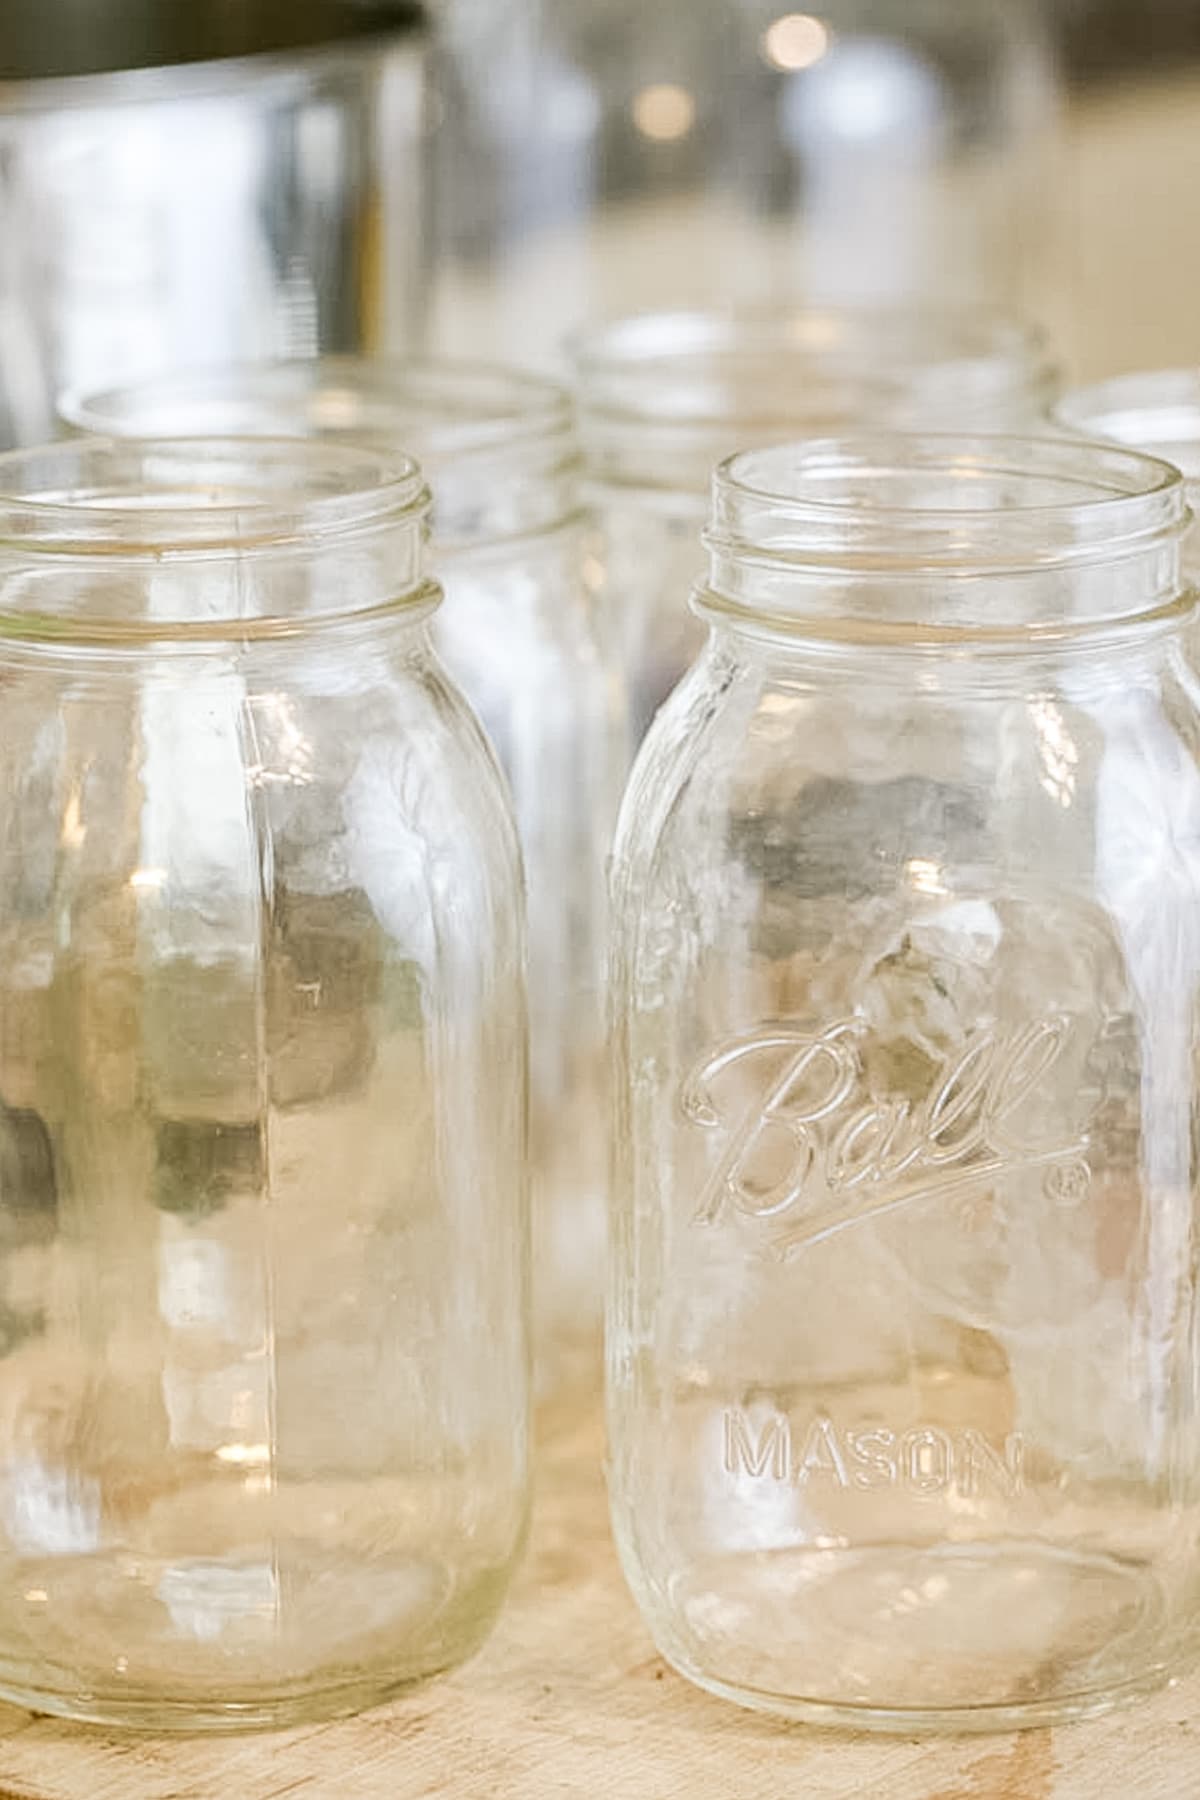
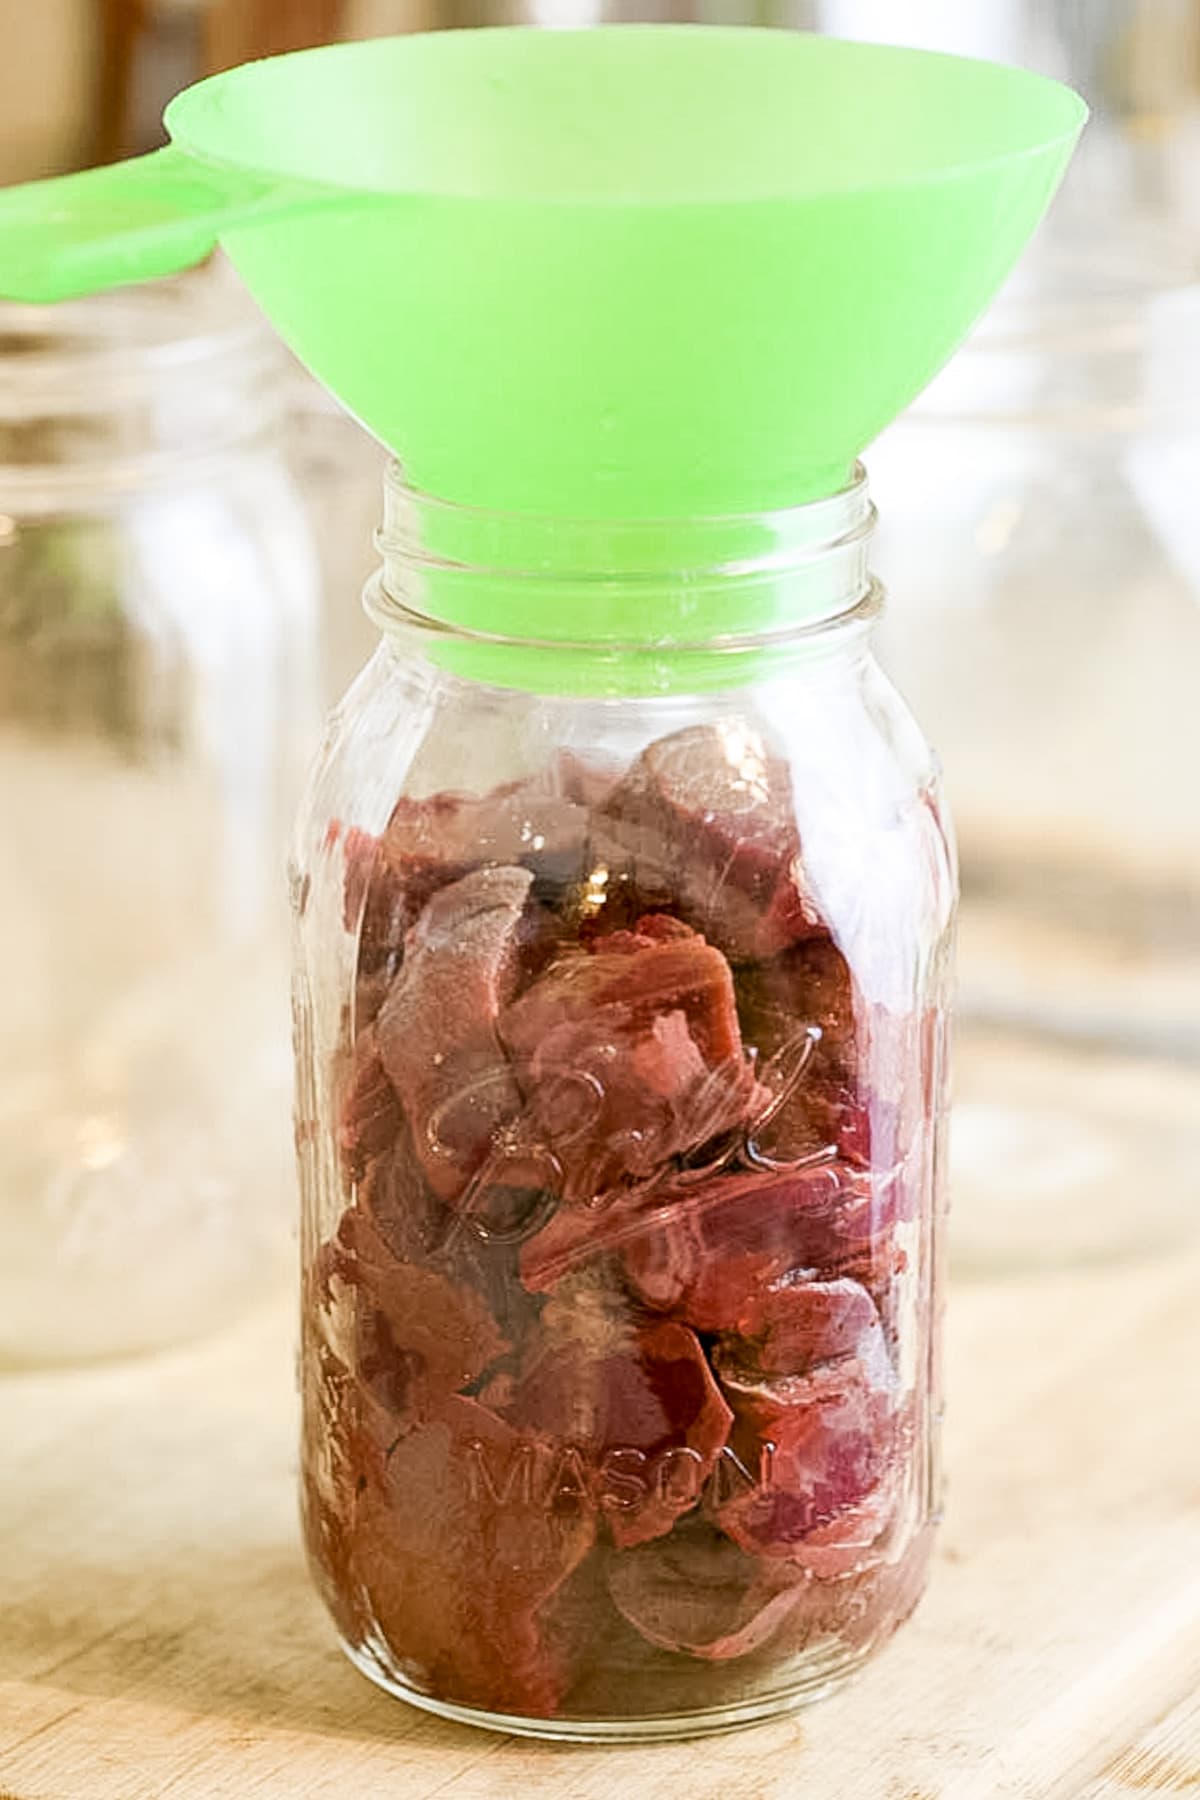
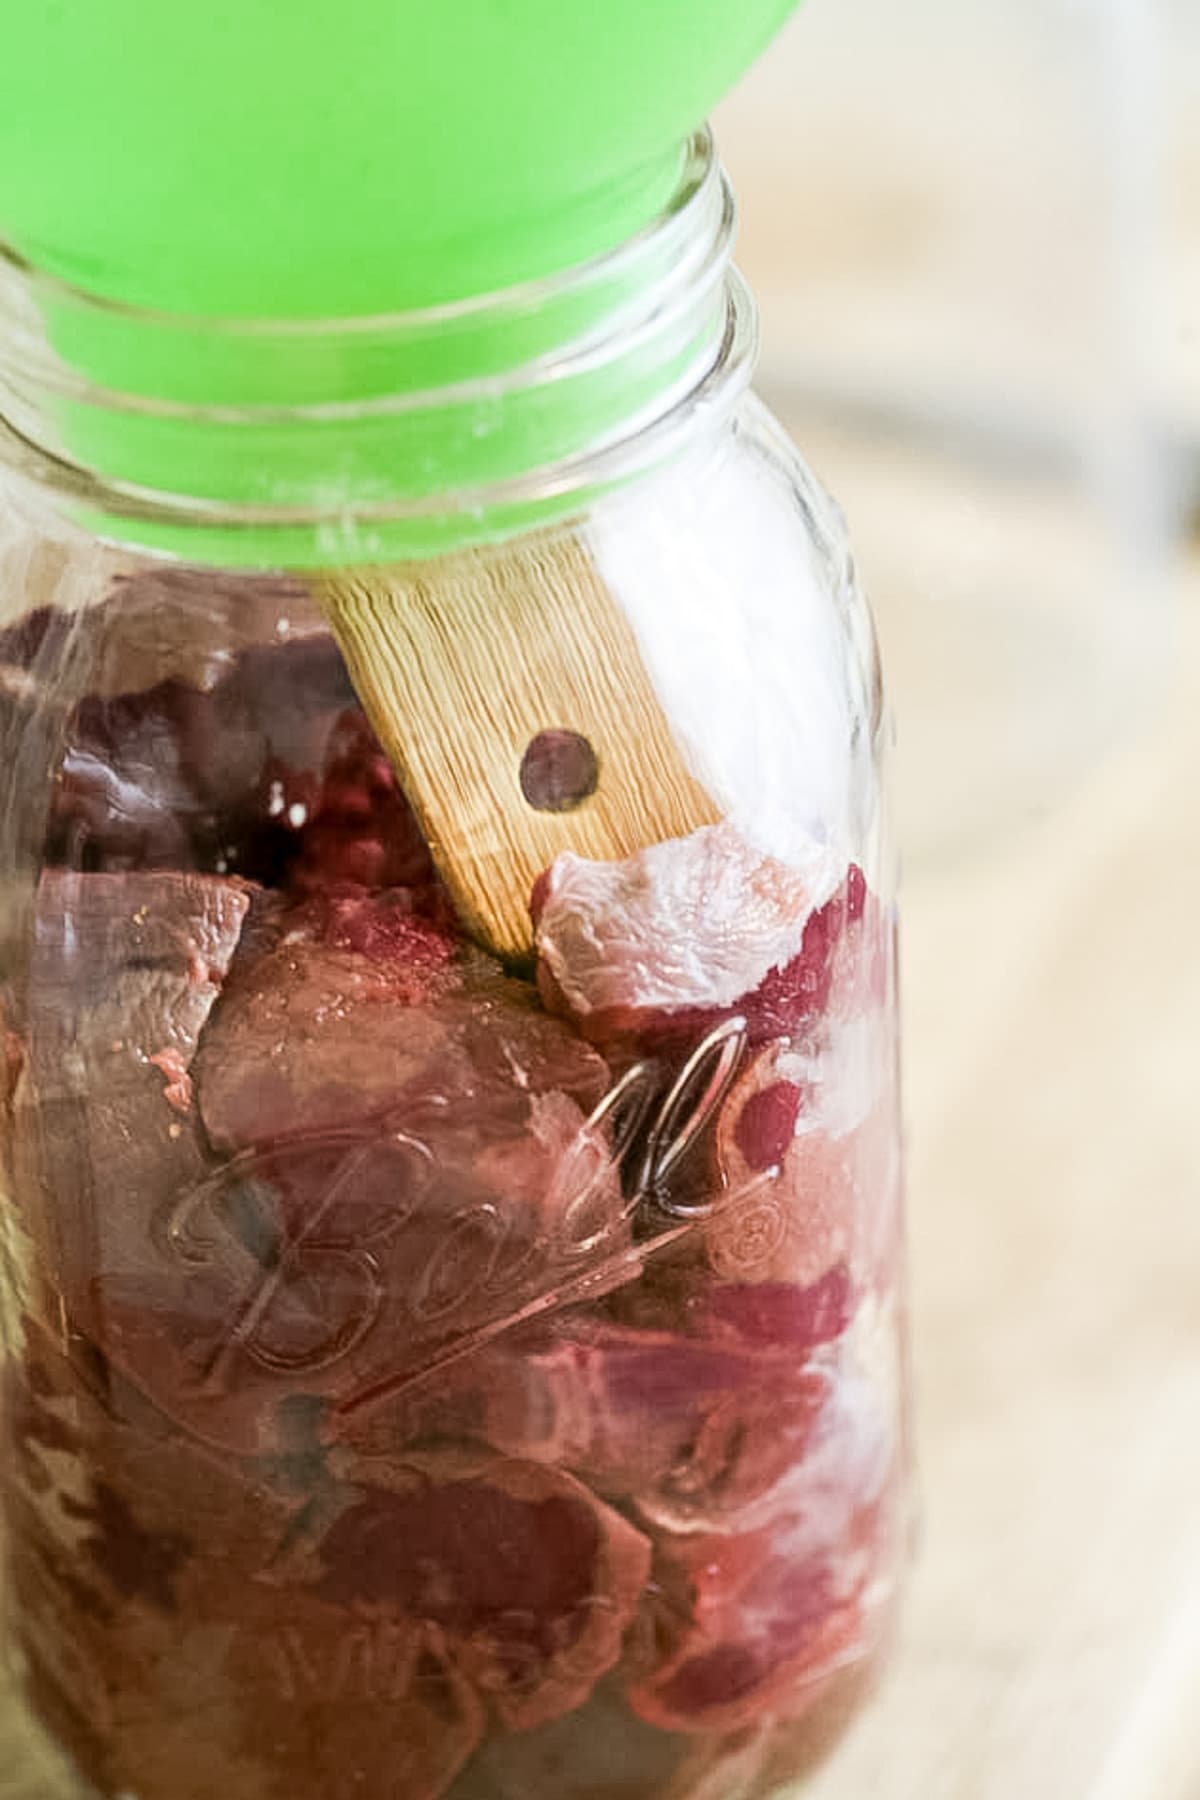
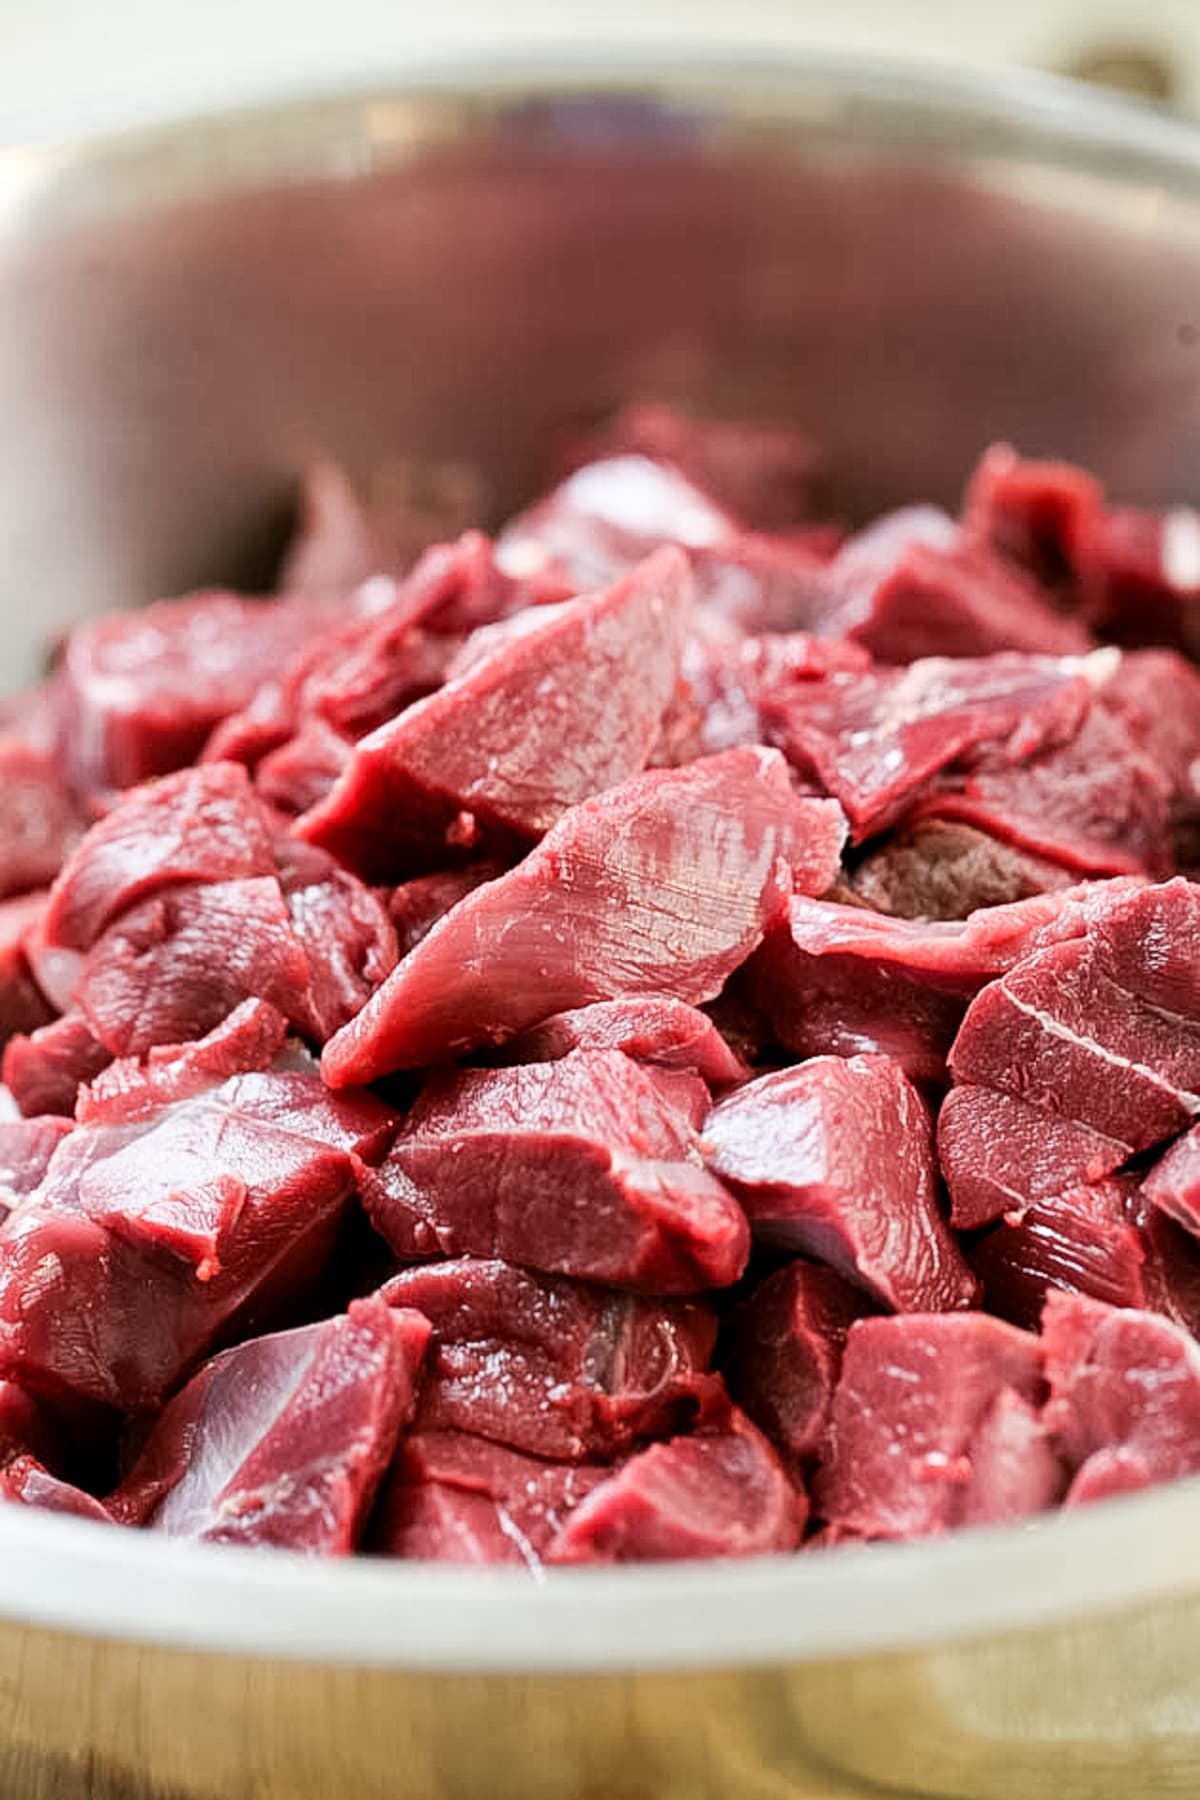
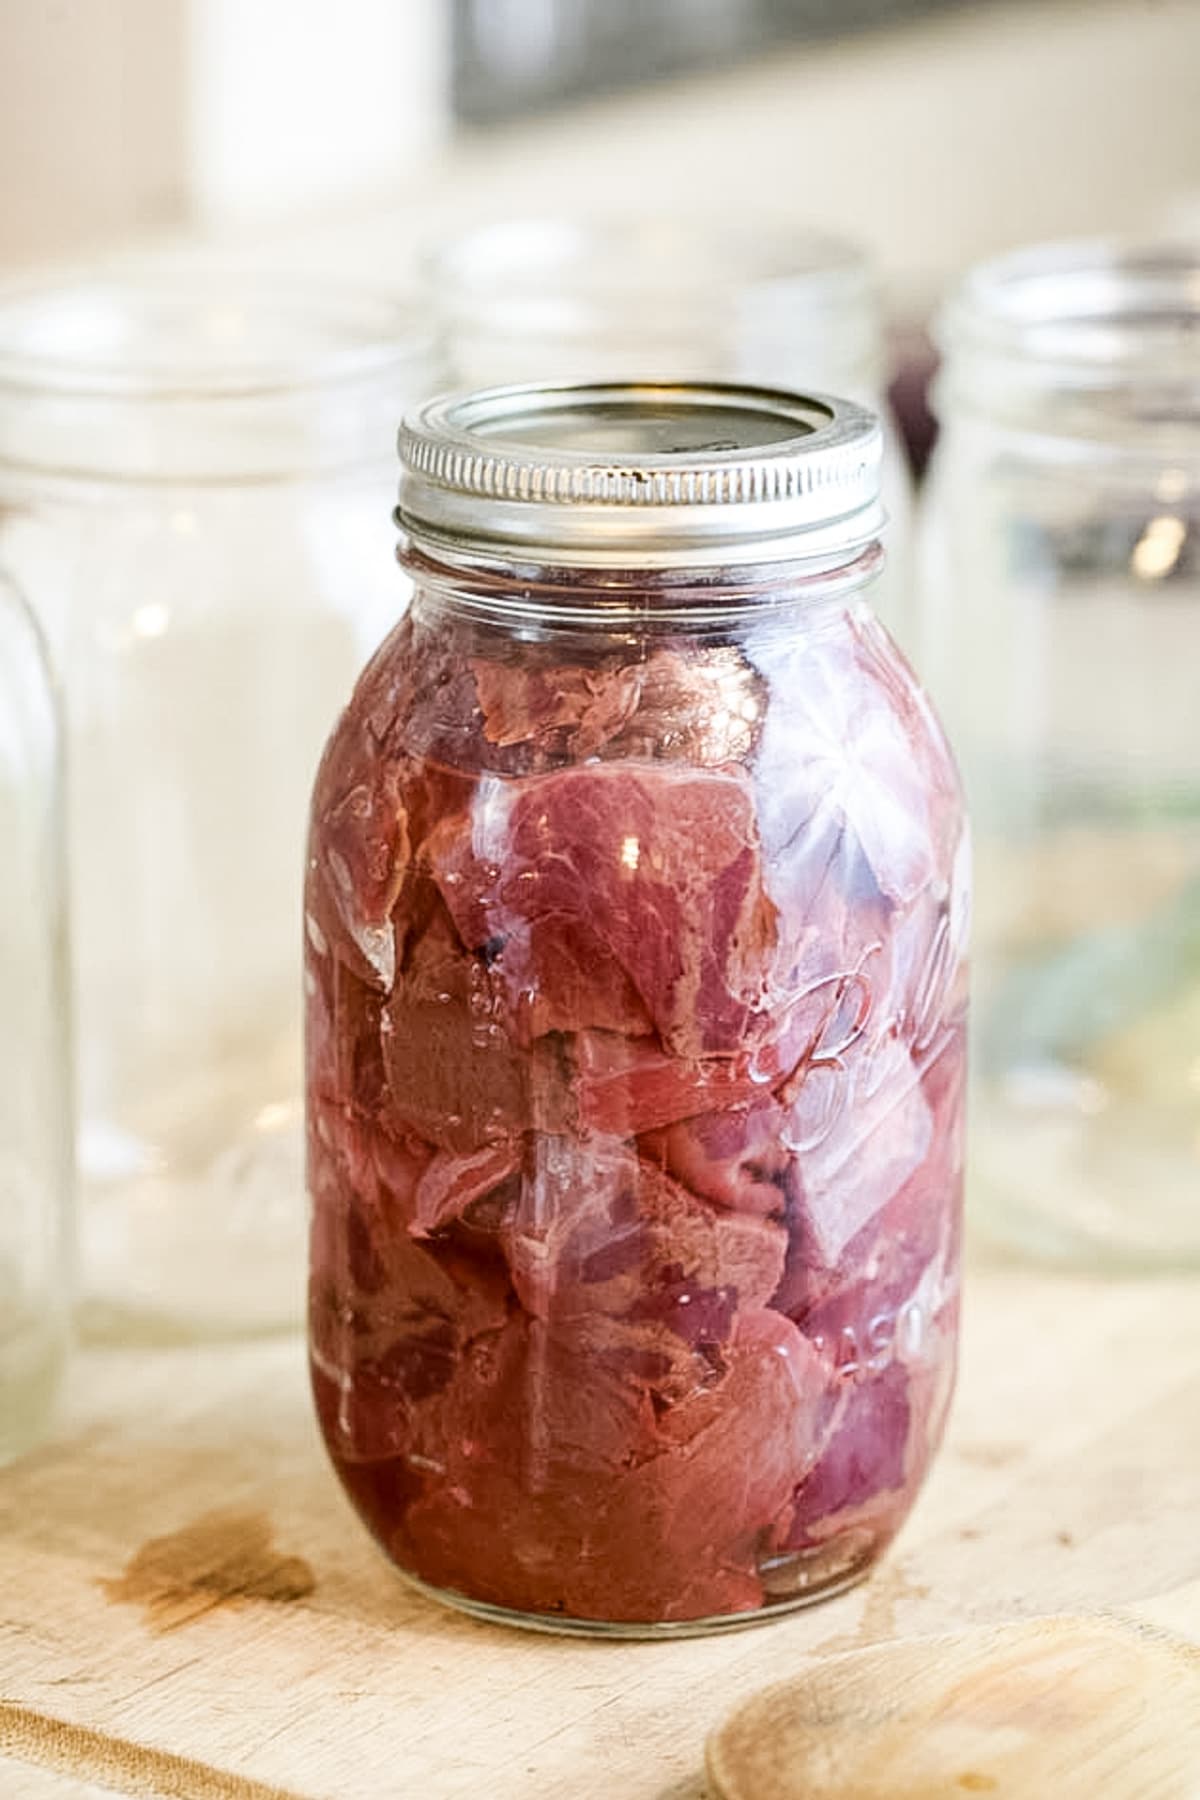
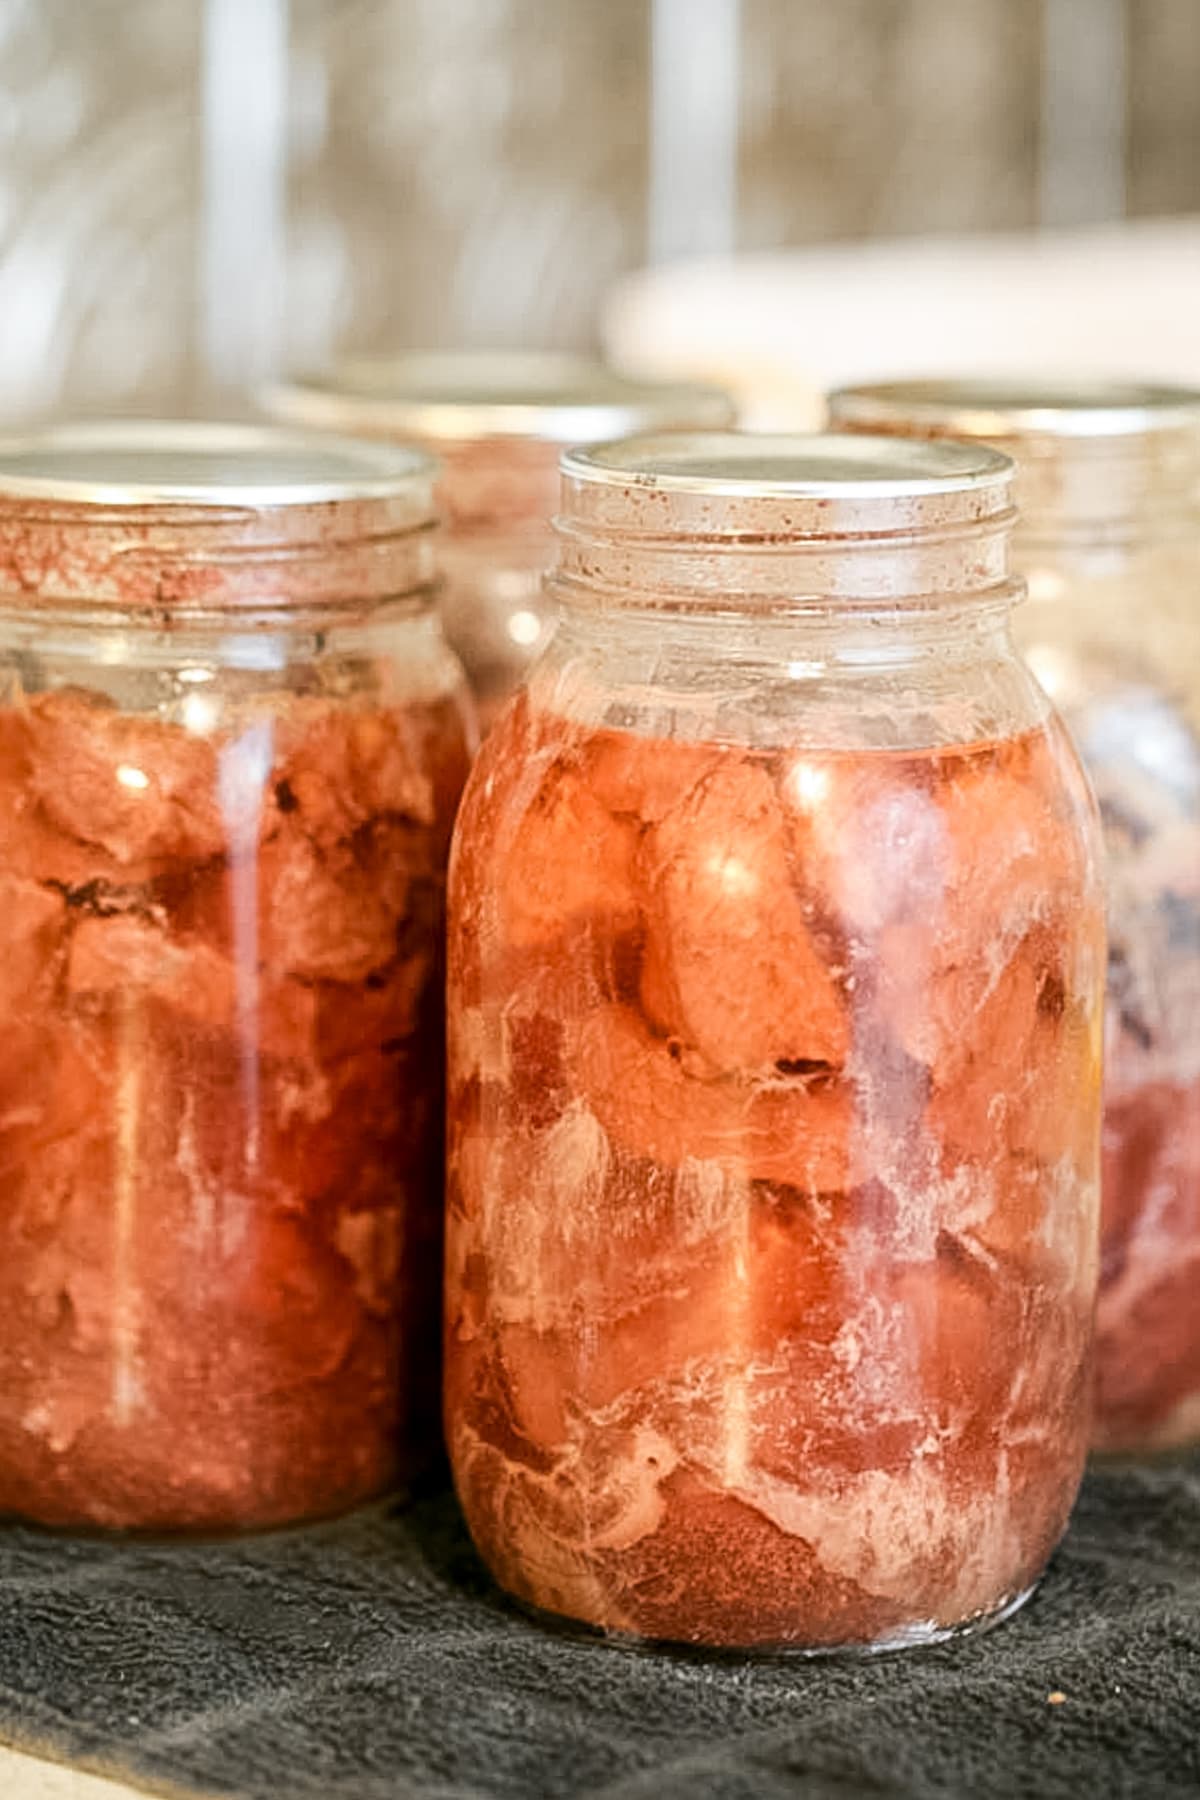
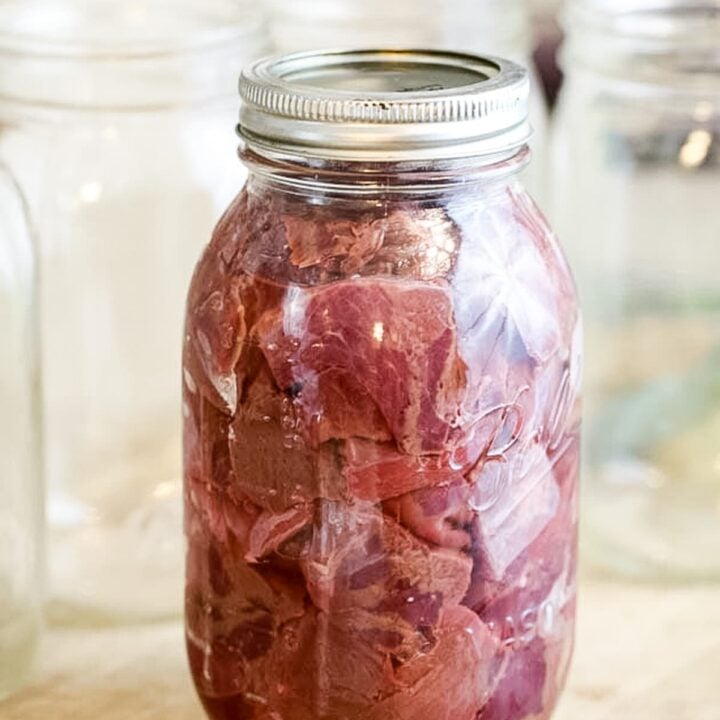
Step two – pack the jars. Wash the jars, lids, and rings with hot water and dish soap. Pack the jars with the cubbed meat (and seasonings and/or salt if you choose to add any). The meat will shrink as it cooks so use the back of a wooden spoon to pack as much as you can into each jar while leaving one inch of headspace.
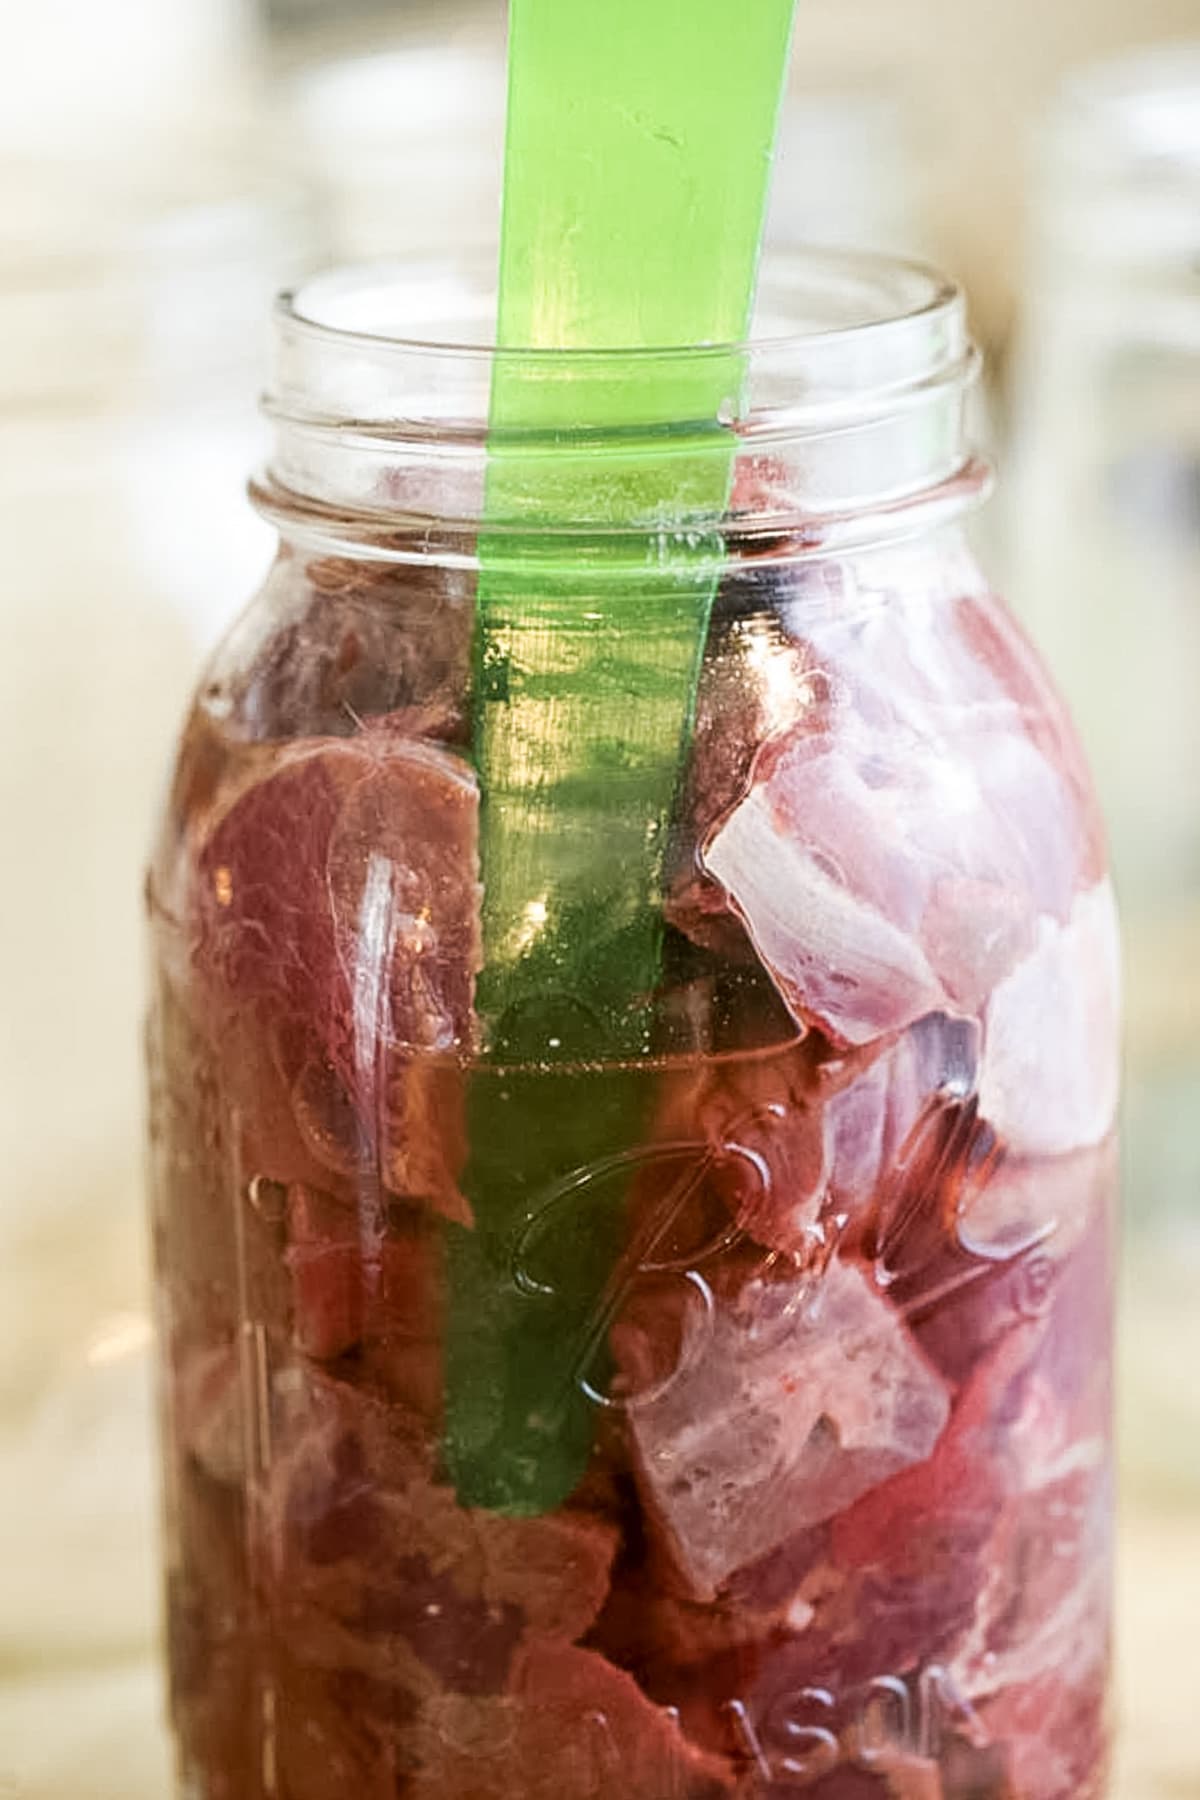
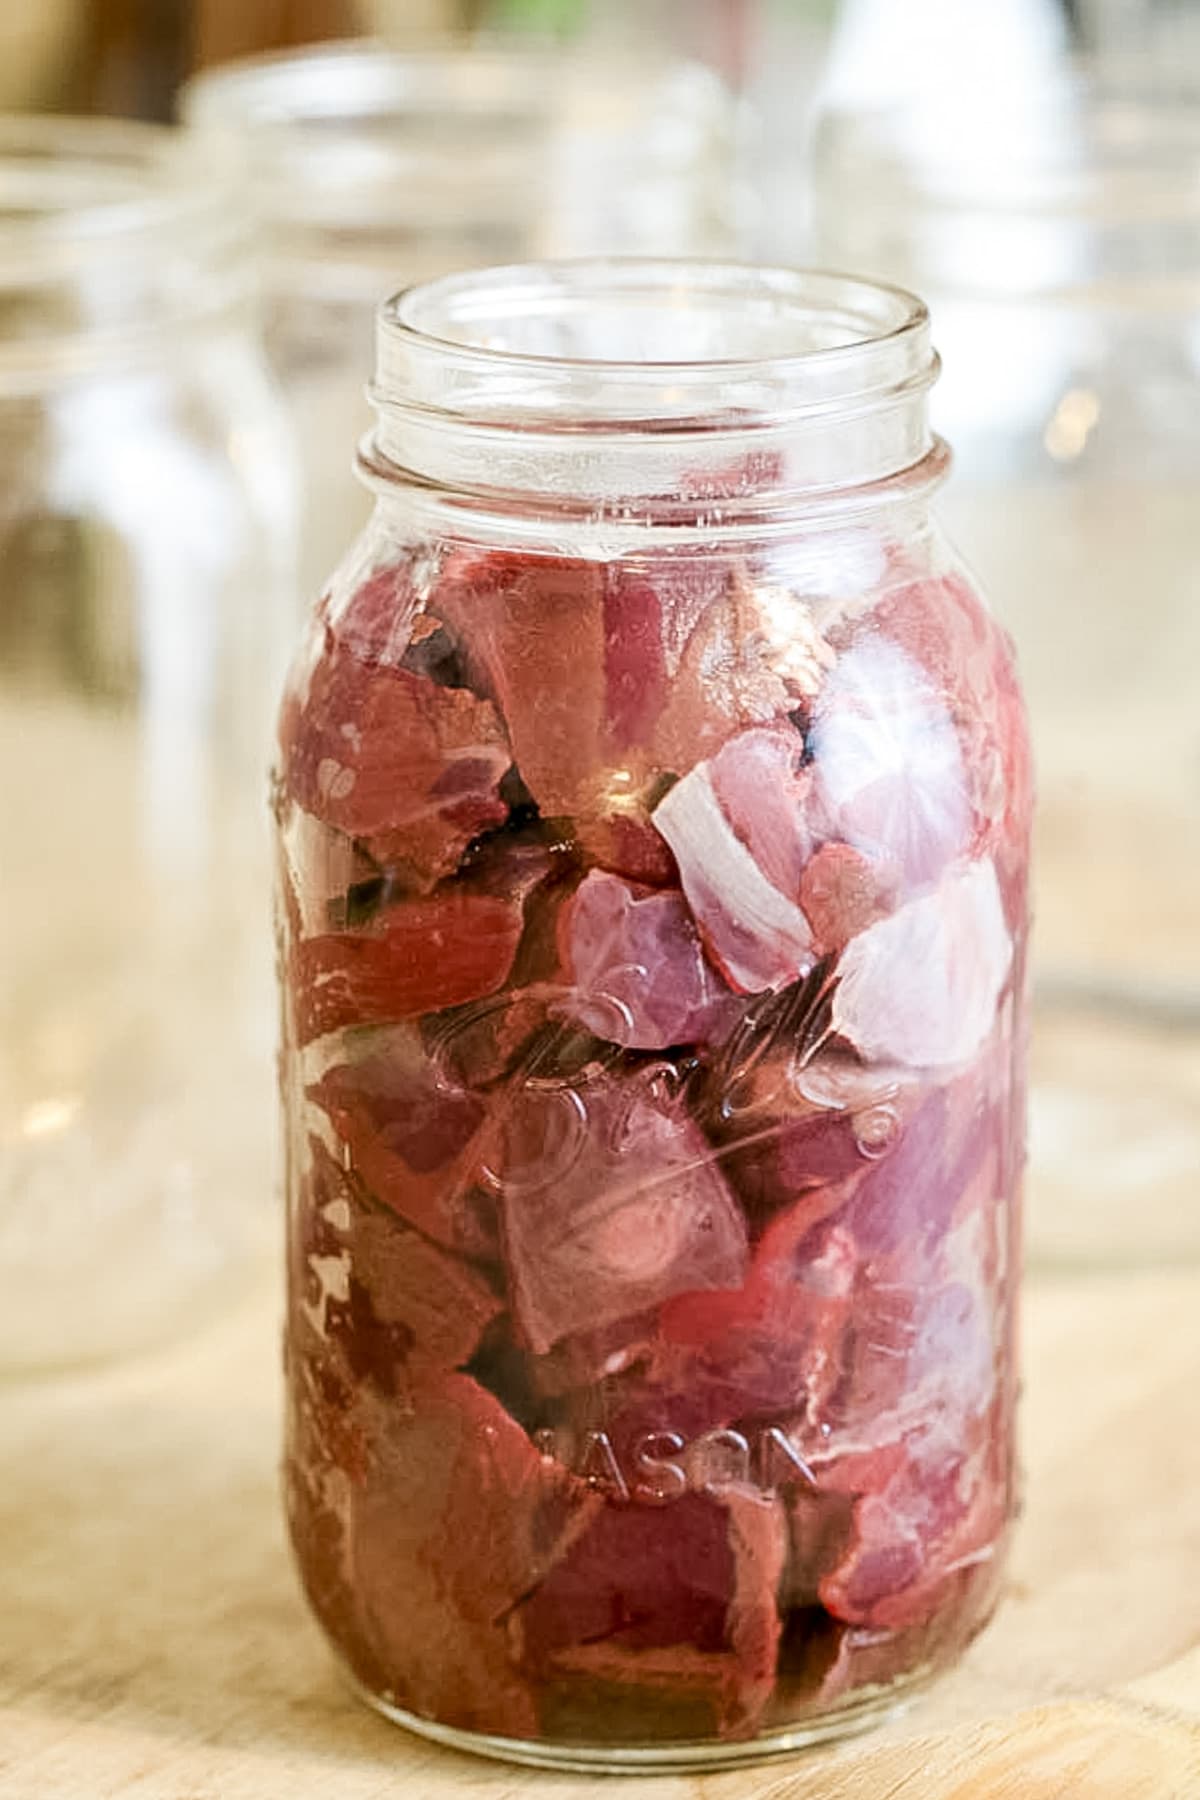
In the raw pack method, when you process your meat in the pressure canner it will form its own liquid, so in many places, it will be advised not to add liquid at all to the jars when using the raw pack method. I find that venison is super lean and doesn’t form much liquid at all, so I personally choose to add a little bit of liquid to my jars.
There are four options here…
- add just water.
- add whatever seasonings you want to the bottom of the jar (salt, peppercorns, chili flakes…) before you put the meat in it, and then add water.
- use broth or stock instead of water (the broth or stock is already seasoned).
- or try to add no liquid at all (beef and pork probably don’t need any liquid).
I usually choose to use the bone broth I make with the bone but I only add a couple of tablespoons to each quart jar (you want the liquid to stay right below the band of the jar). Use the bubble remover to move the meat a bit to make sure the liquid finds its way to the bottom of the packed jar.
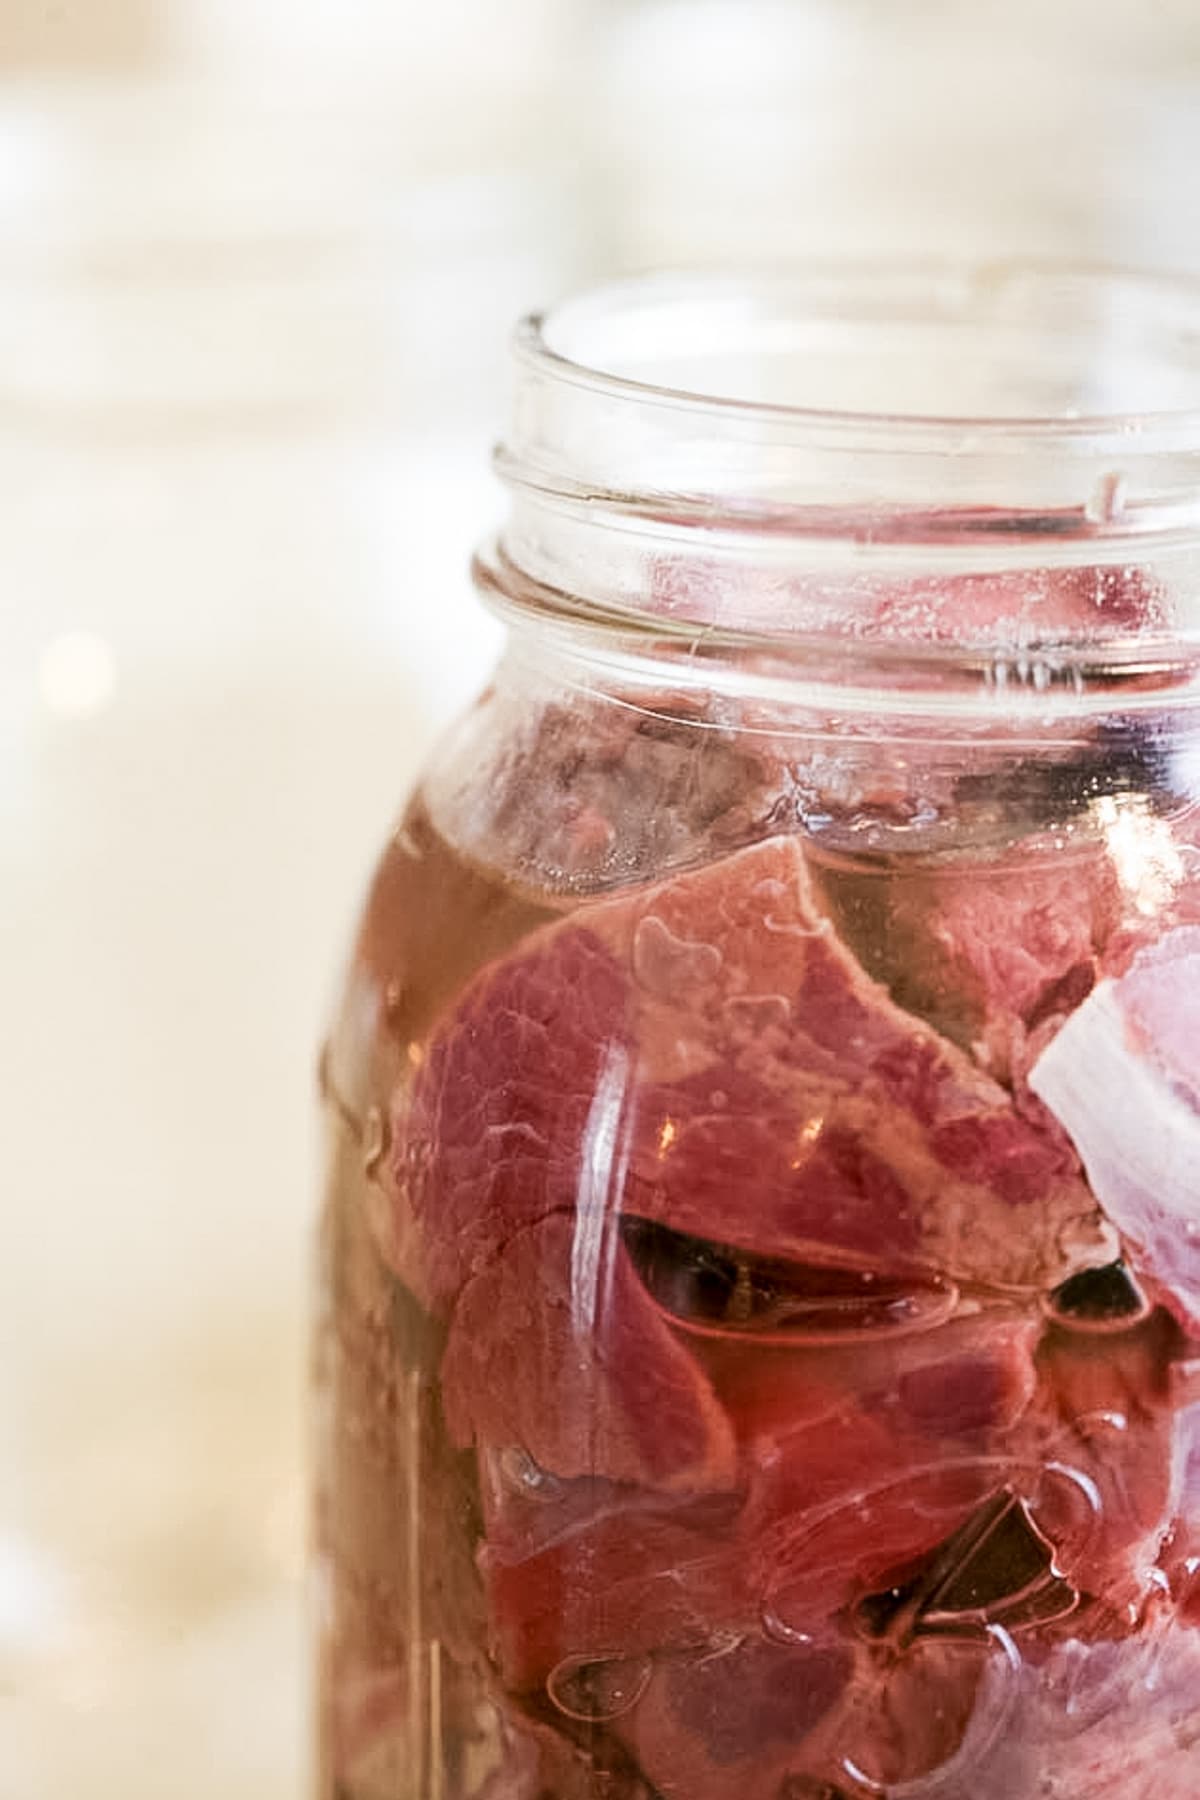
If you choose to try not to add any liquid and after you process the jars the meat is sticking out of whatever liquid there is (i.e the meat didn’t form a lot of liquid…) I just want you to know that as long as your jar is sealed the meat will be fine even if it’s not completely under the liquid.
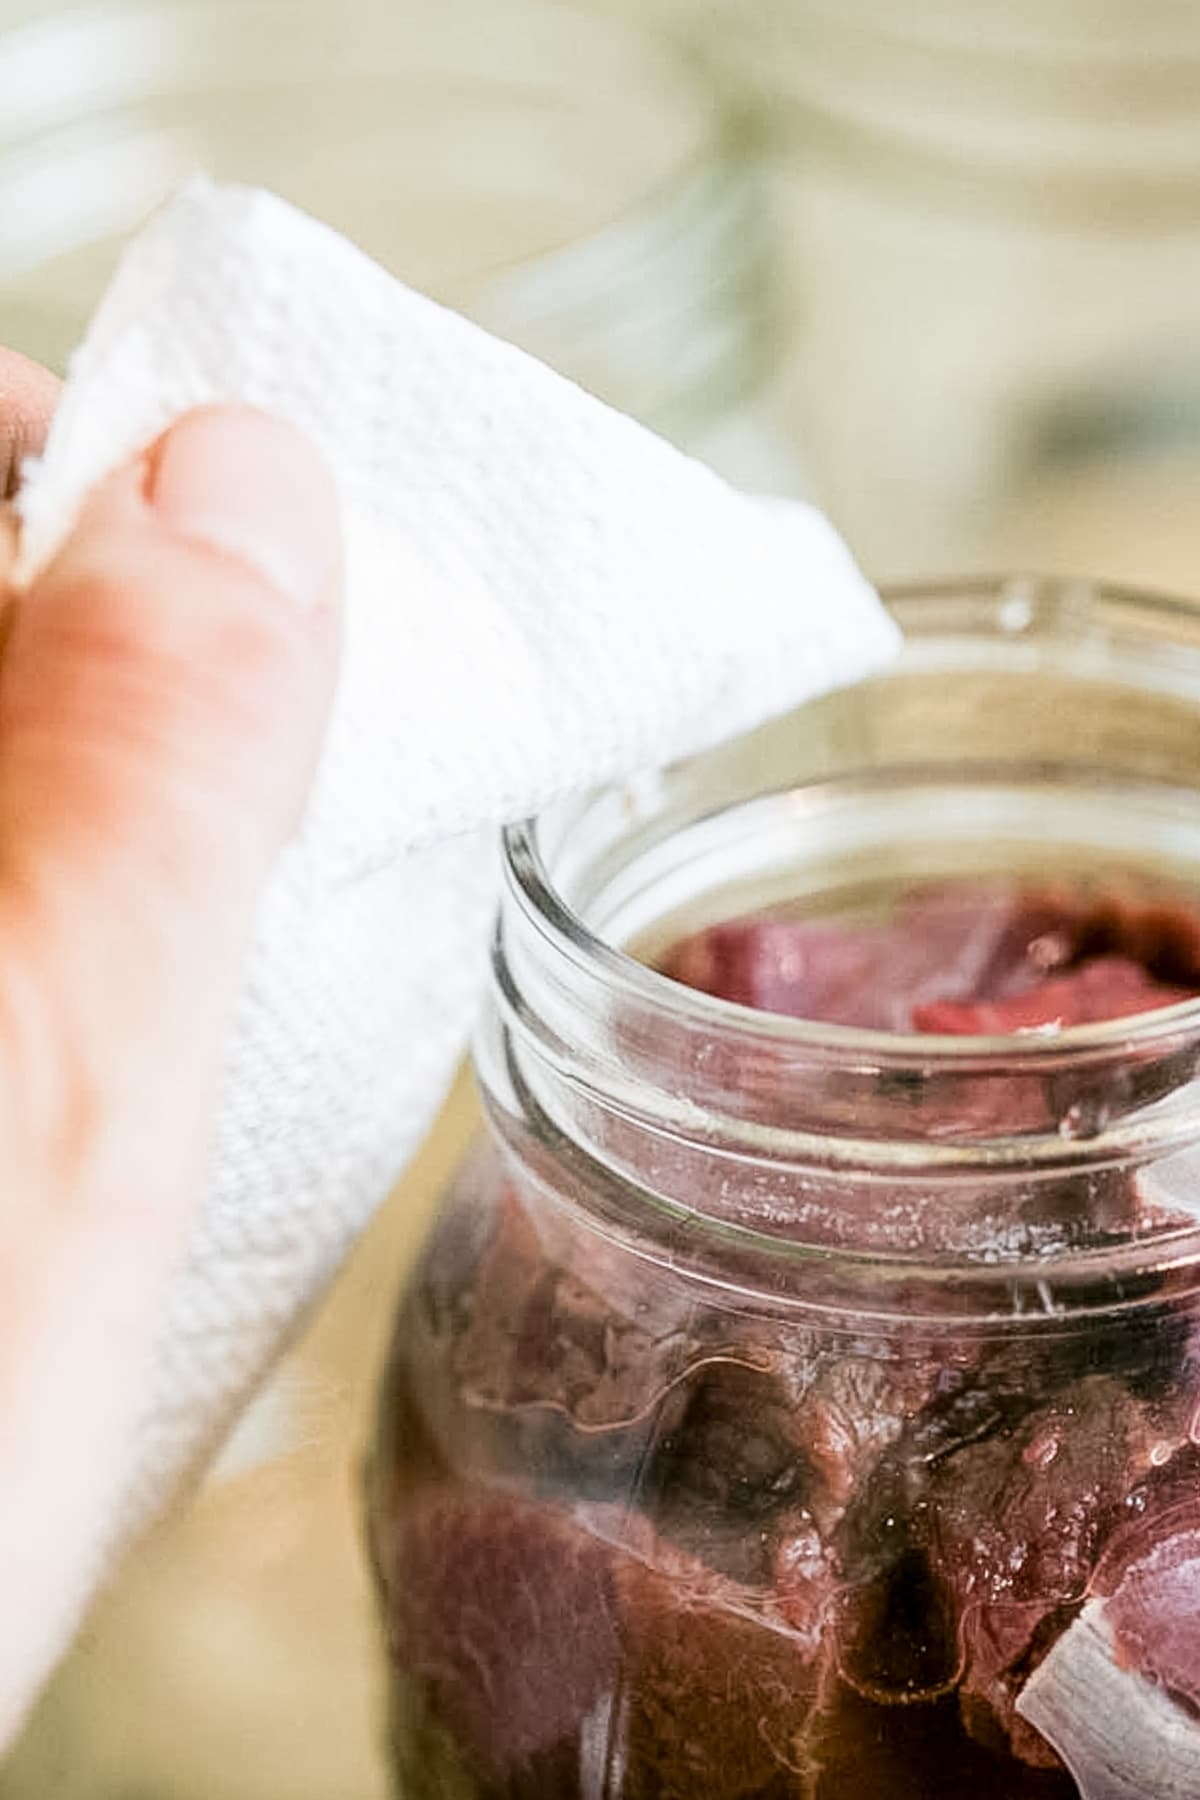
Next, use a clean, damp paper towel to clean the rim of the jar. Close the jar with the lid and ring, making sure to not close it too tight.
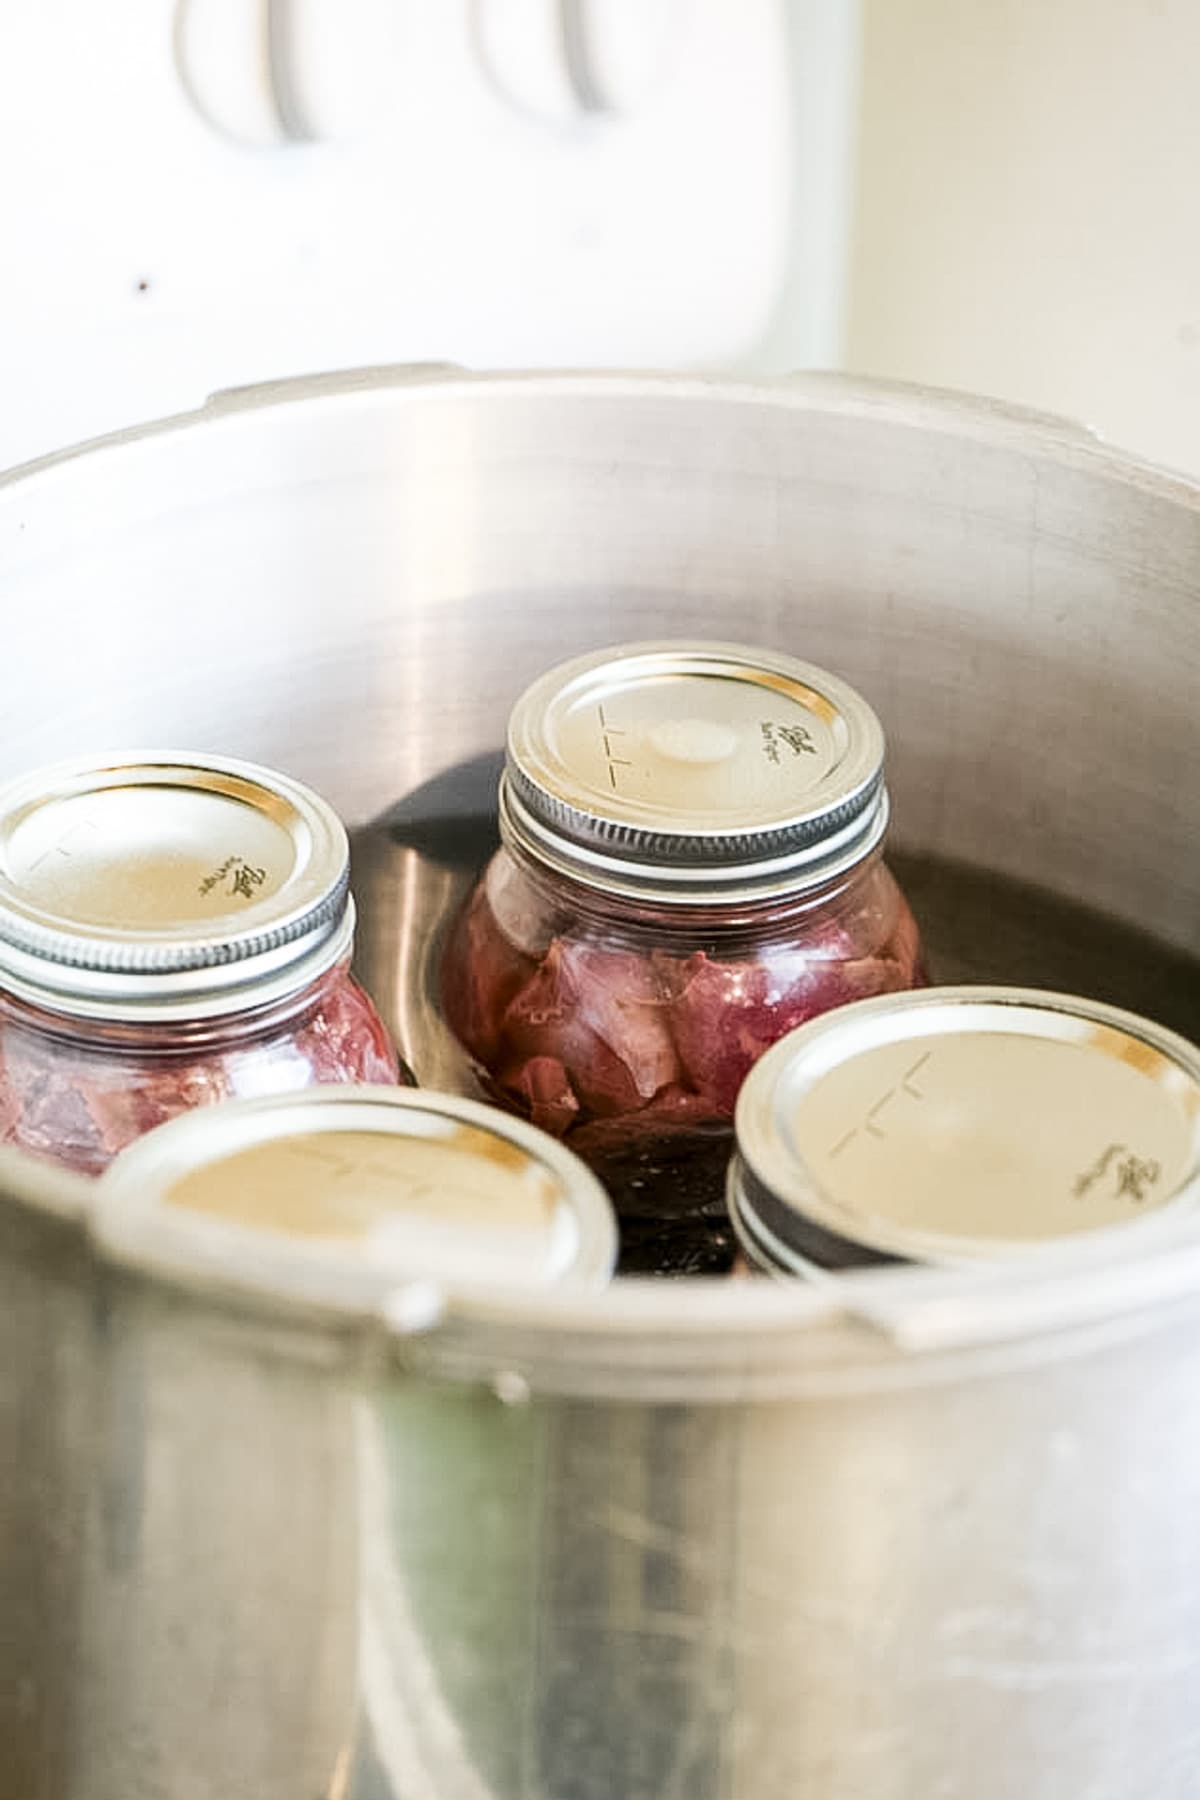
Step four – process the jars. Note – I’ll show you how I use my dial gauge Presto canner and I am pretty sure it’s a very similar process with other pressure canners but it’s still important that you’ll learn your canner and make sure to make any adjustments if you need to.
Place your pressure canner on the stovetop and place the packed jars in the canner. Add warm water to just below the band of the jars (be sure to follow the instructions for your particular canner as some don’t require this much water).
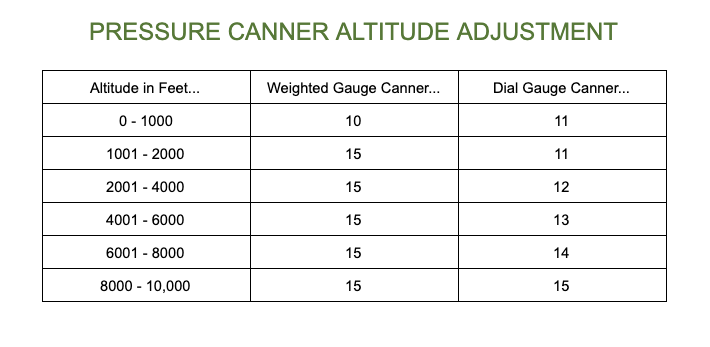
Close the canner and turn the heat to high. Leave the weight off the vent and let the water in the canner heat until the canner starts to vent steam (it can take 10-15 minutes or so). Once you see steam coming out, set the timer to 10 minutes, and allow the canner to vent. After 10 minutes of venting steam, place the weight on the vent and watch the dial. If you live under 1000 ft in elevation, wait for the dial to reach 11 psi before lowering the heat just a bit to keep the pressure at 11 psi. Process pint jars for 75 minutes and quart jars for 90 minutes. Some say that around an hour is enough but to be on the safe side follow the NCHFP.
If you live above 1000 ft in elevation make sure to adjust your pressure. The link to the National Center for Home Food Preservation above will take you to a table that will list pressure adjustment requirements but you can also find them in the table below…
Once the time is up, turn the heat off and let your canner cool completely before trying to open it (this can take a couple of hours). Once it has cooled, open the lid and let the jars stay in the hot water for 5-10 minutes. Then, use the jar lifters to remove the jars. Set your jars on a towel on the counter and let them cool completely for at least 12 hours (I usually leave them overnight).
Storing Home Canned Meat…
When the jars are cooled, check that all of them have sealed by pressing on each lid. If there is no movement the jars are sealed. You can remove the rings and store the jars in the pantry. Removing the rings allows you to see if anything funky is going on inside the jar. It is always advised to use canned goods within a year but I’ll be honest and say that I have three years old canned meat on my shelf at the moment and it still looks great.
How to Use Canned Meat…
When you are ready to use your meat, simply open the jar and use it! You can use the broth too if you’d like. This is great meat for pretty much any dish that doesn’t call for ground meat and it’s already soft, seasoned, and ready to go!
- Add it to casseroles
- Add it to soups and stews
- Use it to make BBQ meat for a sandwich
- Add it to chili
- Add it to tacos
- Make a sauce for it and serve it in a wrap or over rice or mashed potatoes
Kitchen Notes…
- Meat is a low-acid food and has to be canned in a pressure canner for it to be safe to eat later. There is no way around that I’m afraid.
- It is ok if the meat is sticking out of the liquid after canning as long as the jar is properly sealed.
- Salt and seasonings are optional. You can follow the same process without salt and the meat will be just fine.
- Cutting the meat is easier if it is half-frozen so if you can, place the meat in the freezer for a few hours before starting the process of canning it.
Not so complicated, right? If you’d like to see how the hot pack method works, Jill at The Prairie Homestead has a great post showing the hot pack method with beef, so go check it out as well.
More Pressure Canning Tutorials…
How to Can Meat
A step by step tutorial on how to can meat using the raw pack method. You can follow these steps when canning beef, pork, venison, moose, caribou, elk, or bear.
Ingredients
- Meat: elk, pork, venison, beef, bear, moose, or caribou
- Salt and other seasonings (optional)
- Water or bone broth
Instructions
- Trim and clean your meat of any unwanted parts and cut into 1'' cubes.
- Wash your jars, lids, and rings with soapy, warm water.
- If you'd like, add a teaspoon of salt to each pint jar and two teaspoons of salt to each quart jar (you can add additional seasonings like peppercorns or chili flakes if you'd like).
- Pack each jar with the cubed meat. Make sure to leave one-inch headspace.
- If you are canning venison or caribou, for example, I recommend adding a little bit of water or bone broth (2 tablespoons or so) to each jar. Pork and beef probably don't require any additional liquid.
- Clean the rim of your jars with a clean, damp paper towel.
- Cover the jars with the lids and close with the rings to fingertight.
- The following canning instructions are for a Presto pressure canner. If you have a different pressure canner, make sure to follow your manufacturer directions. Add jars to the canner (place them on the rack) so they don't touch each other.
- Fill the canner with enough water to reach just below the bend in the jar.
- Close the canner and turn the heat on high. Once steam starts to come out of the vent set your timer to 10 minutes.
- After 10 minutes, cover the vent with the weight and watch the dial. Once it reaches 11 psi (you can find the adjustment table in the notes below) adjust the temperature to hold the pressure.
- Process pint jars for 75 minutes and quart jars for 90 minutes.
- Once the time is up, turn off the heat and let your canner cool slowly.
- When the canner is cool, open it and let the jars rest in the hot water for 5-10 minutes. Then, use the jar lifters to remove the jars. Set your jars on a kitchen towel on the kitchen counter for 12 hours to cool completely.
- Make sure to check that the jars sealed and remove the rings before storing the jars.
Notes
Kitchen Notes:
- Meat is a low-acid food and has to be canned in a pressure canner for it to be safe to eat later. There is no way around that I’m afraid.
- It is ok if the meat is sticking out of the liquid after canning as long as the jar is properly sealed.
- Salt and seasonings are optional. You can follow the same process without salt and the meat will be just fine.
- Cutting the meat is easier if it is half-frozen so if you can, place the meat in the freezer for a few hours before starting the process of canning it.
- Some people always add salt but it's optional and is only added for taste. If you choose to add salt, add one teaspoon to each pint jar or two teaspoons to each quart jar before you pack the meat in the jar.
- If you live above 1000 feet in elevation, make sure to adjust your pressure according to the table below...
I know there’s some shrinkage of raw packed meat, but how much headspace is too much after processing?
As long as your jar sealed correctly, you should be good no matter how much headspace you have. Even if the meat in the jar is not covered by the liquid but the jar has been processed correctly and sealed correctly, you should be fine. Of course monitor it to make sure nothing that is looking odd is growing in there over time.
I’m really big into making meat stews and soups. Everything into the pot that it can hold. Good time to do a cold storage/refer/freezer clean-out and rotate out older foods/meats and make room for fresher stuff. Have a big bowl for dinner and the rest goes into quart canning jars and into the canner for future “pot pie” dinners. (2 pot pies per quart/2 people) I keep a couple pre-made dry mix thickeners (one for beef/pork and one for chicken/turkey/seafood) to add to it before putting it into the pie so it has a good gravy to it. I had dinner guests over the Holidays and they loved it and it sure made it easy on me preparing the pot pie meal. Sure glad I cooked, cleaned and canned up those 14 turkeys when it was only .99 cents a pound! Everyone thought I was nuts.
WELL I GOTTA SAY VERY NICE EXPLAING THINGS
I SEE ALOT MEAT ABOVE THE LIQUID.
I WILL JUST GO AHEAD TRY MY FIRST BATCH..THANK YOU
Liquid in the jars is totally fine as long as your jar sealed. Glad you found this helpful!
Hi Lady Lee,
I’m Tess. I love canning and making jellies and other things to can. I’ve never tried canning meat but have been researching. sadly I don’t have a pressure canner yet. I’ve also been reading up on preserving meats in honey. Do you by chance have any instructions available on that method?
I don’t. Preserving meat is an area that I really want to dig into. Drying meat, making sausage, preserving is salt (I didn’t know that you can preserve in honey!), but I just didn’t have the chance yet to learn it all. As I go through this I’ll write all the recipes so try to keep in touch (my email list is a good place to get new posts). Right now, I either can or freeze.
Hi! New to canning and going to town. We’ve canned chicken breasts and beef stew, along with lots of tomato-based recipes. I love the canning process but find the meat (the chicken breasts were raw packed) are very dry (tho they do create a lot of liquid during the pressure cooking process).
The stew meat in the stewwas cooked beforehand but that meat, too, dry after canning.
Is this just a nuance of canning and meat will naturally dry out during canning or is there a secret I’m missing?
Appreciate your help!
Mmmm… I don’t feel like my meat is dry. Maybe try to hot pack it instead. Cook it for just a few minutes before you pack it in the jars and then process. Maybe that will change the texture of the meat. But other than that, it sounds like you did it the right way.
I canned some cooked pulled pork in my pressure canner and after canning, there isn’t liquid on top of the jars. Is this ok.
Some liquid might leave the jars while they process in the canner. That’s fine as long as the jars are sealed properly.
i just started canning meat this year and i love it so far we have canned beef deer chicken and pork and it all came out great cant beat it my pantry is looking pretty good
One of my favorite things to can as well! Gives you a sense of safety.
I have pressure canned my dogs food, for the past 10 years. I do it for a 4 month supply (120 pint jars). Sometimes I have open spaces in the canner and fill it with cubed pork or beef. I just used a can of pork, I canned 5 years ogo, tasted perfect.
That’s amazing! I have elk meat in a can. Someone gave it to me years ago and I didn’t open it yet. It looks perfect to. I’m sure your dog is very healthy!