Persimmon Jam Recipe
This post may contain affiliate links, view our disclosure policy for details.
Persimmon jam is a simple and quick jam to make. It has a unique flavor and it can be seasoned with fall spices or can be made with nothing but sugar and a little bit of lemon juice. It’s an easy jam and a great way to preserve the fall harvest and flavor.
On one of my visits to Israel, I spotted a huge bowl of persimmons on the dinning table in my parent’s house. I don’t come across them too often here in the U.S. but they are very popular in Israel.
Half of the persimmons in the bowl were so ripe that I knew that they only had a few more days before they wouldn’t be good anymore. My homesteady brain went into action immediately and in no time we had a delicious persimmon jam ready for storage or serving. Persimmon jam is a very simple jam to make. It can be made with less sugar and it gels very quickly.
Persimmon Jam Recipe…
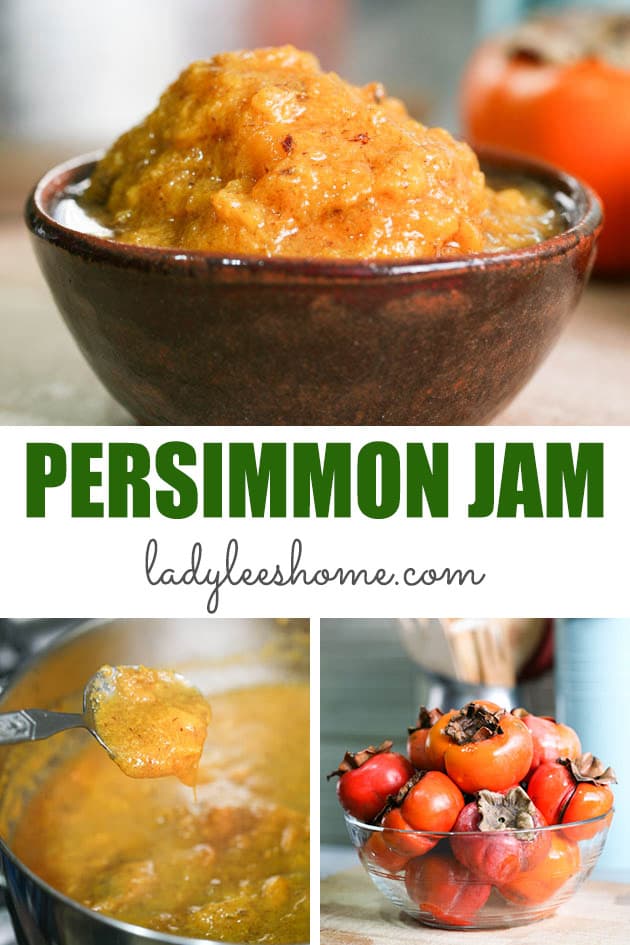
If you own a persimmon tree, or if you know someone who does, or if you happen to come across persimmons at the local Farmer’s Market or the grocery store, making persimmon jam is a great way to preserve this fruit.
Ingredients for Persimmon Jam…
Persimmon jam only requirs three ingredients…
Persimmons – there are a few different varieties of persimmons and they all can be used to make persimmon jam when ripe. In most cases, if you try to eat a persimmon before it’s ripe it will be astringent and bitter but if you let it ripen it’s as sweet as honey.
In Israel, we have a variety called Sharon (these are the ones that I used in this post) which is a variety of persimmon whose astringency has been artificially removed so this fruit can be eaten even when it’s firm. However, for persimmon jam it’s better to use ripe persimmons.
Some of the varieties that you might come across here in the U.S. are Ichi-Ki-Kei-Jiro, Asian Jiro, Saijo, Hachiya, Fuyu, and there are a few more.
Remember, all varieties of persimmons are great for jam making. Just make sure that you let the fruit ripen before you use it to make persimmon jam.
Sugar – ripe persimmons are very sweet and don’t need a lot of sugar to make a sweet jam even if you want to can the jam.
I usually add half of the weight of the fruit in sugar when I make jam (like this peach jam, mulberry jam, or mango jam) but persimmons are fine with even less.
As a general rule, use a ratio of 1 part fruit to 1/3 part sugar when making persimmon jam.
Lemon juice – lemon juice always balances the sweetness of jams and it also adds natural pectin and helps the jam gel. I love adding it.
Lemon seeds – the addition of lemon seeds is completely optional. Persimmon jam gels pretty well and is a quick jam. It usually comes together in less than an hour. However, if you feel that it needs a little help to gel and turn into jam, you can always add a few lemon seeds. They contain a lot of natural pectin that is released when cooking.
Seasonings – persimmon harvest season is during the fall and winter. If you are feeling the fall vibes and would like to season your jam with fall flavors go right ahead!
You can add some nutmeg, cinnamon, clove, vanilla extract, and even some cardamom. If you choose to season your jam, add the seasonings in the last 5 minutes of cooking.
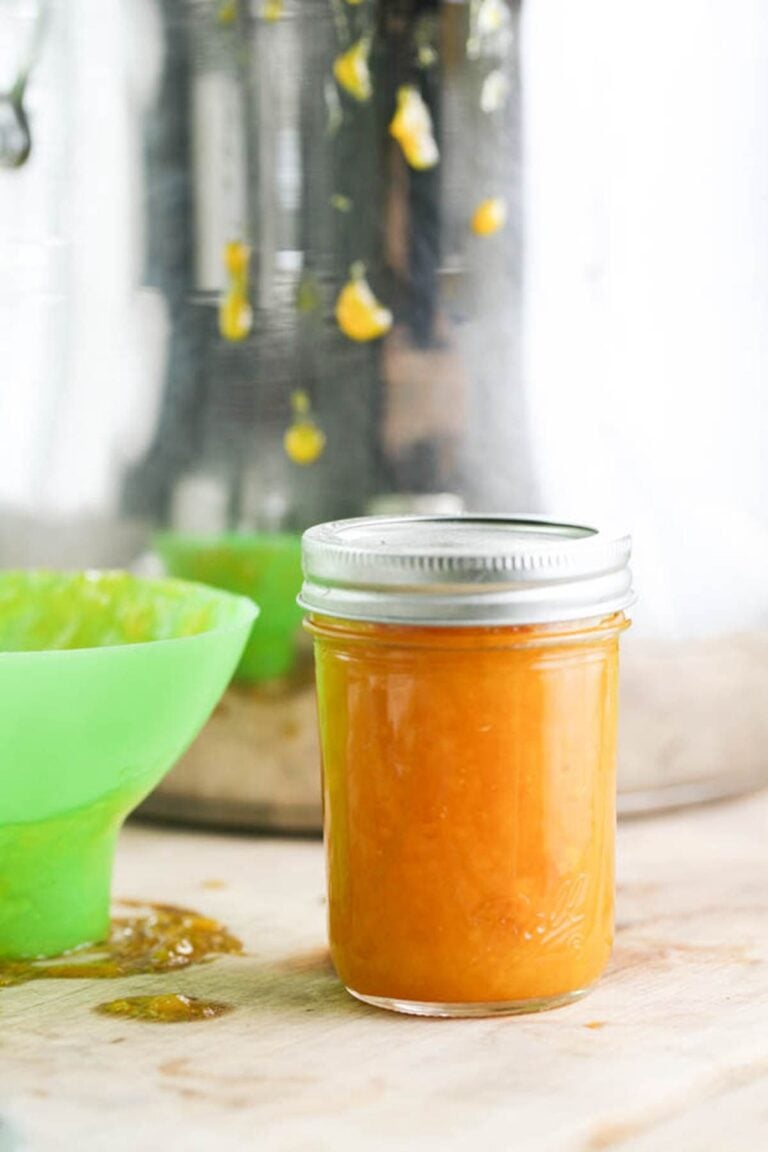
In this recipe, I used 3 pounds of diced persimmons, 1 pound of sugar, and juice from half a lemon. This made four half-pint jars.
Tools For Making Persimmon Jam…
Here is what you are going to need:
Cutting board and knife – to remove the stems and cut the persimmons.
Scale and a bowl – to weight the fruit and sugar.
Pot and wooden spoon – I like to use a shallow pot for jam making when possible. Whatever pot that you use, make sure that it has a heavy bottom.
Potato masher – to mash the fruit.
Half-pint jars, lids, and bands – if you are going to can this persimmon jam you’ll need jars. I like canning my jams in half-pint jars.
Water bath canner and canning utensils – persimmon jam can be processed in the water bath canner easily. We’ll need the canning utensils to help us prepare the jam for canning. You’ll also need a damp paper towel to clean the rim of the jar and a ladle to help you fill the jar.
How to Make Persimmon Jam…
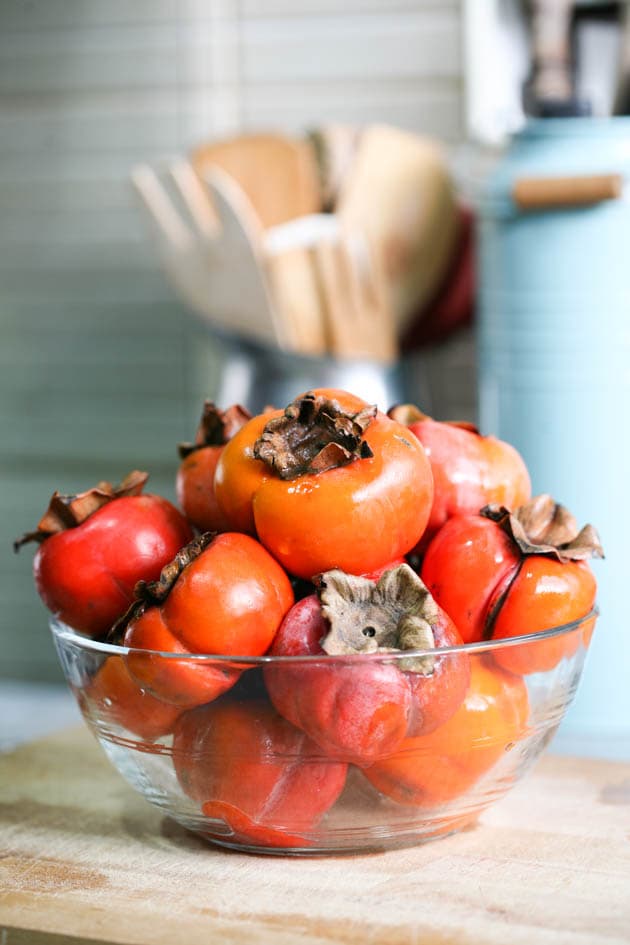
Start with ripe persimmons. I used 17 persimmons in this recipe that weighed 5 1/2 pounds but after I cleaned them I was left with 3 pounds of fruit.
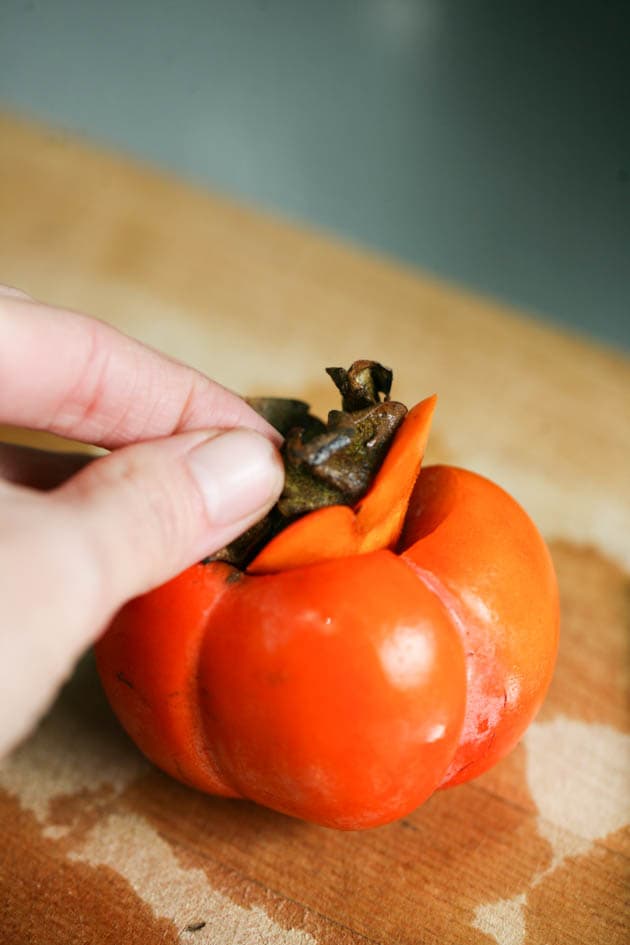
Remove the stems from your persimmons…

And then slice them. You can use the skin in the jam or you can remove it. I decided to remove the skin.

Add the fruit to a bowl and weigh it so you know how much sugar to add to the fruit…
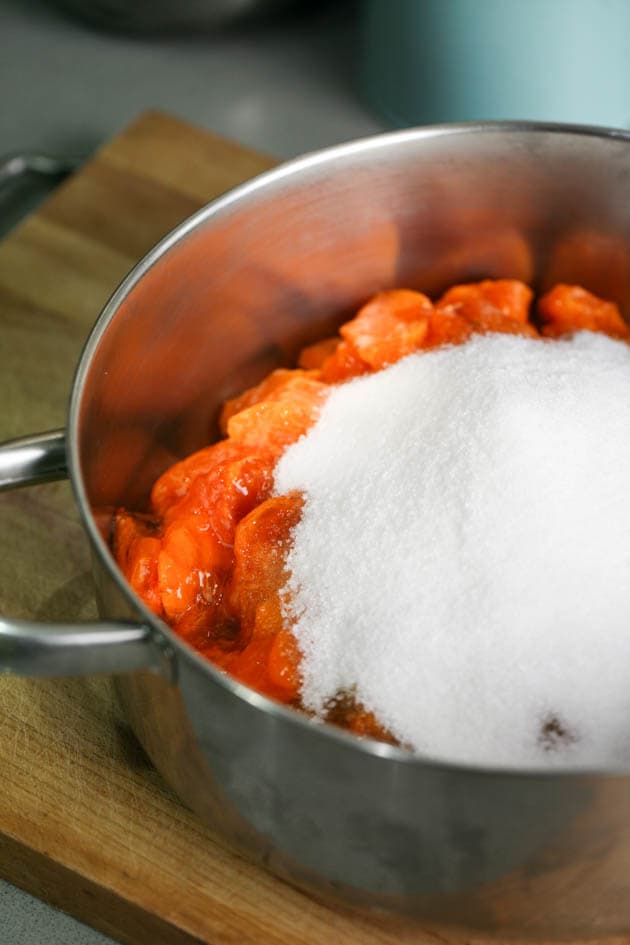
Add the fruit and the sugar to a pot and set it on medium-high heat…

Stir the sugar and fruit until the sugar dissolves …

Bring the fruit and sugar mixture to a gentle boil and let it boil for five minutes before lowering the heat to medium-low…
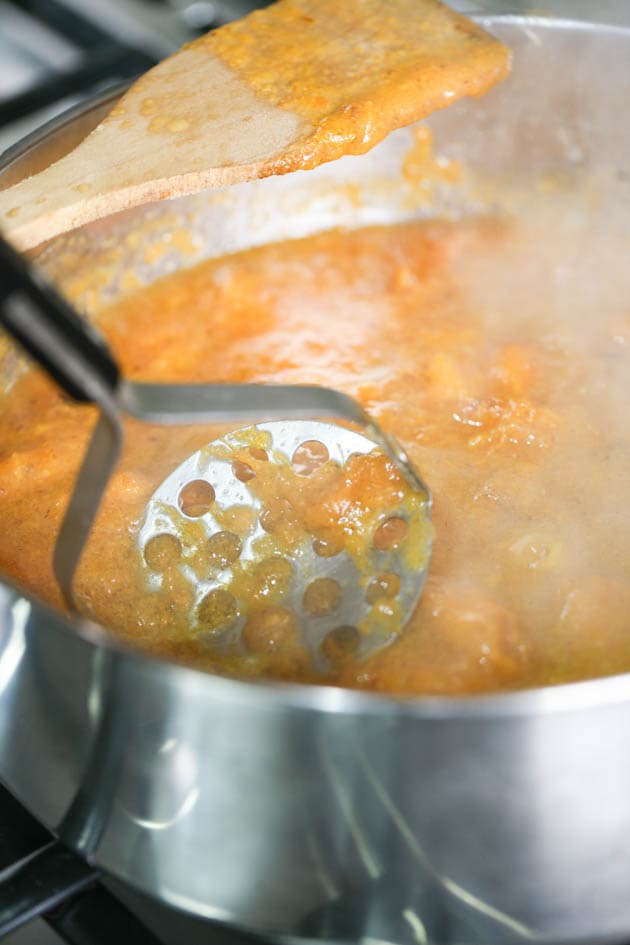
Cook for an additional 15 minutes or so. At this point the fruit should be soft. Use a potato masher to mash it into your desired consistency.

Cook for another 10 minutes before adding the juice of one half lemon.
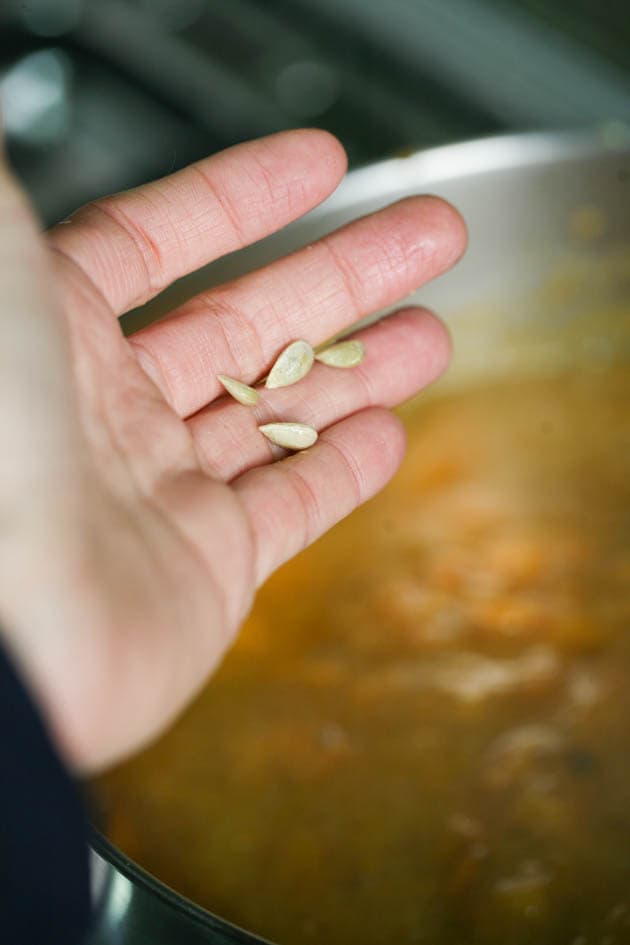
You can also add five or so lemon seeds but again, this is optional. If you feel like at this point the jam is still too runny, go a head and add the lemon seeds. If you feel that it’s thickening just fine you can leave them out.

Cook for an additional 15 minutes or so, stirring frequently until the jam is ready. If you choose to season your jam with cinnamon, nutmeg, or anything else this is the time to do so.
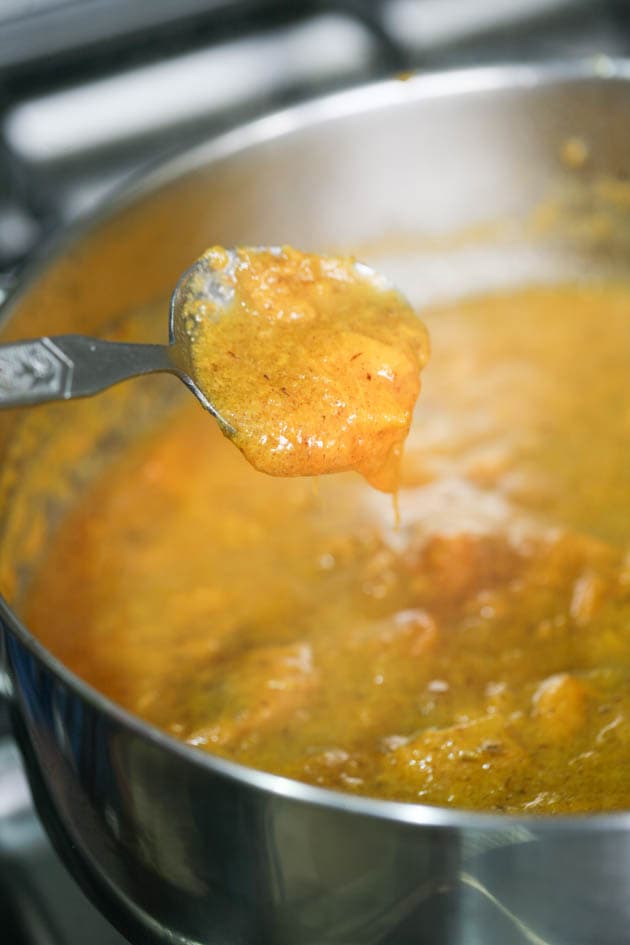
Sometimes it’s hard to know when a jam is ready. To help you determine you can do the spoon test. Scoop a little bit of jam on a spoon and set it aside for five minutes to cool.
You can set it on the counter or you can put it in the fridge. Once it has cooled a bit add the jam back to the pot. Let it fall off of the spoon slowly and as it does you’ll be able to measure its thickness a bit better. Take into consideration that jams keep thickening as they cool.
Canning Persimmon Jam…
Persimmon jam can be stored in the fridge for a few weeks but is also very simple to can. Prepare your water bath canner by adding enough water to it so that the jars will be covered by at least 1” of water. Set it on the stove top on high heat and bring the water to a boil.
You don’t really have to sanitize your jars (it’s enough if you wash them with hot water and soap) but I usually just place the empty jars in the canner. I let them stay in the boiling water for 5 minutes.
Use the funnel and a ladle to fill the jars, leaving 1/2 inch of headspace. Clean the rim of the jar with a damp paper towel, center the lid, and close the jar with the ring.
Set your jars in the canner, on the rack, cover the canner, bring the water back to a boil, and process the jars for 10 minutes if you live under 1000 feet in elevation.
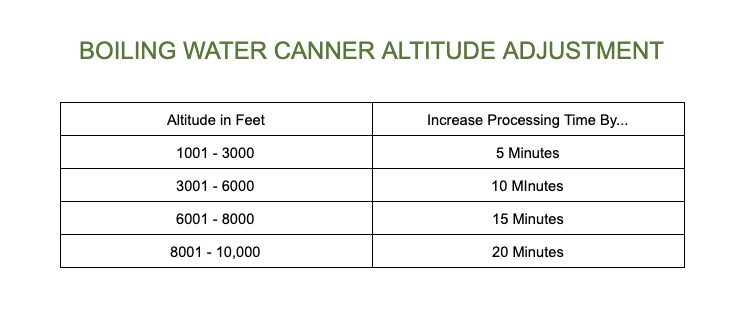
Adjust processing time according to the table below if you live in higher elevation…
Once processing time is up, turn the heat off and uncover the canner. Let the jars rest in the hot water for 5 minutes before you remove them. Set them on a kitchen towel on the counter to cool overnight.
Since I was in Israel and my parents don’t have the canning equipment that we have here, I used the old European way of sealing the jars…
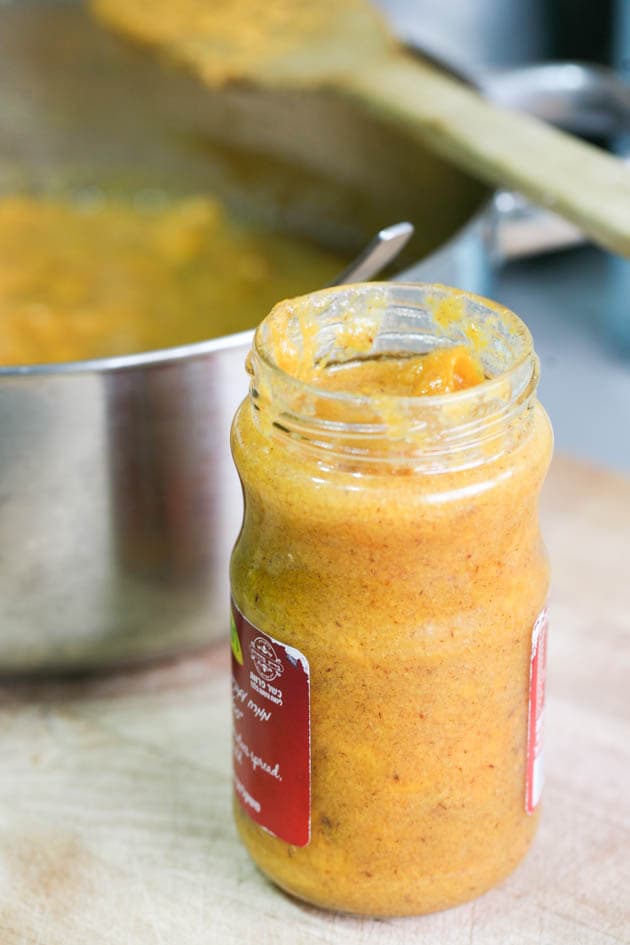
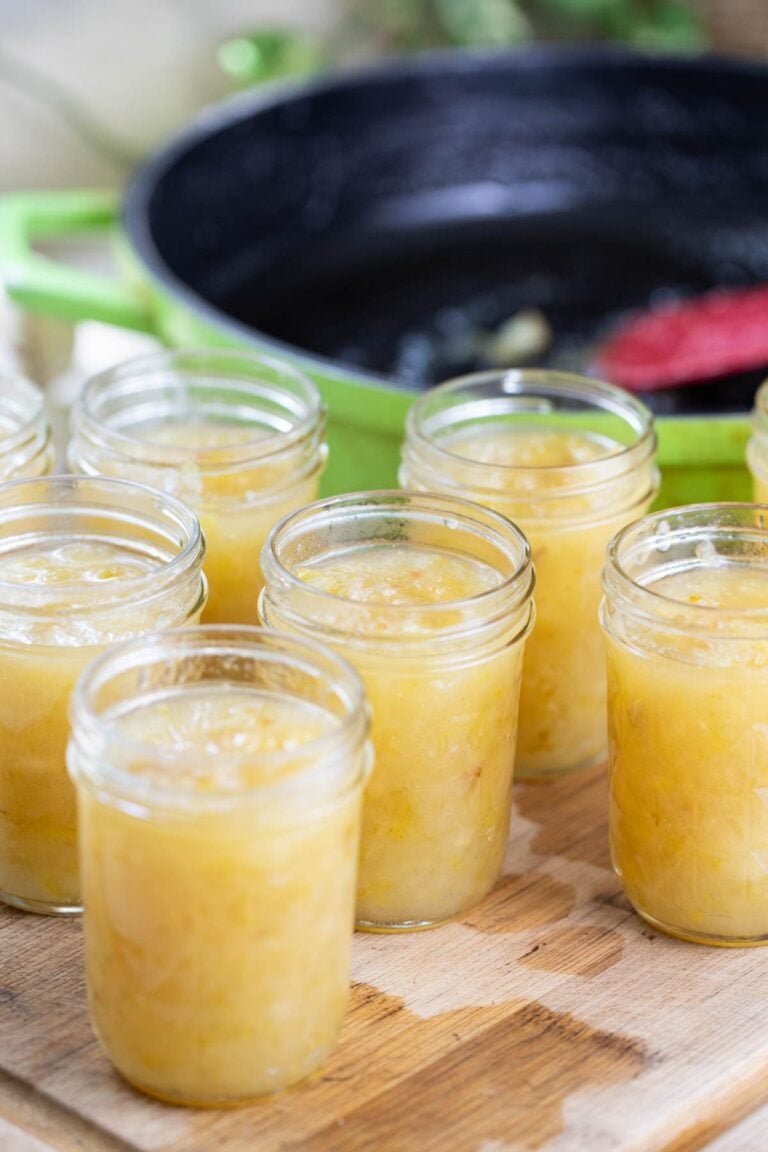
I filled my clean jars with the hot jam…

Cleaned the rim with a paper towel…

Closed the jar with the lid and turned it upside down. I then let it stay like that overnight to cool completely. In the morning when I flip it it’s usually sealed and ready for storage.
Storing Persimmon Jam…
Before storing your jars of persimmon jam in the pantry, make sure that they are all sealed by pressing the center of the lid. If there is no movement there, your jars are sealed and ready for storage.
I usually wipe my jars and remove the band. I can reuse it and I can monitor what’s going on inside the jar better if the band is not in my way.
Persimmon jam will last on the shelf 12 – 18 months but I usually try to use all of my canned goods within a year.
Serving Persimmon Jam…
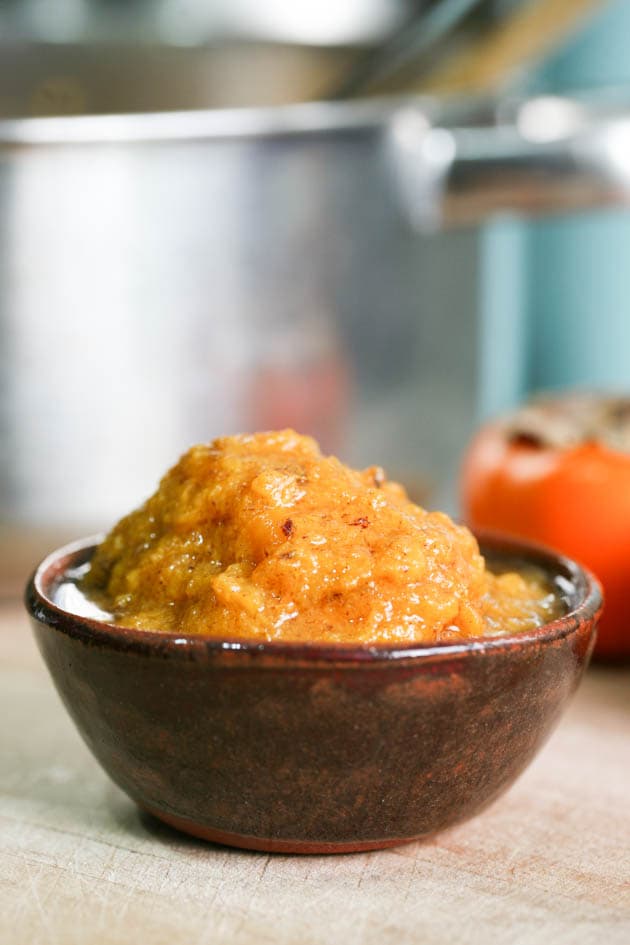
Persimmon jam can be served on toast alongside your coffee. It’s also delicious as a topping for vanilla ice cream. Another option is to serve it with yogurt or sour cream. Add some homemade granola and you have an amazing breakfast! It’s also thick enough so you can use it to make thumbprint cookies or other baked goods.
Persimmon jam is also a really nice and special holiday gift. It’s a delicious, low sugar jam that is hard to find in stores. Add a nice ribbon around the jar and maybe include it in a basket with pumpkin bread, sweet potato bread, apple chips, preserved lemons, candied oranges, orange jam, kiwi jam, or any other homemade goodness.
I hope that you’ll give this recipe a try!
If you liked this recipe, check these ones as well…
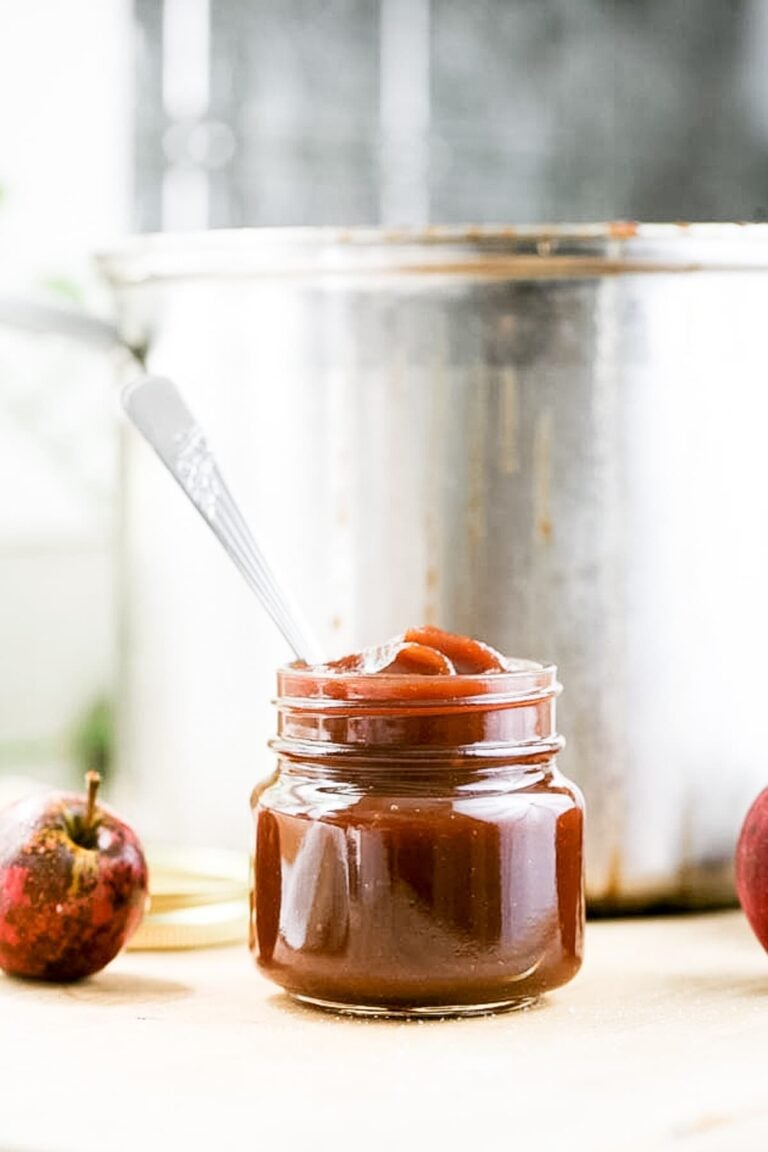
Apple Butter Recipe For Canning
For a list of all the jam recipes that are available here on the blog, make sure to visit my low sugar jam recipes page.
Persimmon Jam Recipe
Low sugar, easy, and delicious persimmon jam recipe.
Ingredients
- 3 pounds diced ripe persimmons (stem removed, with or without the skin)
- 1 pound sugar
- Juice of half a lemon
- 5 lemon seeds (optional)
- 1 tablespoon of cinnamon, cardamom, nutmeg, clove, vanilla extract (optional)
Instructions
- Add the fruit and sugar to a heavy-bottomed pot. Set on the stovetop and turn the heat to medium-high.
- Stir frequently and bring to a gentle boil. Let the fruit/sugar mixture boil for 5 minutes.
- Turn the heat to medium-low and keep cooking for an additional 15 minutes, stirring frequently.
- Use a potato masher to mash the fruit. Keep cooking for an additional 10 minutes.
- Add lemon juice and stir it in. If you feel that the jam is not thickening fast enough you can add the lemon seeds and stir them in. They have a lot of pectin in them and will help the jam thicken.
- Cook, stirring frequently, for another 15 minutes or until the jam is ready. If you choose to season your jam, add the seasonings 5 minutes before the jam is done cooking.
- To can this jam... Add enough water to the water bath canner to cover the jars by about an inch. Bring the water to a rolling boil.
- Clean your jars, lids, and bands with hot water and soap. Ladle the jam into the jars leaving 1/2 inch headspace. Remove bubbles, clean the rim of the jar with a damp paper towel, center the lid, and close the jar with the band.
- Place the jars in the water bath canner on the rack. Cover the pot, bring the water back to a boil and process the jars for 10 minutes. Adjust according to the table below if you live above 1000 feet in elevation.
- Once processing time is up, turn the heat off, uncover the pot, and let the jars rest in the pot for 5 minutes before you remove them. Place them on a kitchen towel on the counter to cool overnight.
- Store in the pantry for up to 18 months.
Notes
Adjust processing time according to the table below:

Recommended Products
As an Amazon Associate and member of other affiliate programs, I earn from qualifying purchases (there is no change in product cost or charge to you! Thank you for helping me support the blog).
-
 Stainless Steel Mixing Bowls (Set of 5), Non Slip Colorful Silicone Bottom Nesting Storage Bowls by Regiller, Polished Mirror Finish For Healthy Meal Mixing and Prepping 1.5-2 - 2.5-3.5 - 7QT
 -
 Norpro Canning Essentials Boxed Set, 6 Piece Set
 -
 Granite Ware Covered Preserving Canner with Rack, 12-Quart
 -
 PremiumVials 12 pcs 8 oz Mason Jars with Silver Lids for Jam, Honey, Wedding Favors, Shower Favors, Baby Foods, Canning, spices, Half Pint



One tablespoon of cinnamon was way too much!
Thanks for the feedback. It’s an easy change.